“I wonder, I wonder, I wonder why each little bird has someone to sing to, sweet things to a gay little love melody… I wonder, I wonder if my heart keeps singing will my song go winging to someone who’ll find me and bring back a love song to me?“

I often imagine myself as Briar Rose, wandering in a woodland holding a dainty wicker basket, with a rose adorning my hair, clothed in a dreamy dress.

It would be a dream come true to have a little picnic with all my little woodland friends…

On this picnic we would have any array of delicacies – fresh strawberries, french fancies, dainty jam and banana sandwiches, strawberry tarts, rose lemonade, and finally… sugar cookies!

I have shared my sugar cookies in a previous blog post. I use the Peggy Porschen vanilla sugar cookie recipe which is my favourite!

Each time I make this recipe I’m so pleased with the results ~ the biscuits are a golden colour, soft but crunchy and ever so sweet…

I love to warm one up slightly in the oven and pair it with a cup of tea.

I was so disheartened that we’re unable to see Peggy’s summer collection. Consequently I decided make my own treats in their classic, cutesy style! The cookies are set with pretty pink royal icing and adorned with the cutest little sugar paste creatures! I think that the fawns are my favourite.
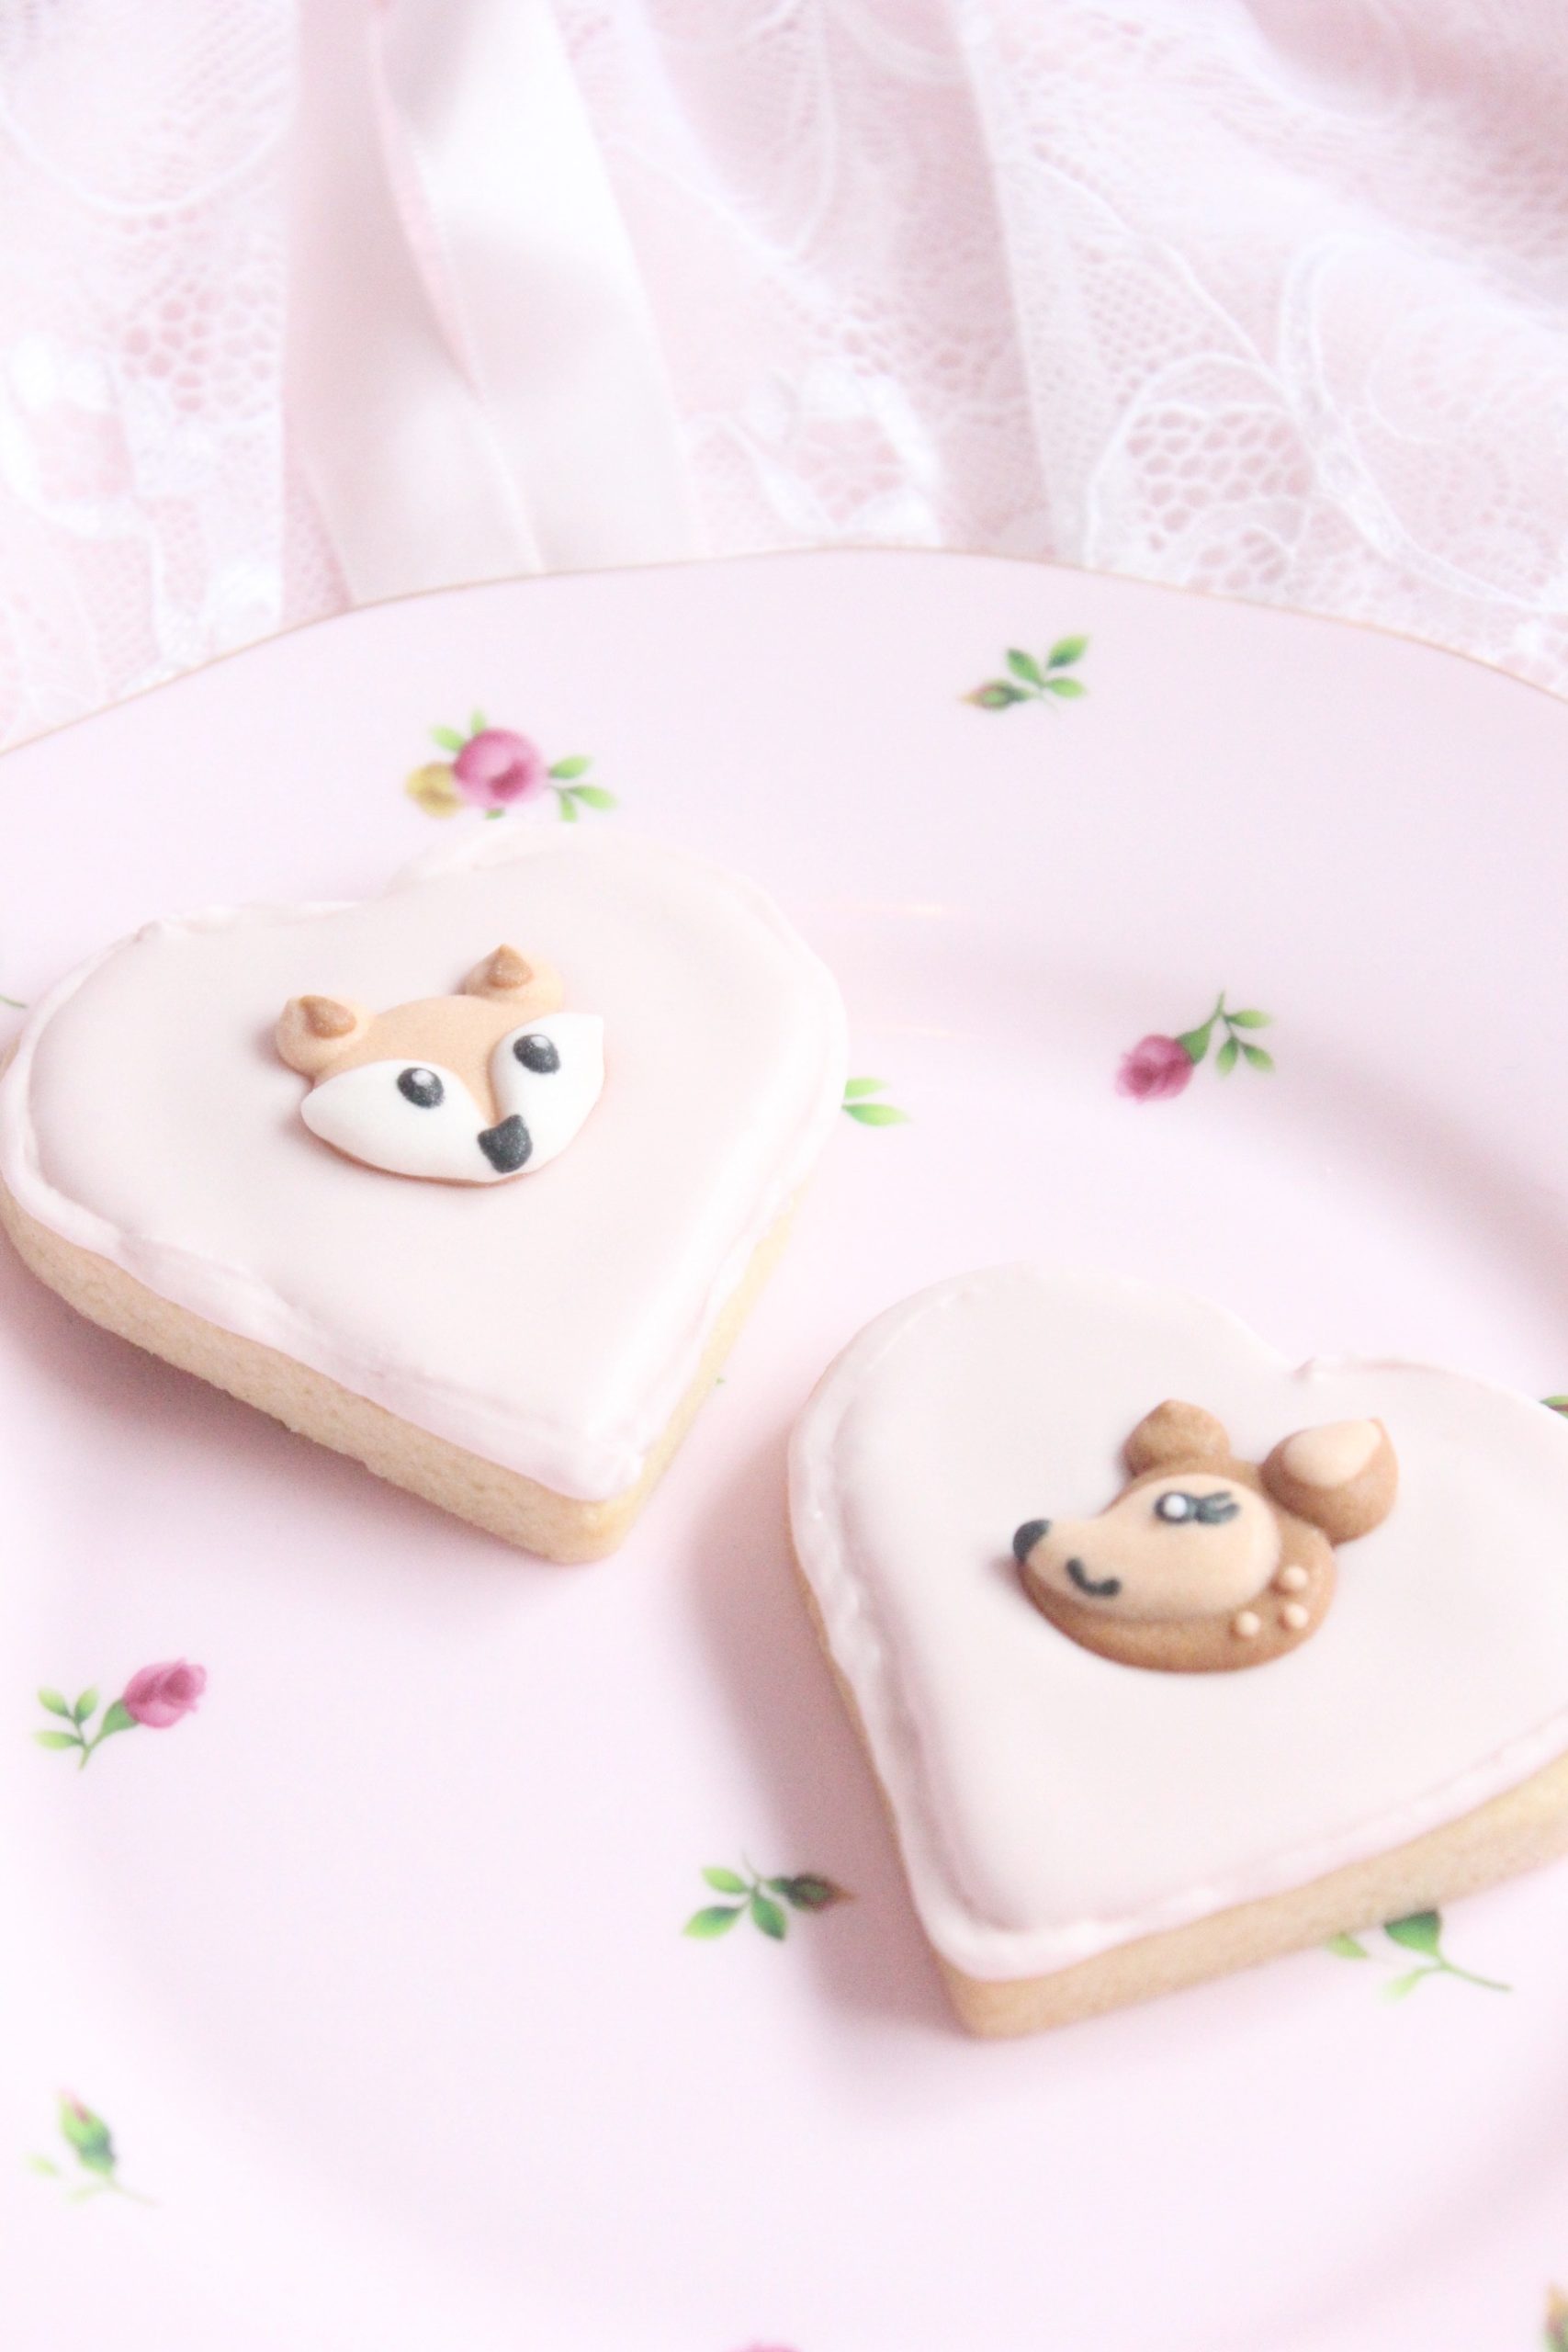
You can have your very own princess inspired tea-party at home; I love to wear my Needle and Thread Anya dress and use my Royal Albert New Country Roses Pink tea pot whilst watching a classic romance such as Roman Holiday or a Fred and Ginger Rogers film.
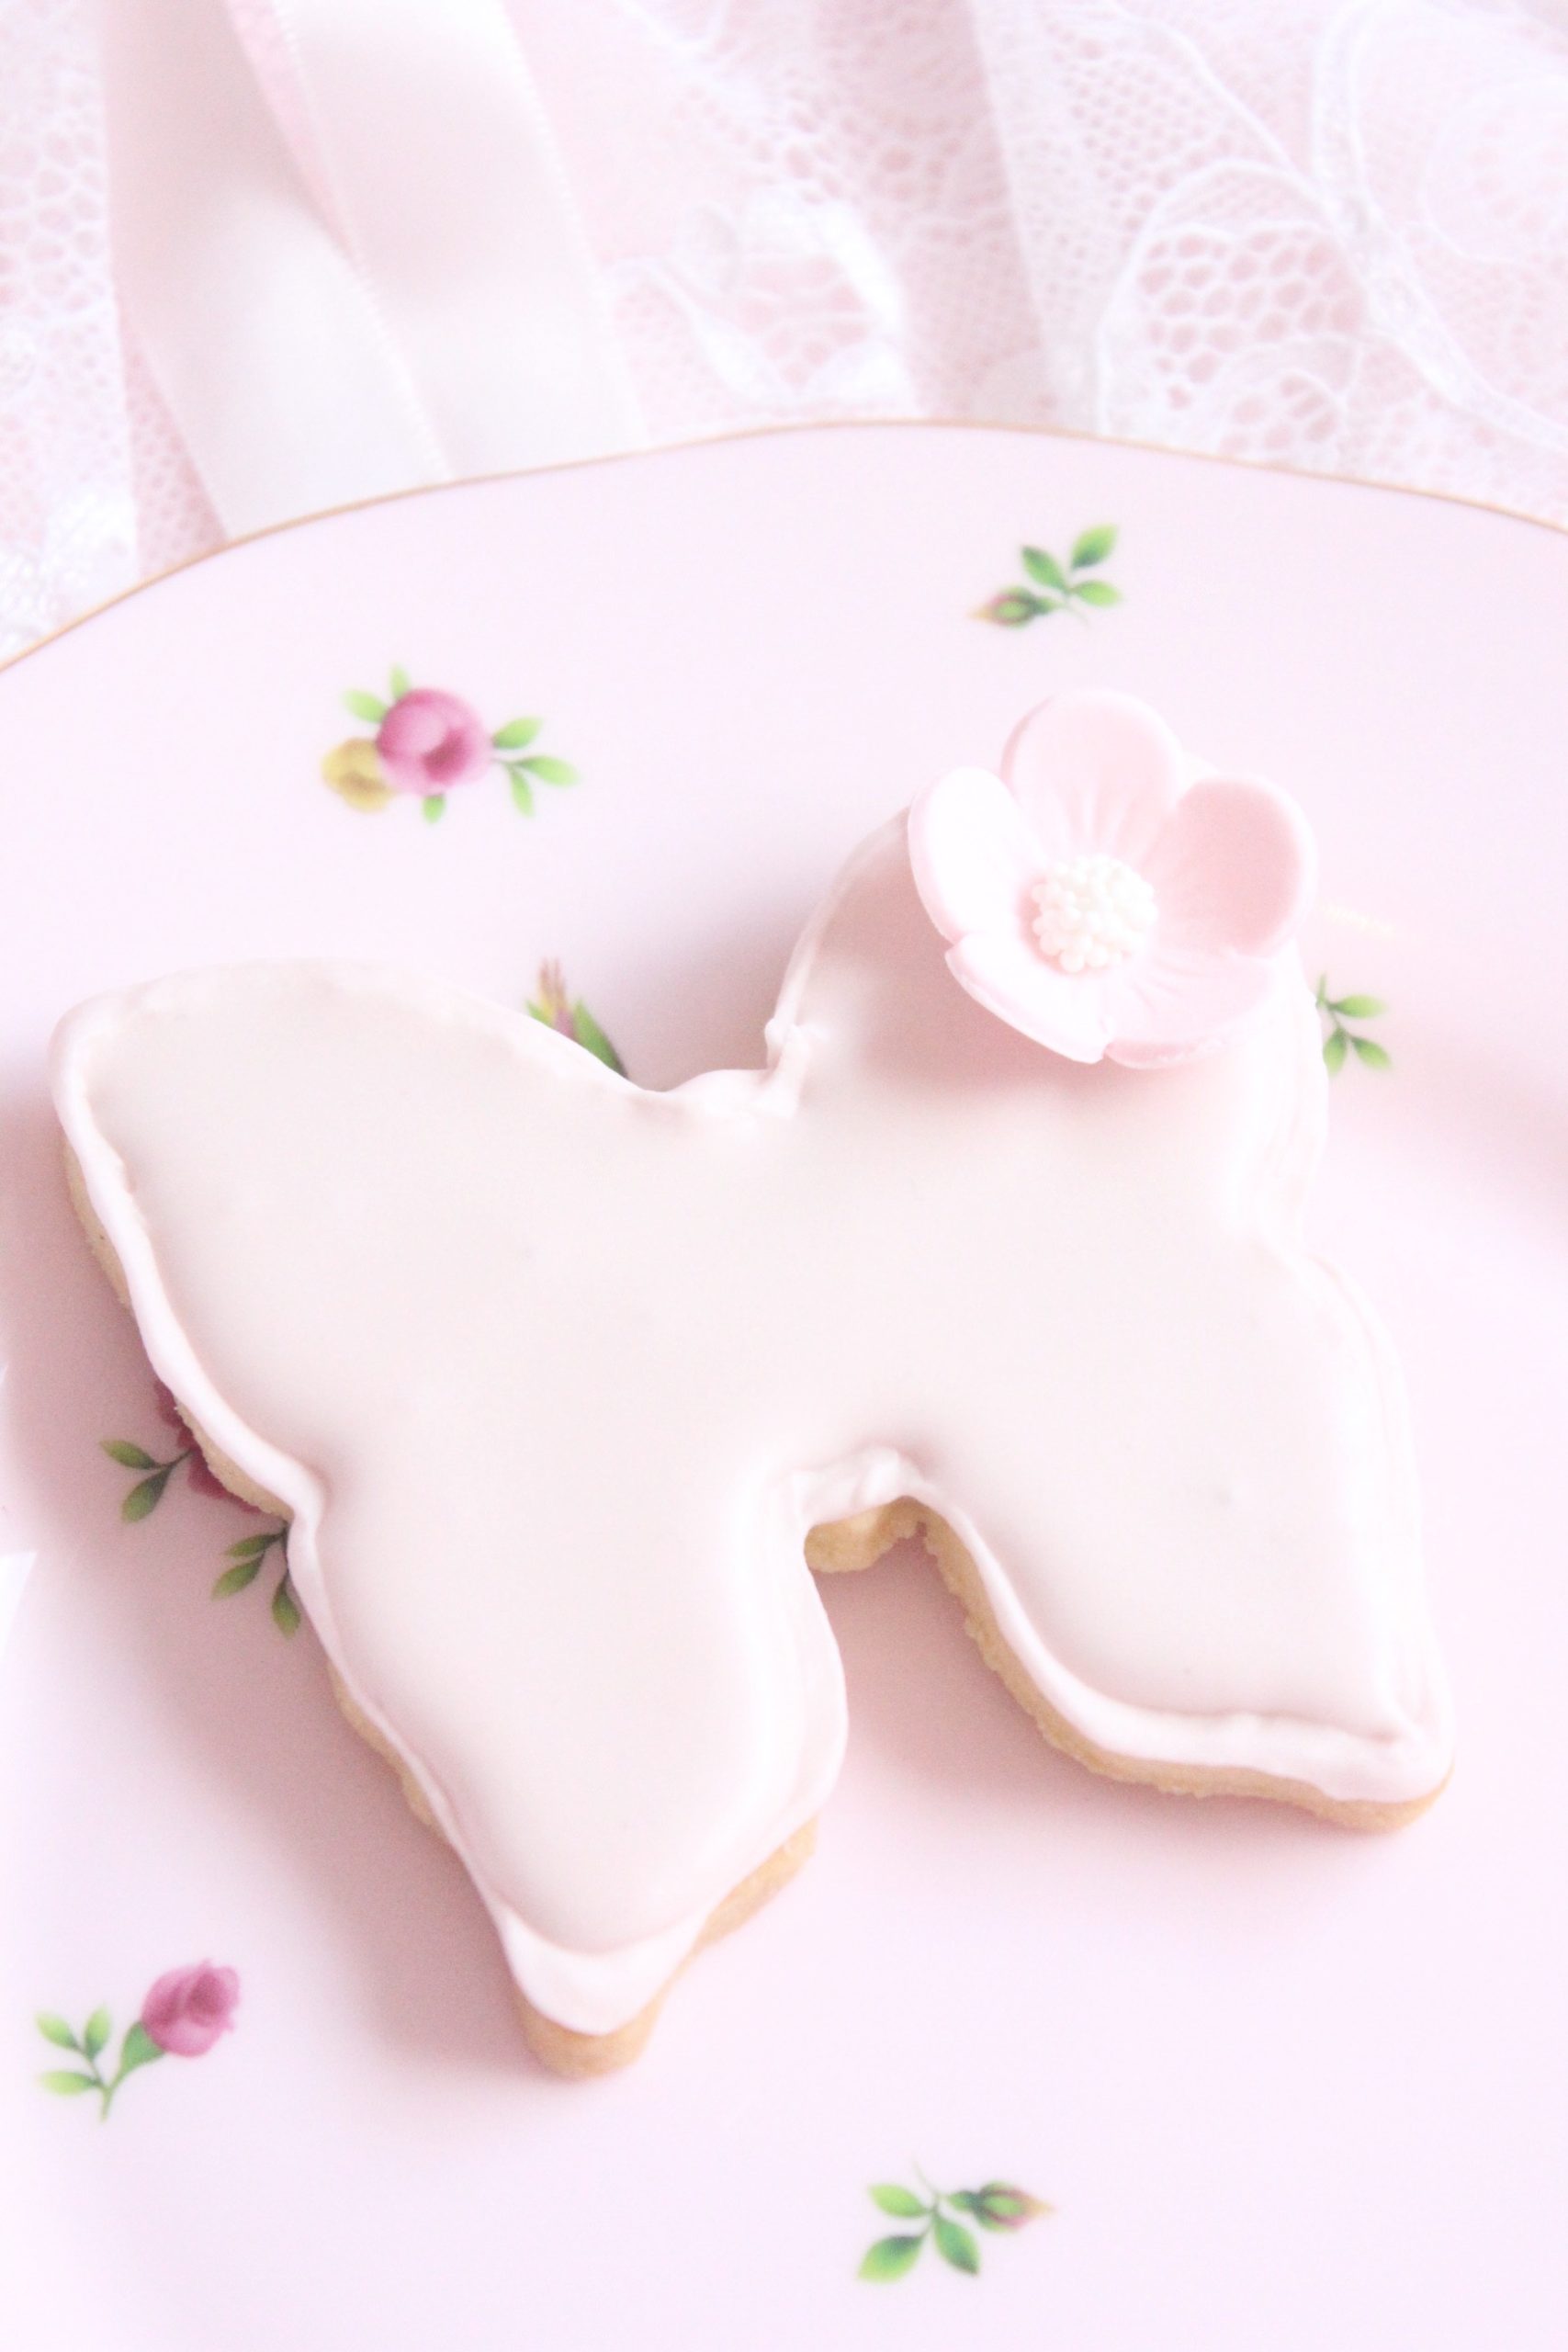
Line and flood-icing can be a difficult skill to master but if you keep practicing I know you will get there. If you want to know how to make these dreamy sugar cookies just keep on reading.
Ingredients:
For the vanilla sugar cookies:
200g unsalted butter, softened
200g caster sugar
1 tsp vanilla bean paste
1 medium egg, lightly beaten
400g plain flour (sifted)
Equipment for the icing:
2 piping bags
2 small bowls and tea spoons
a cocktail stick
For the line and flood icing:
2 egg whites
400g icing sugar
water
pink food colouring
Method:
For the vanilla sugar cookies:
- Pre-heat the oven to 175˚C and line a baking tray with greaseproof paper.
- Place the butter, sugar and vanilla bean paste into a bowl and cream together (do not overwork or the cookies will spread during baking.)
- Slowly pour the beaten egg into the mixture whilst whisking until well incorporated.
- Add the flour and mix on low speed until just combined.
- Gather the dough into a ball, wrap in clingfilm and chill for at least 30 minutes or until cool and firm.
- Knead the dough, place onto a floured surface and roll out until 5mm thick.
- Take your snowflake cookie cutters and cut out as many shapes as you desire.
- Place the cookies onto a baking tray lined with greaseproof paper and bake for about 6-10 minutes until the edges are golden brown.
- Allow to cool completely before decorating.
For the line icing:
- Place two medium egg whites into a large bowl and mix moderately (do not add water to this.)
- Weigh out your icing sugar and then sift into the egg whites. Start mixing slowly and then gradually raise to a higher speed.
- Once the icing sugar has dissolved into the liquid you can raise the speed on the electric whisk (mix for approximately 3 minutes.)
- Move the mixture into a small bowl and gradually add in small amounts of pink food colouring until you reach your desired shade of pink.
- Place your line icing into a piping bag (leave half for the flood icing.)
For the flood icing:
- To turn the rest of your line icing into flood icing you need only add 1-2 tsps of water (the consistency should only be slightly runnier than the line icing.)
- Move the flood icing into another piping bag or a squeeze bottle.
Decorating with line icing:
Line icing provides a wall so that your flood icing doesn’t spill over the edges of your biscuits.
- To start, you will need to outline the edges of each biscuit; you can do this by taking your piping bag filled with line icing.
- Make a very small incision at the end of your piping bag so that you can create neat lines.
- Hold the bag 1-2cm above the biscuit, so you can manoeuvre above the biscuit without breaking any lines.
- Start piping lightly and let the icing softly fall onto the biscuit and start drawing your outline.
- Wait 10 minutes for the icing to completely dry before using your flood icing.
Decorating with flood icing:
Flooding is when you apply the runnier icing into the small area you have created inside the lines of your biscuit.
- Take the piping bag filled with flood icing and snip a little bit off the tip of the icing bag in order to allow more icing to emerge when squeezed.
- Touch the edge of the lined icing with the flood icing and completely fill the gaps.
- Shake the biscuit and use a cocktail stick to perforate any air bubbles that may have formed.
- Wait until the biscuit is completely dry until adding any decoration.
- For the snowflake design I followed this tutorial.

I hope this post can inspire you to get into your kitchen and bake something sweet! Practicing a new skill can be so rewarding. I’d love to know what you’ve been baking recently?
I’m sending lots of love to you all,

Youtube|Instagram|Twitter|Pinterest


