“Sophie’s Princess Patisserie is the perfect place for angels who wish to indulge in decadent delights fit for Marie Antoinette...”

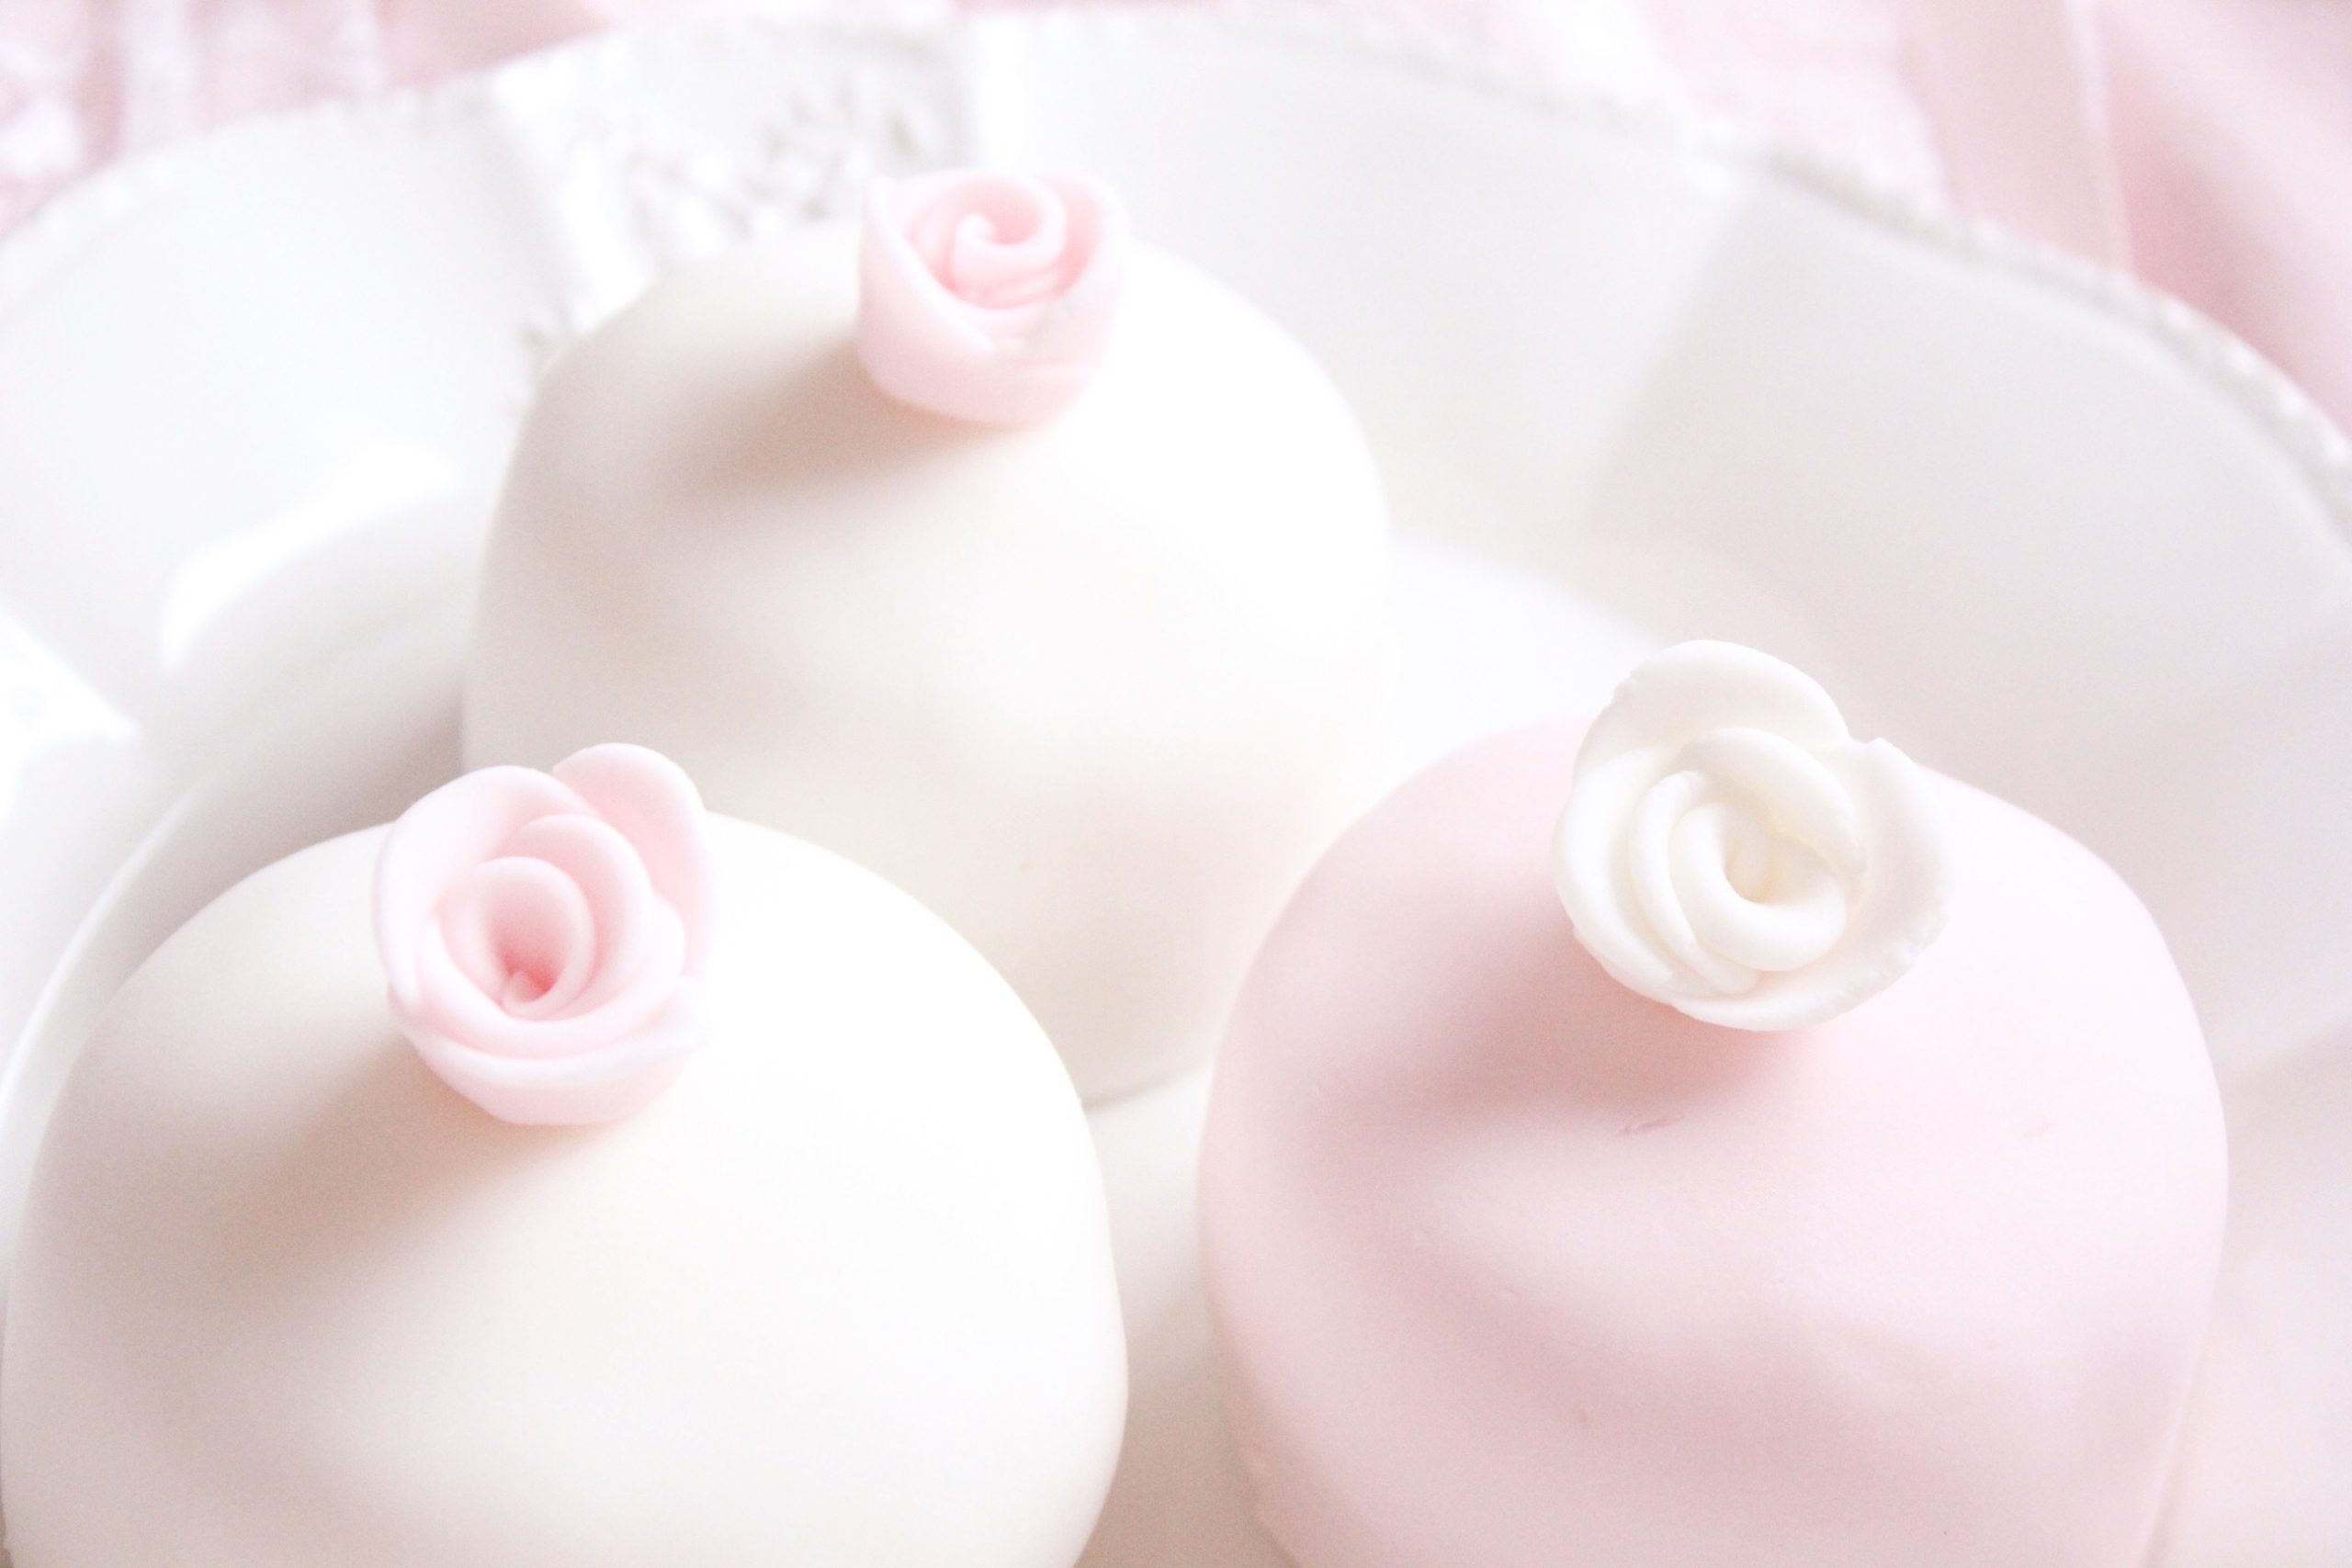
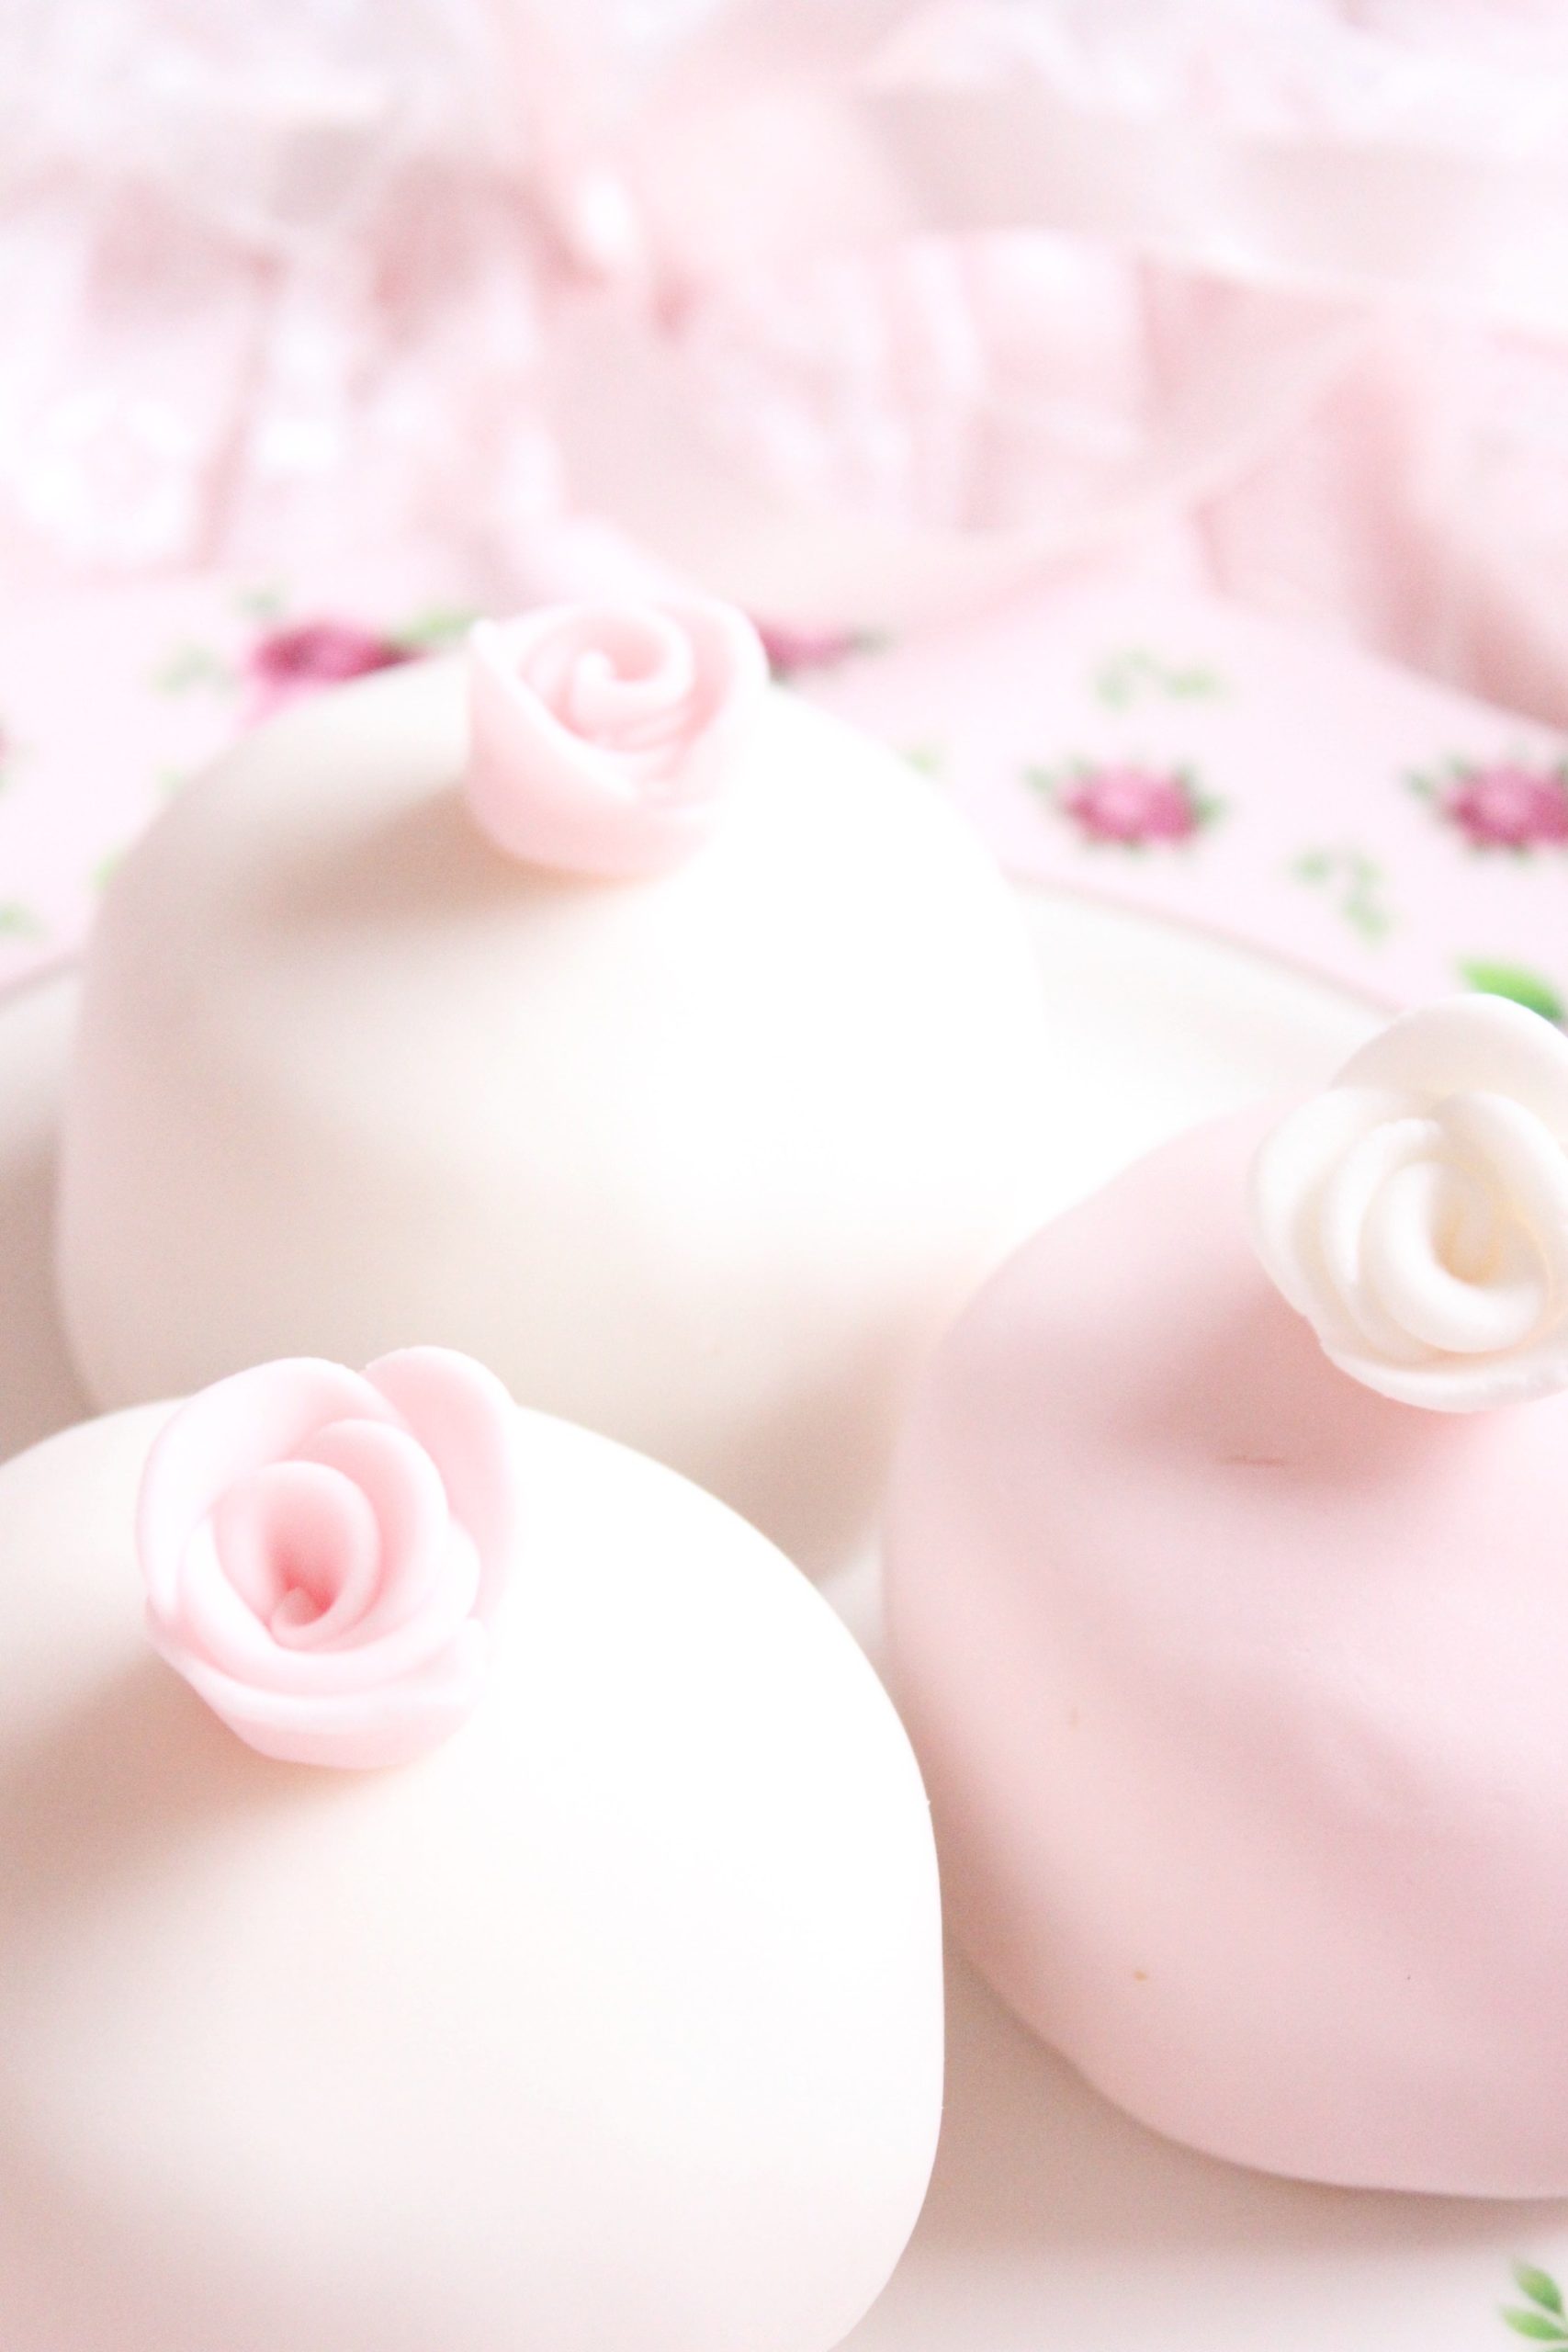
Hello sweet petals, today I’m sharing a princess-inspired which would be wonderful for a spring afternoon tea.
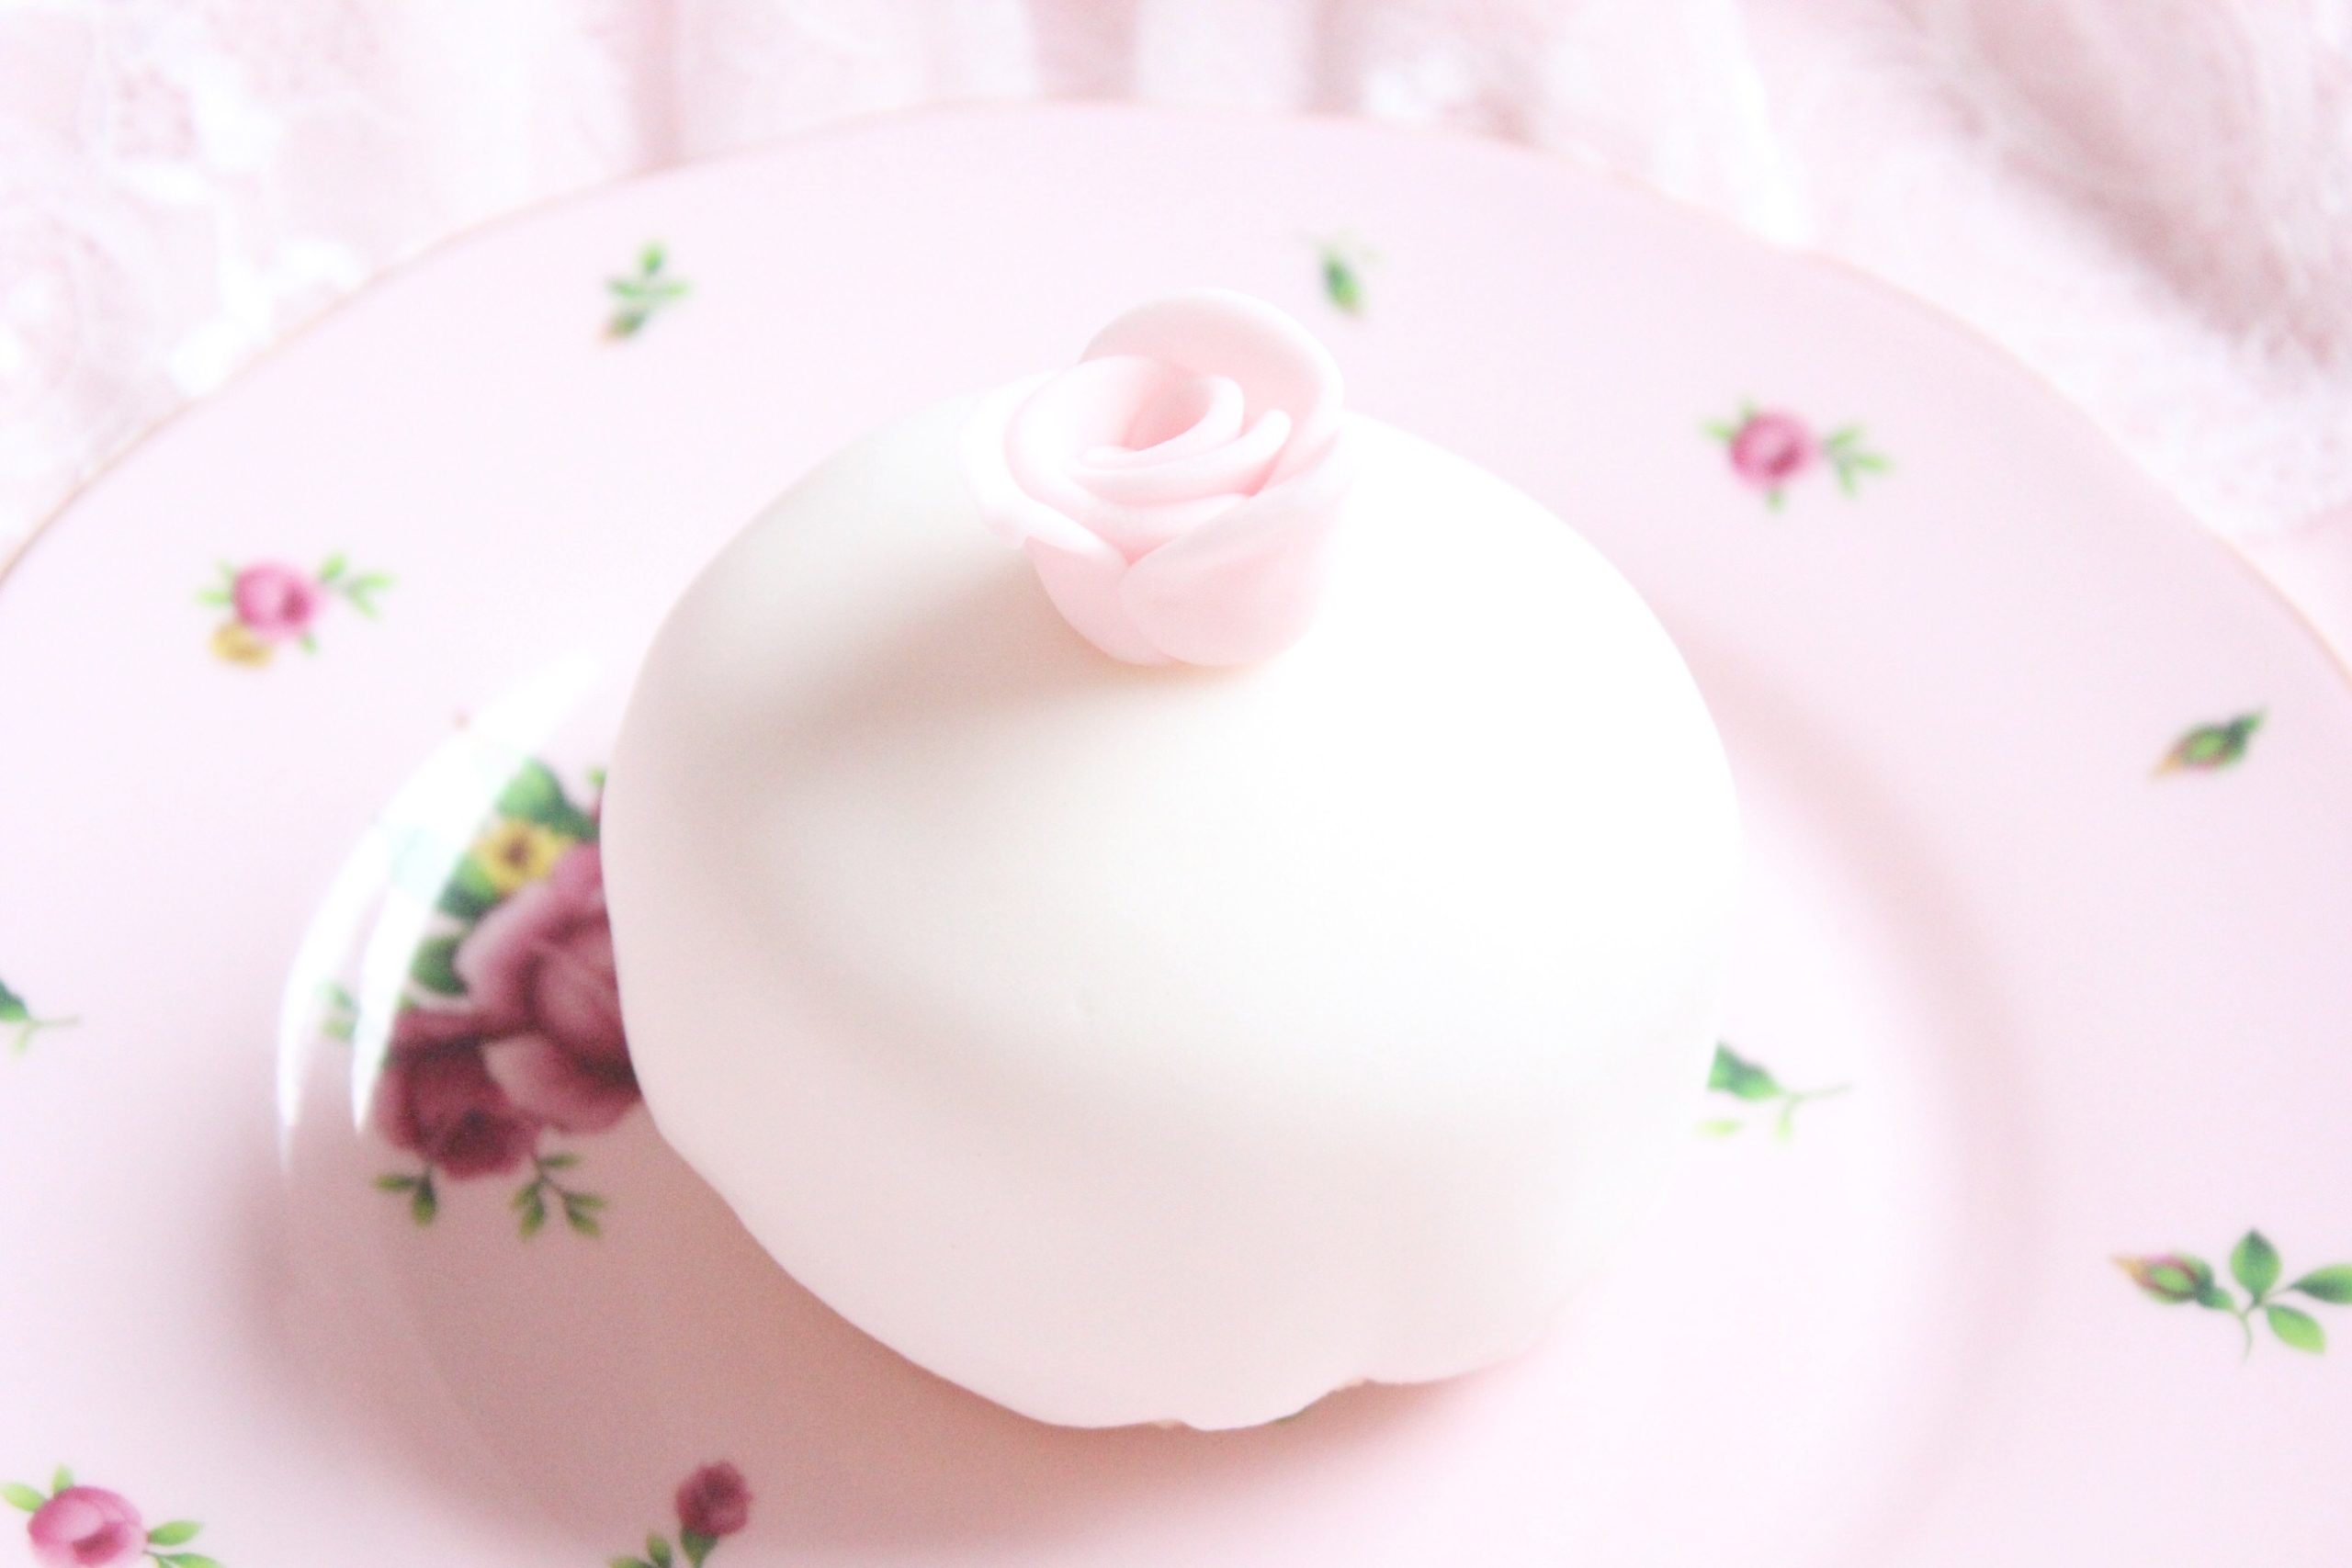
Manuela Kjeilen is one of my baking inspirations; everything she creates looks as though it has been crafted by woodland fairies. Whilst reading the Love, Manuela recipe book I spotted the mini Swedish Princess Cakes…

The Swedish princess cake or Prinsesstårta is a traditional Swedish layer cake consisting of layers of sponge cake, jam, pastry cream and a thick-domed layer of whipped cream.

Traditionally the cake is covered in a green marzipan, dusted with icing sugar and finished with a fondant rose.
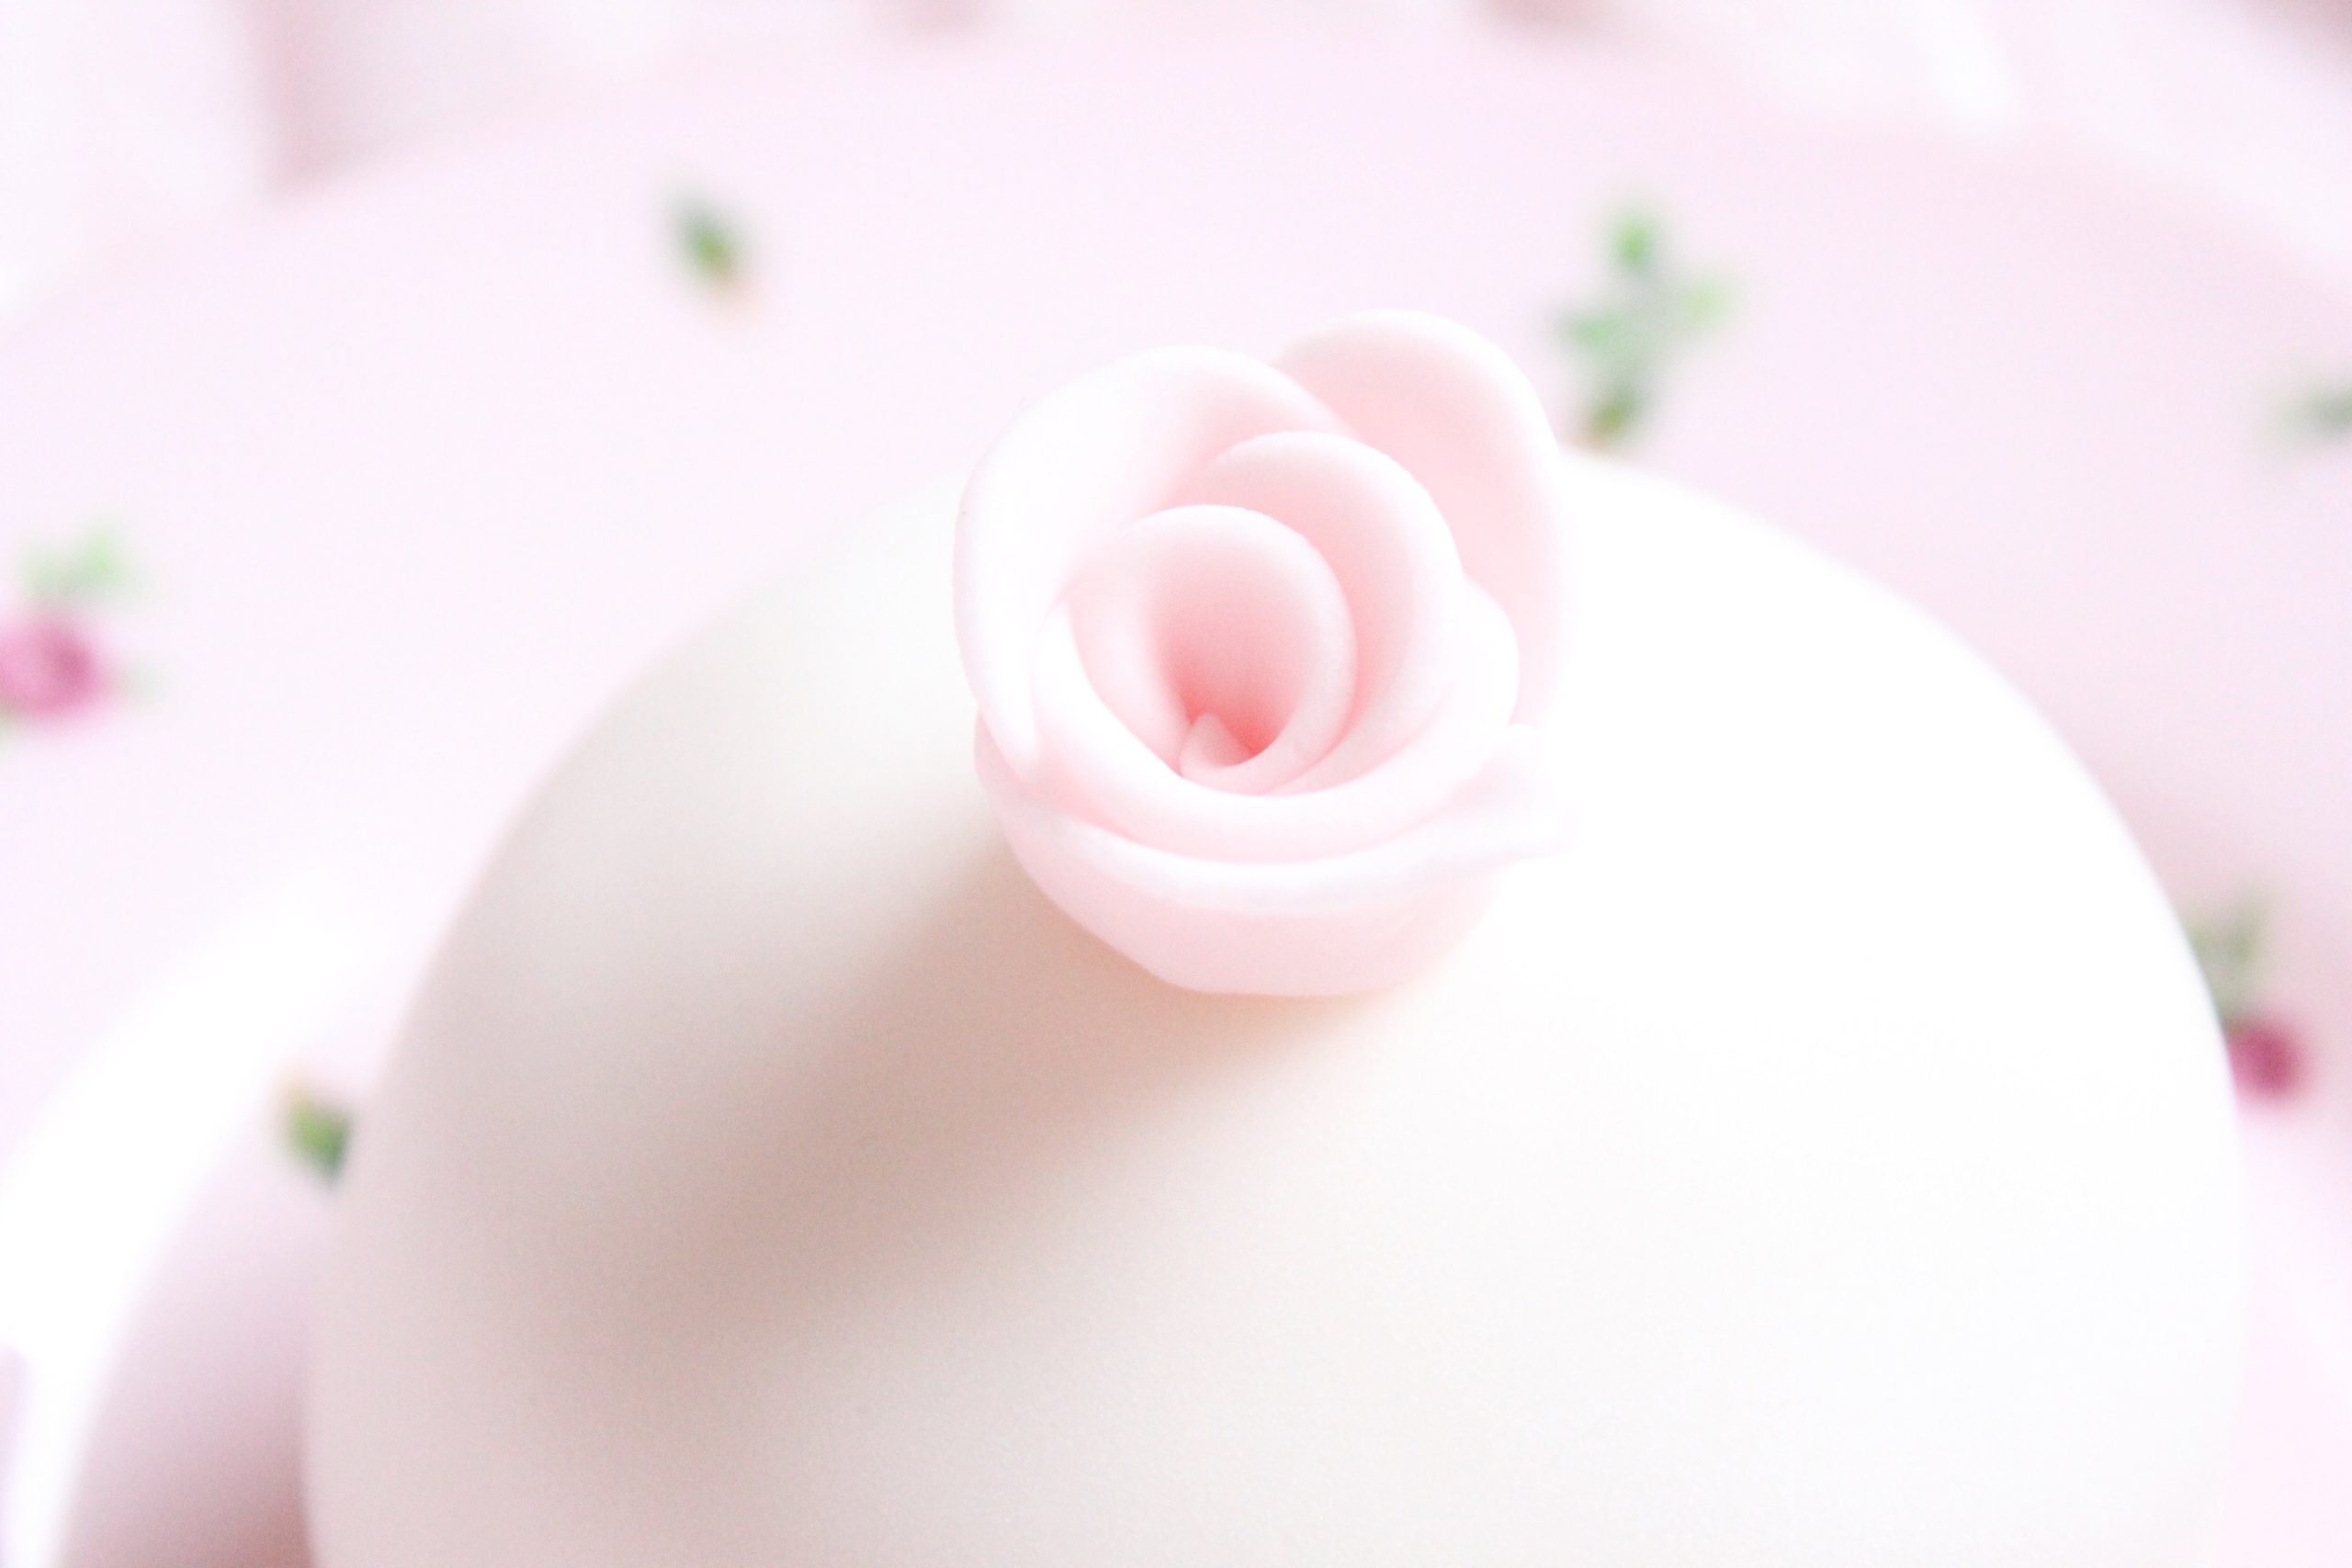
It was created by Jenny Åkerström who taught the three daughters of Prince Carl Duke of Västergötland. The three princesses were fond of this delicate cake which is why it became known as the Prinsesstårta.
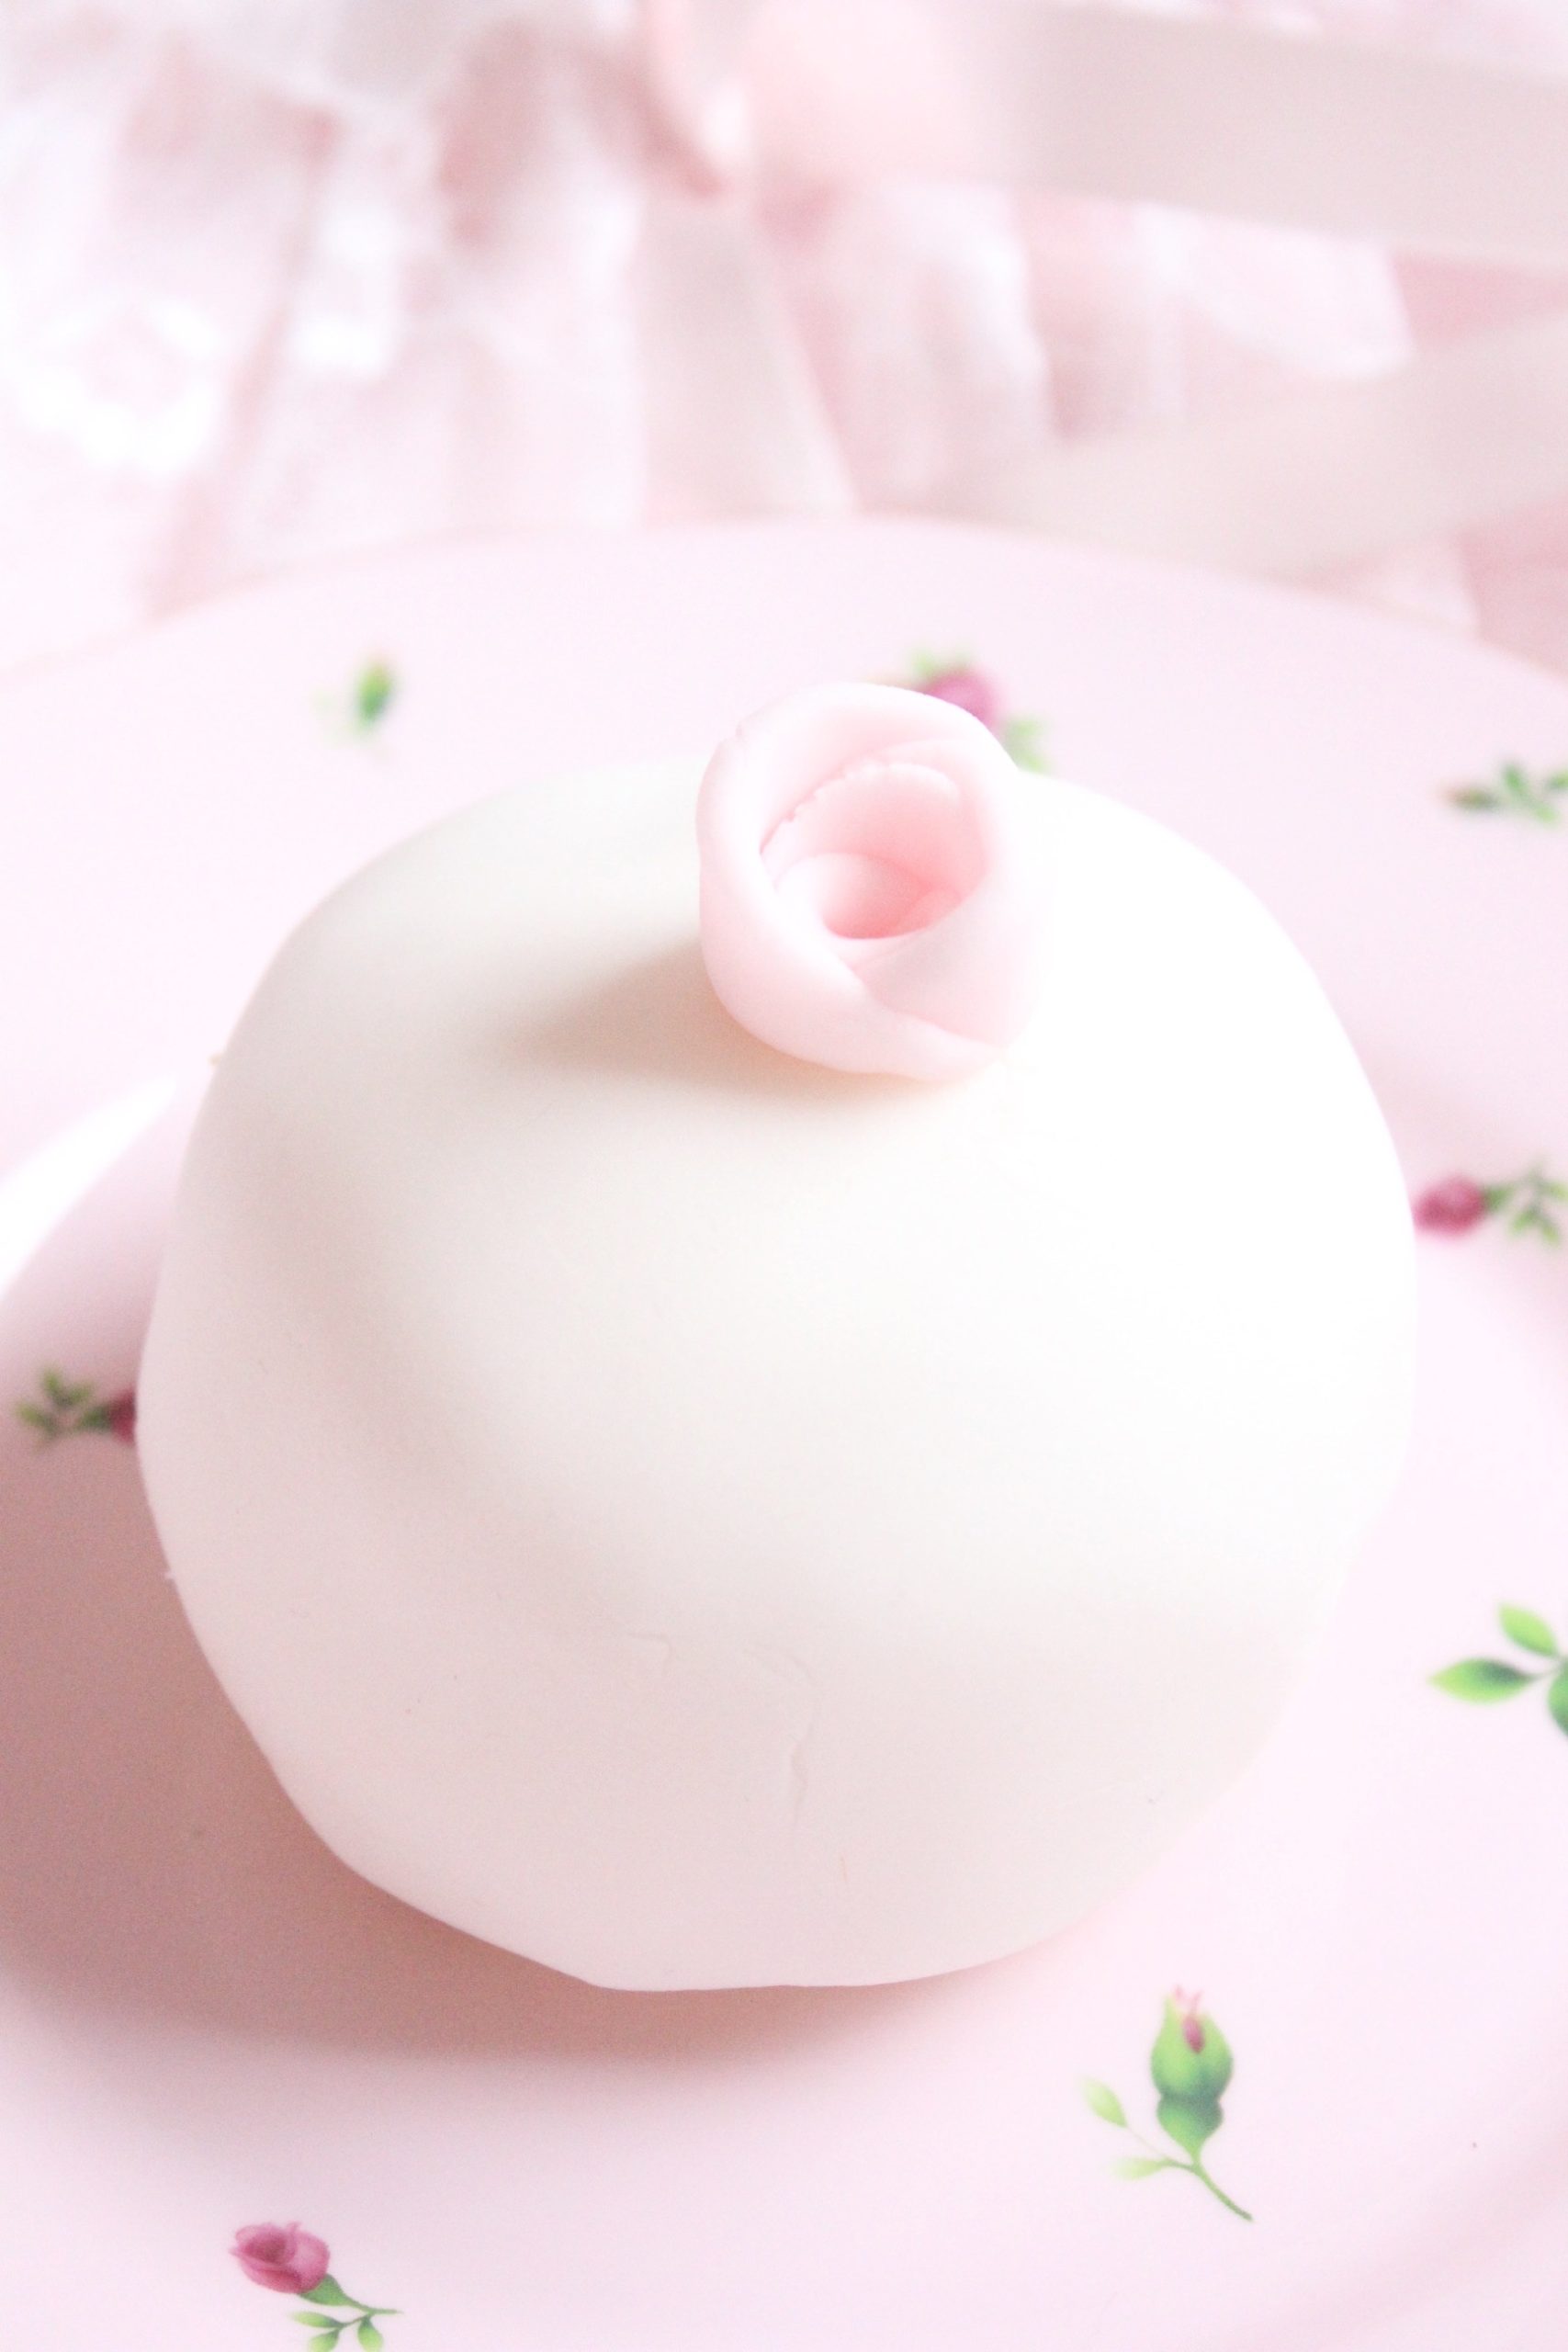
If you do not have Manuela’s book, you can find the recipe for the classic cake here.

However, I decided to create miniature versions of this beautiful cake using my own modified recipe.
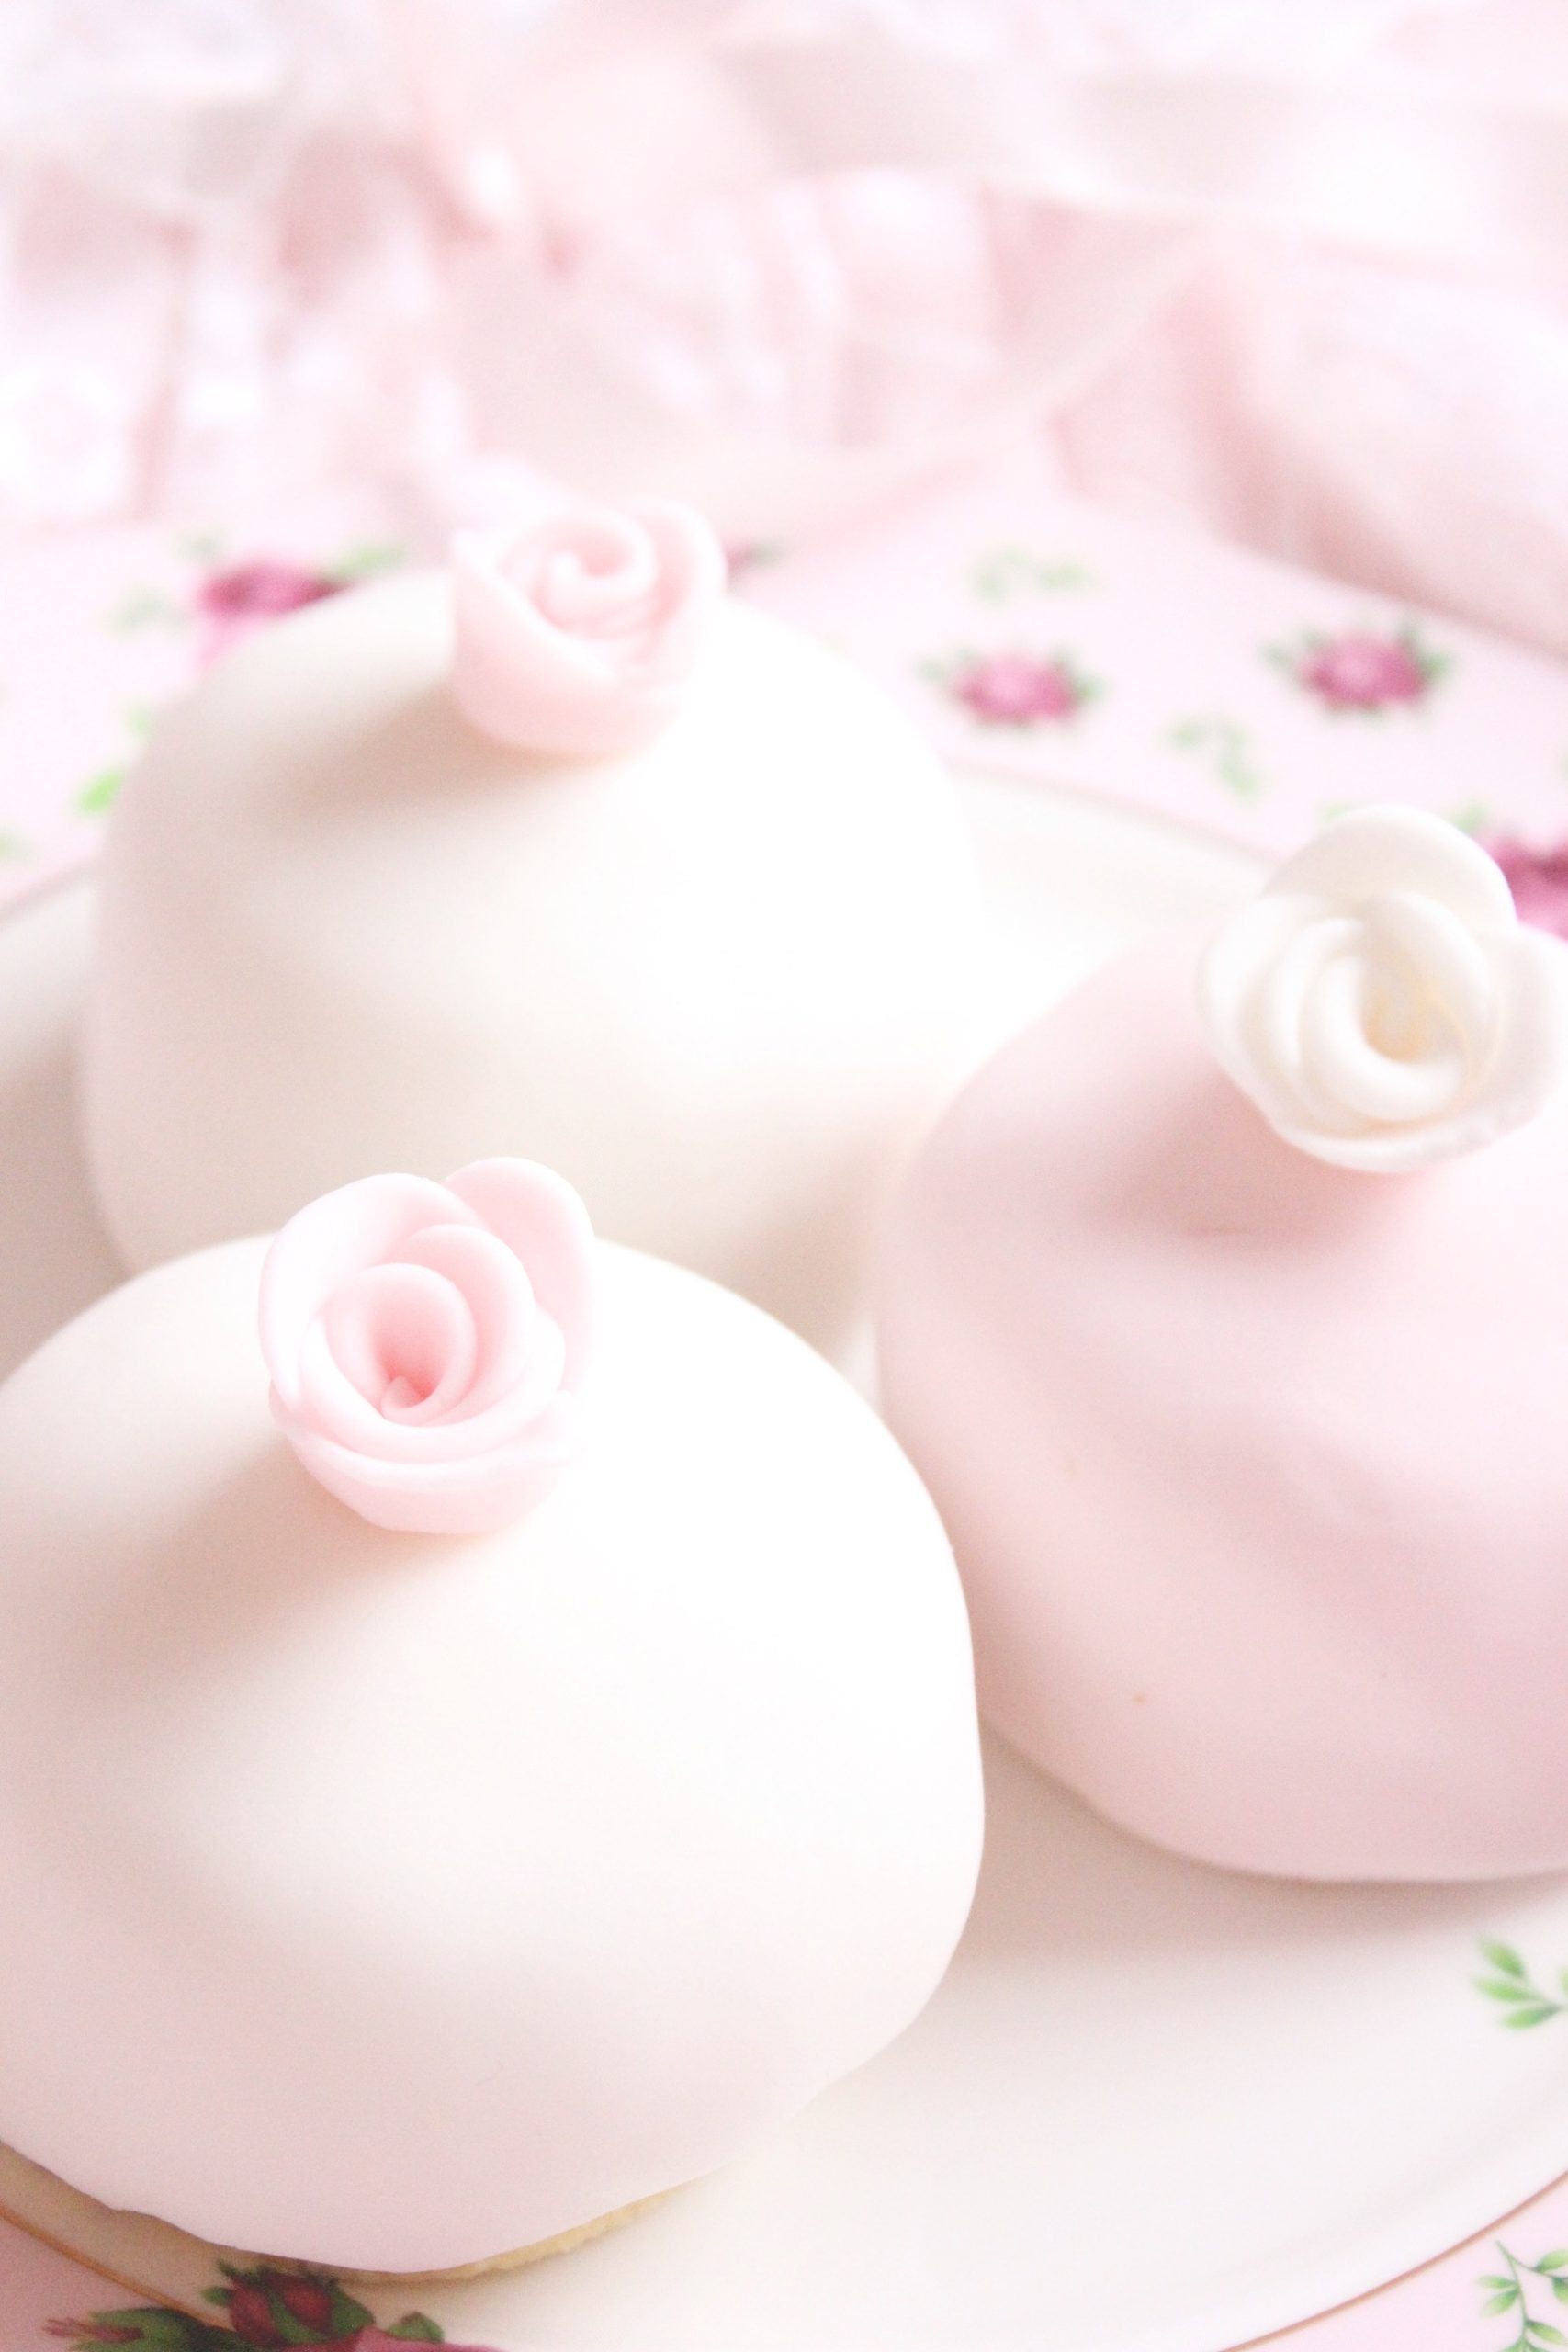
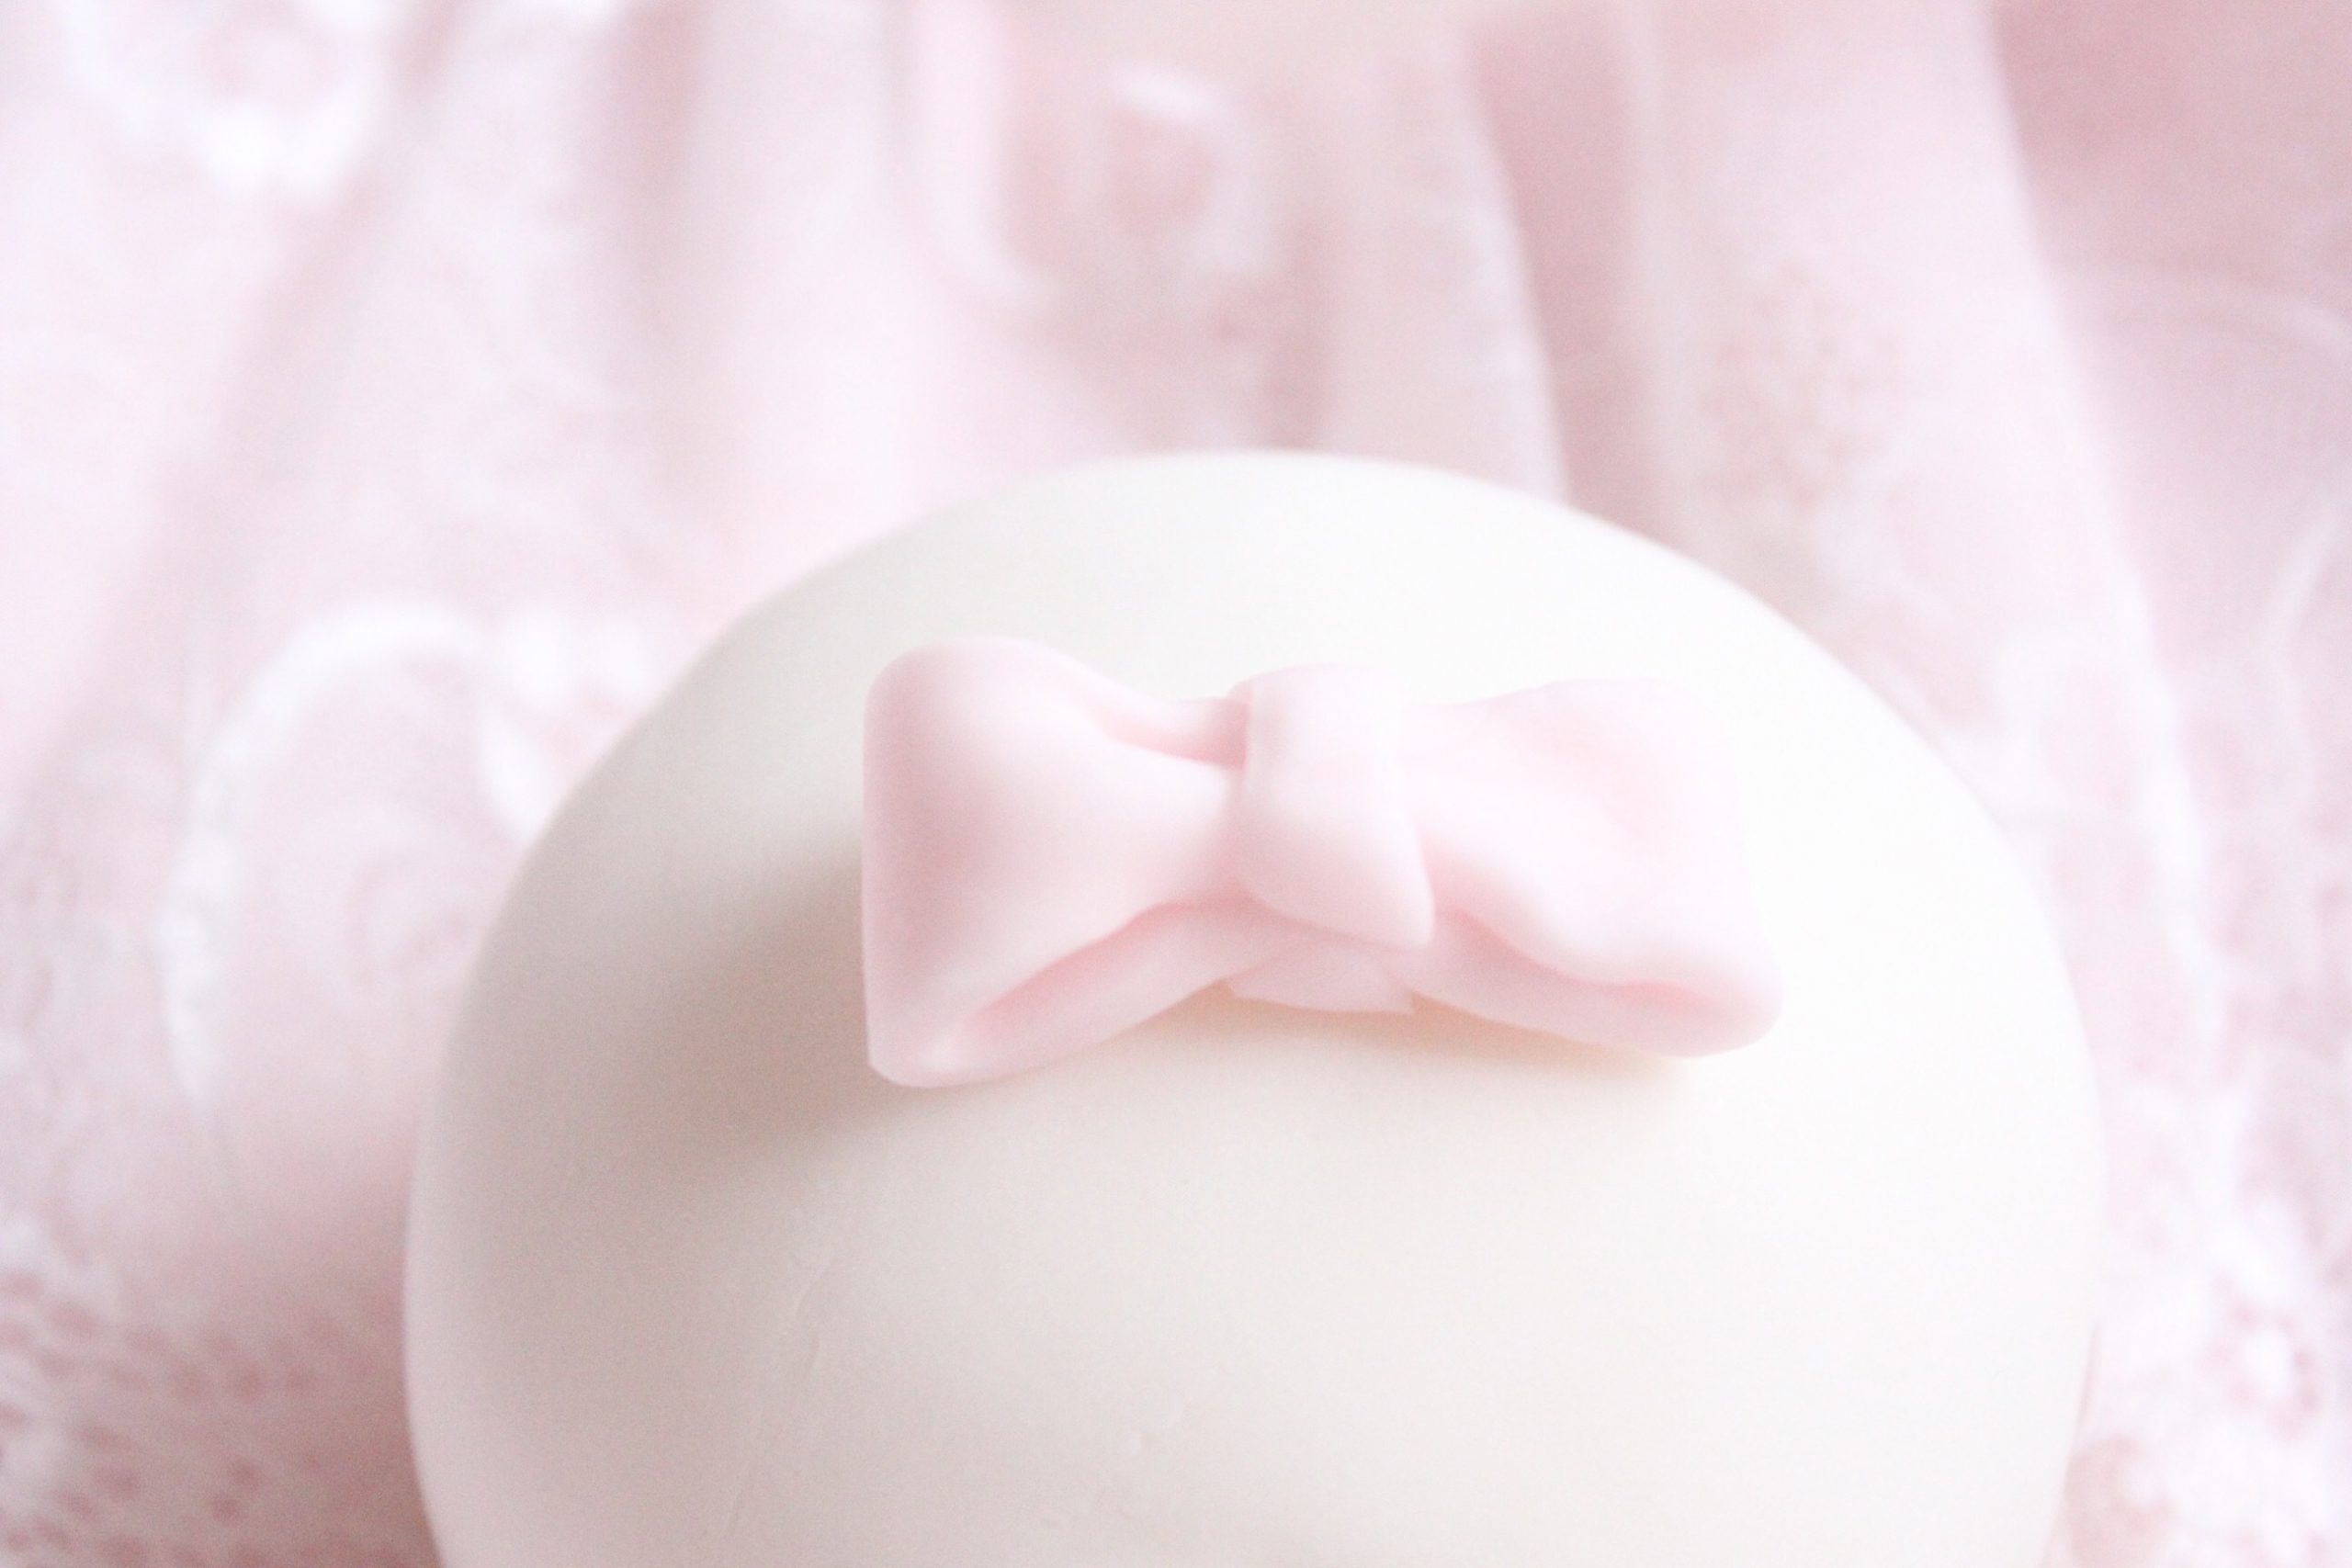
Some of the methods were difficult to replicate so instead of a Norwegian sponge, I followed my Swiss roll recipe.
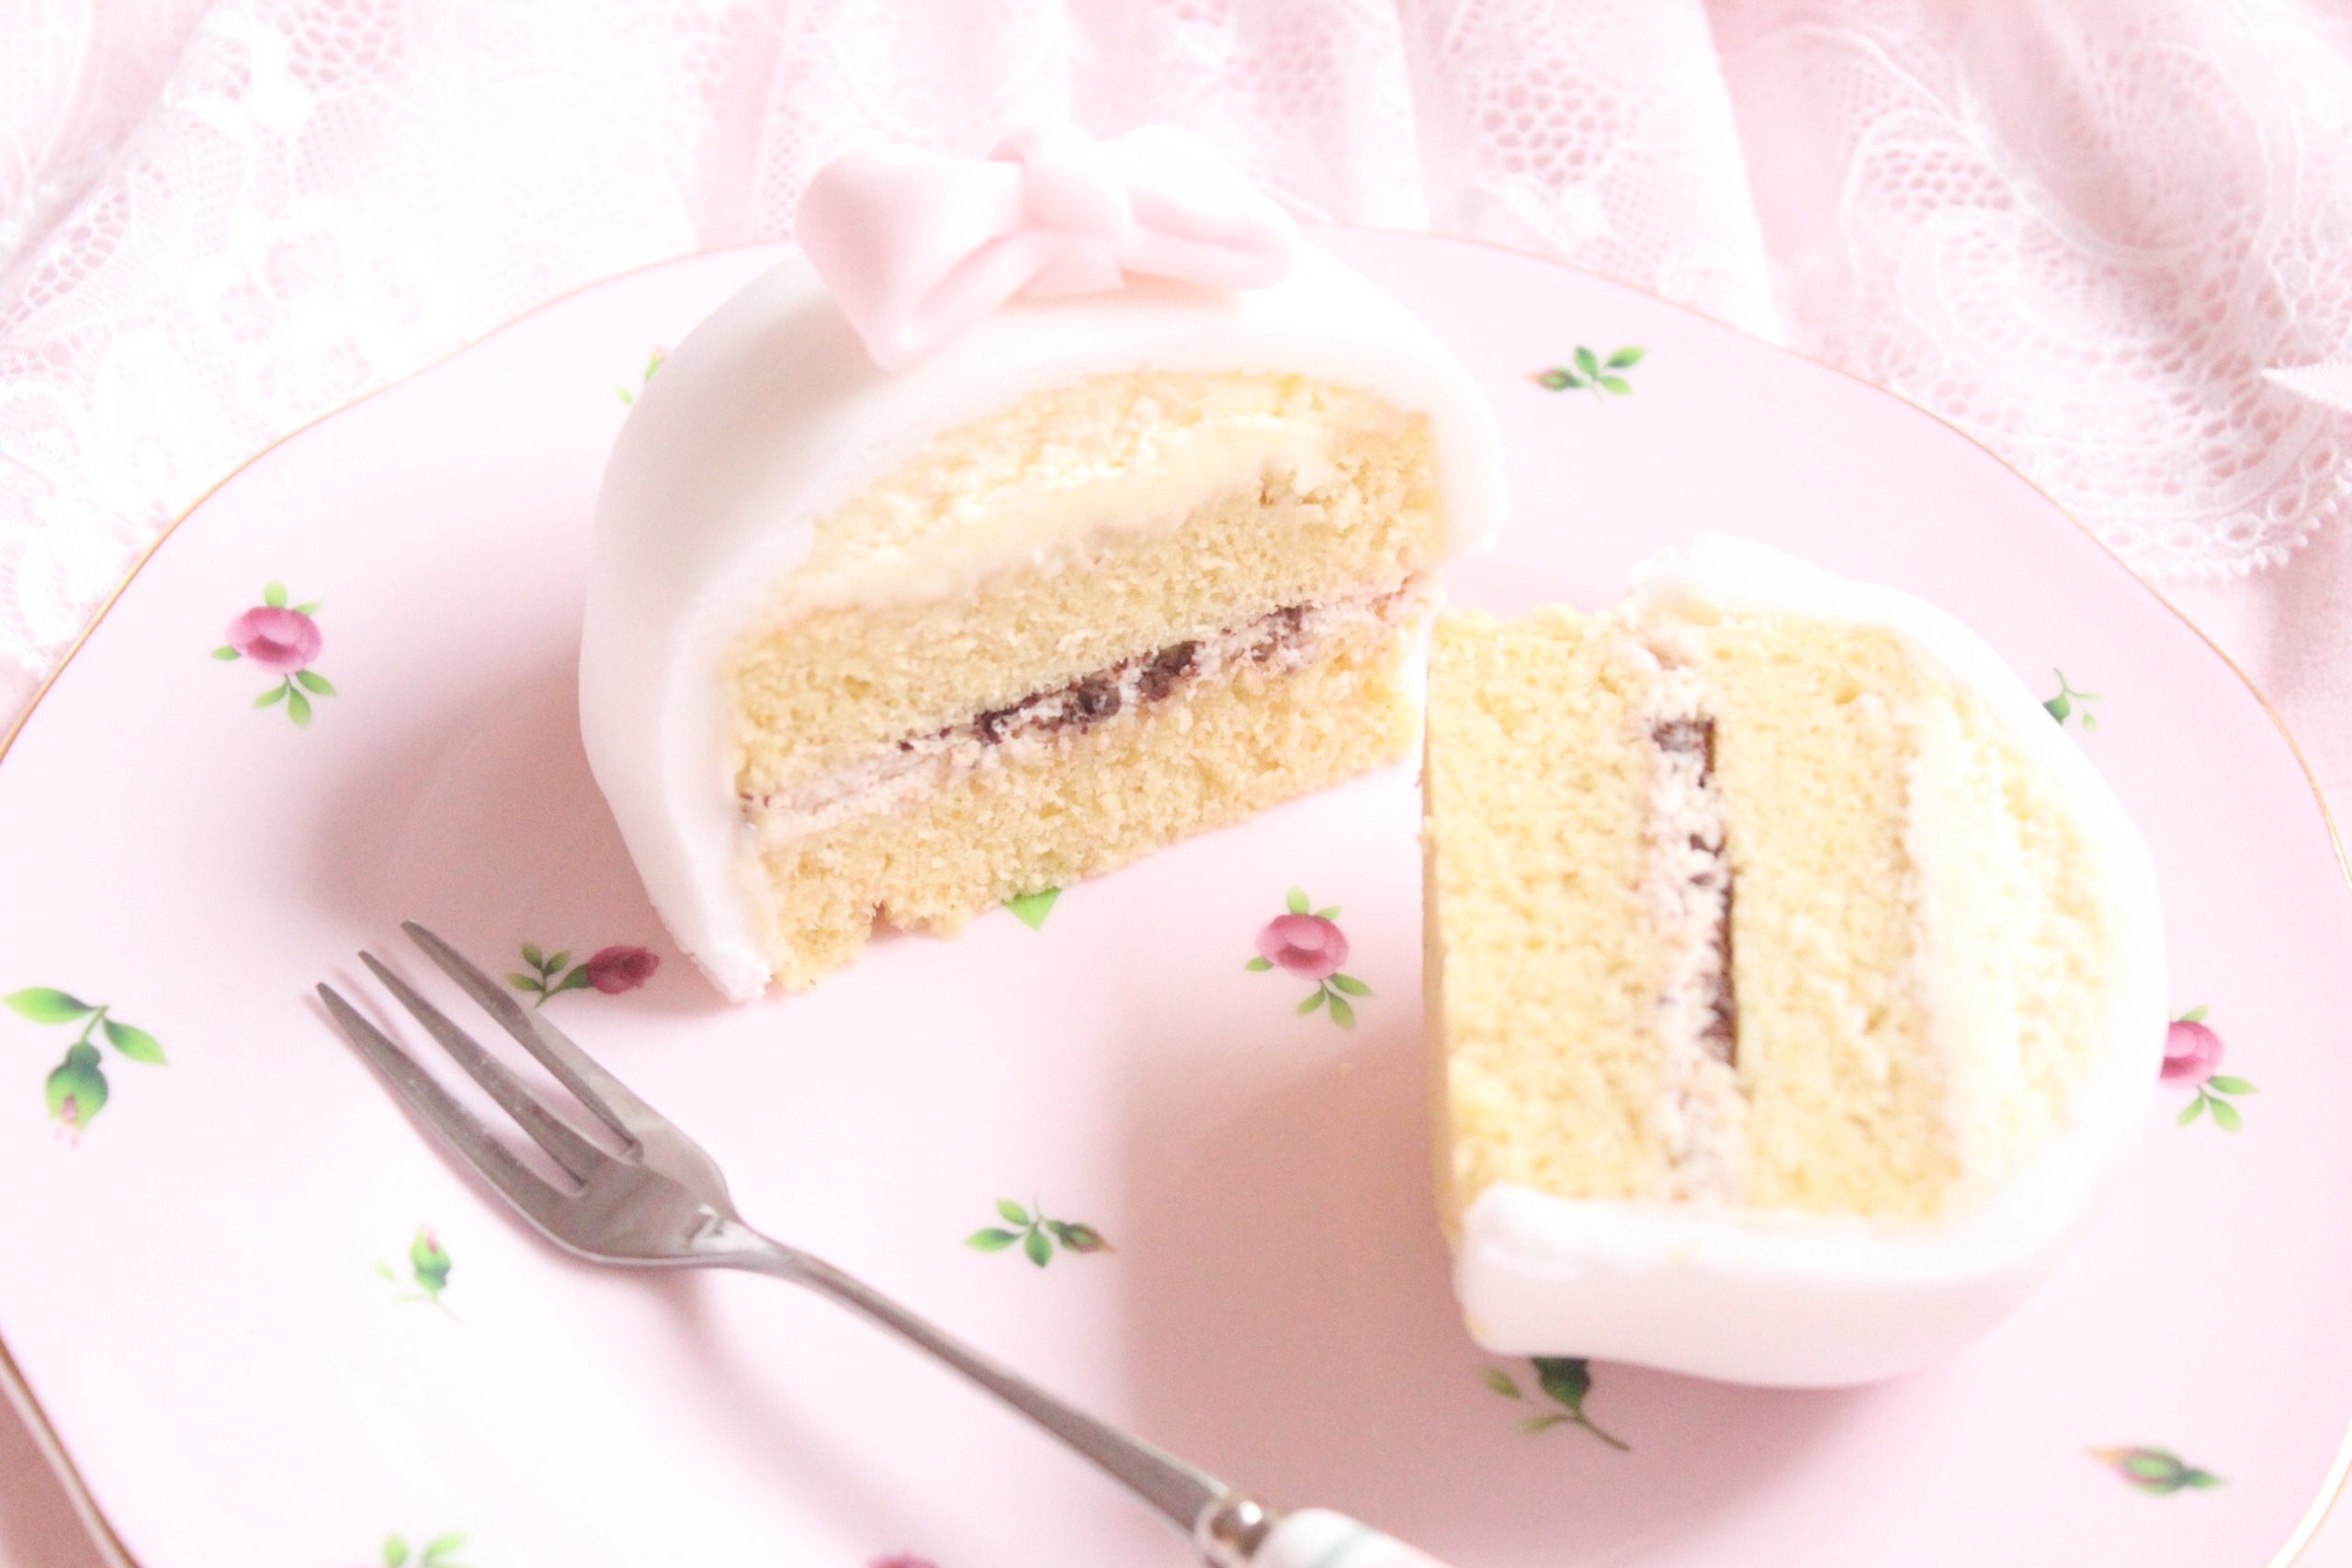
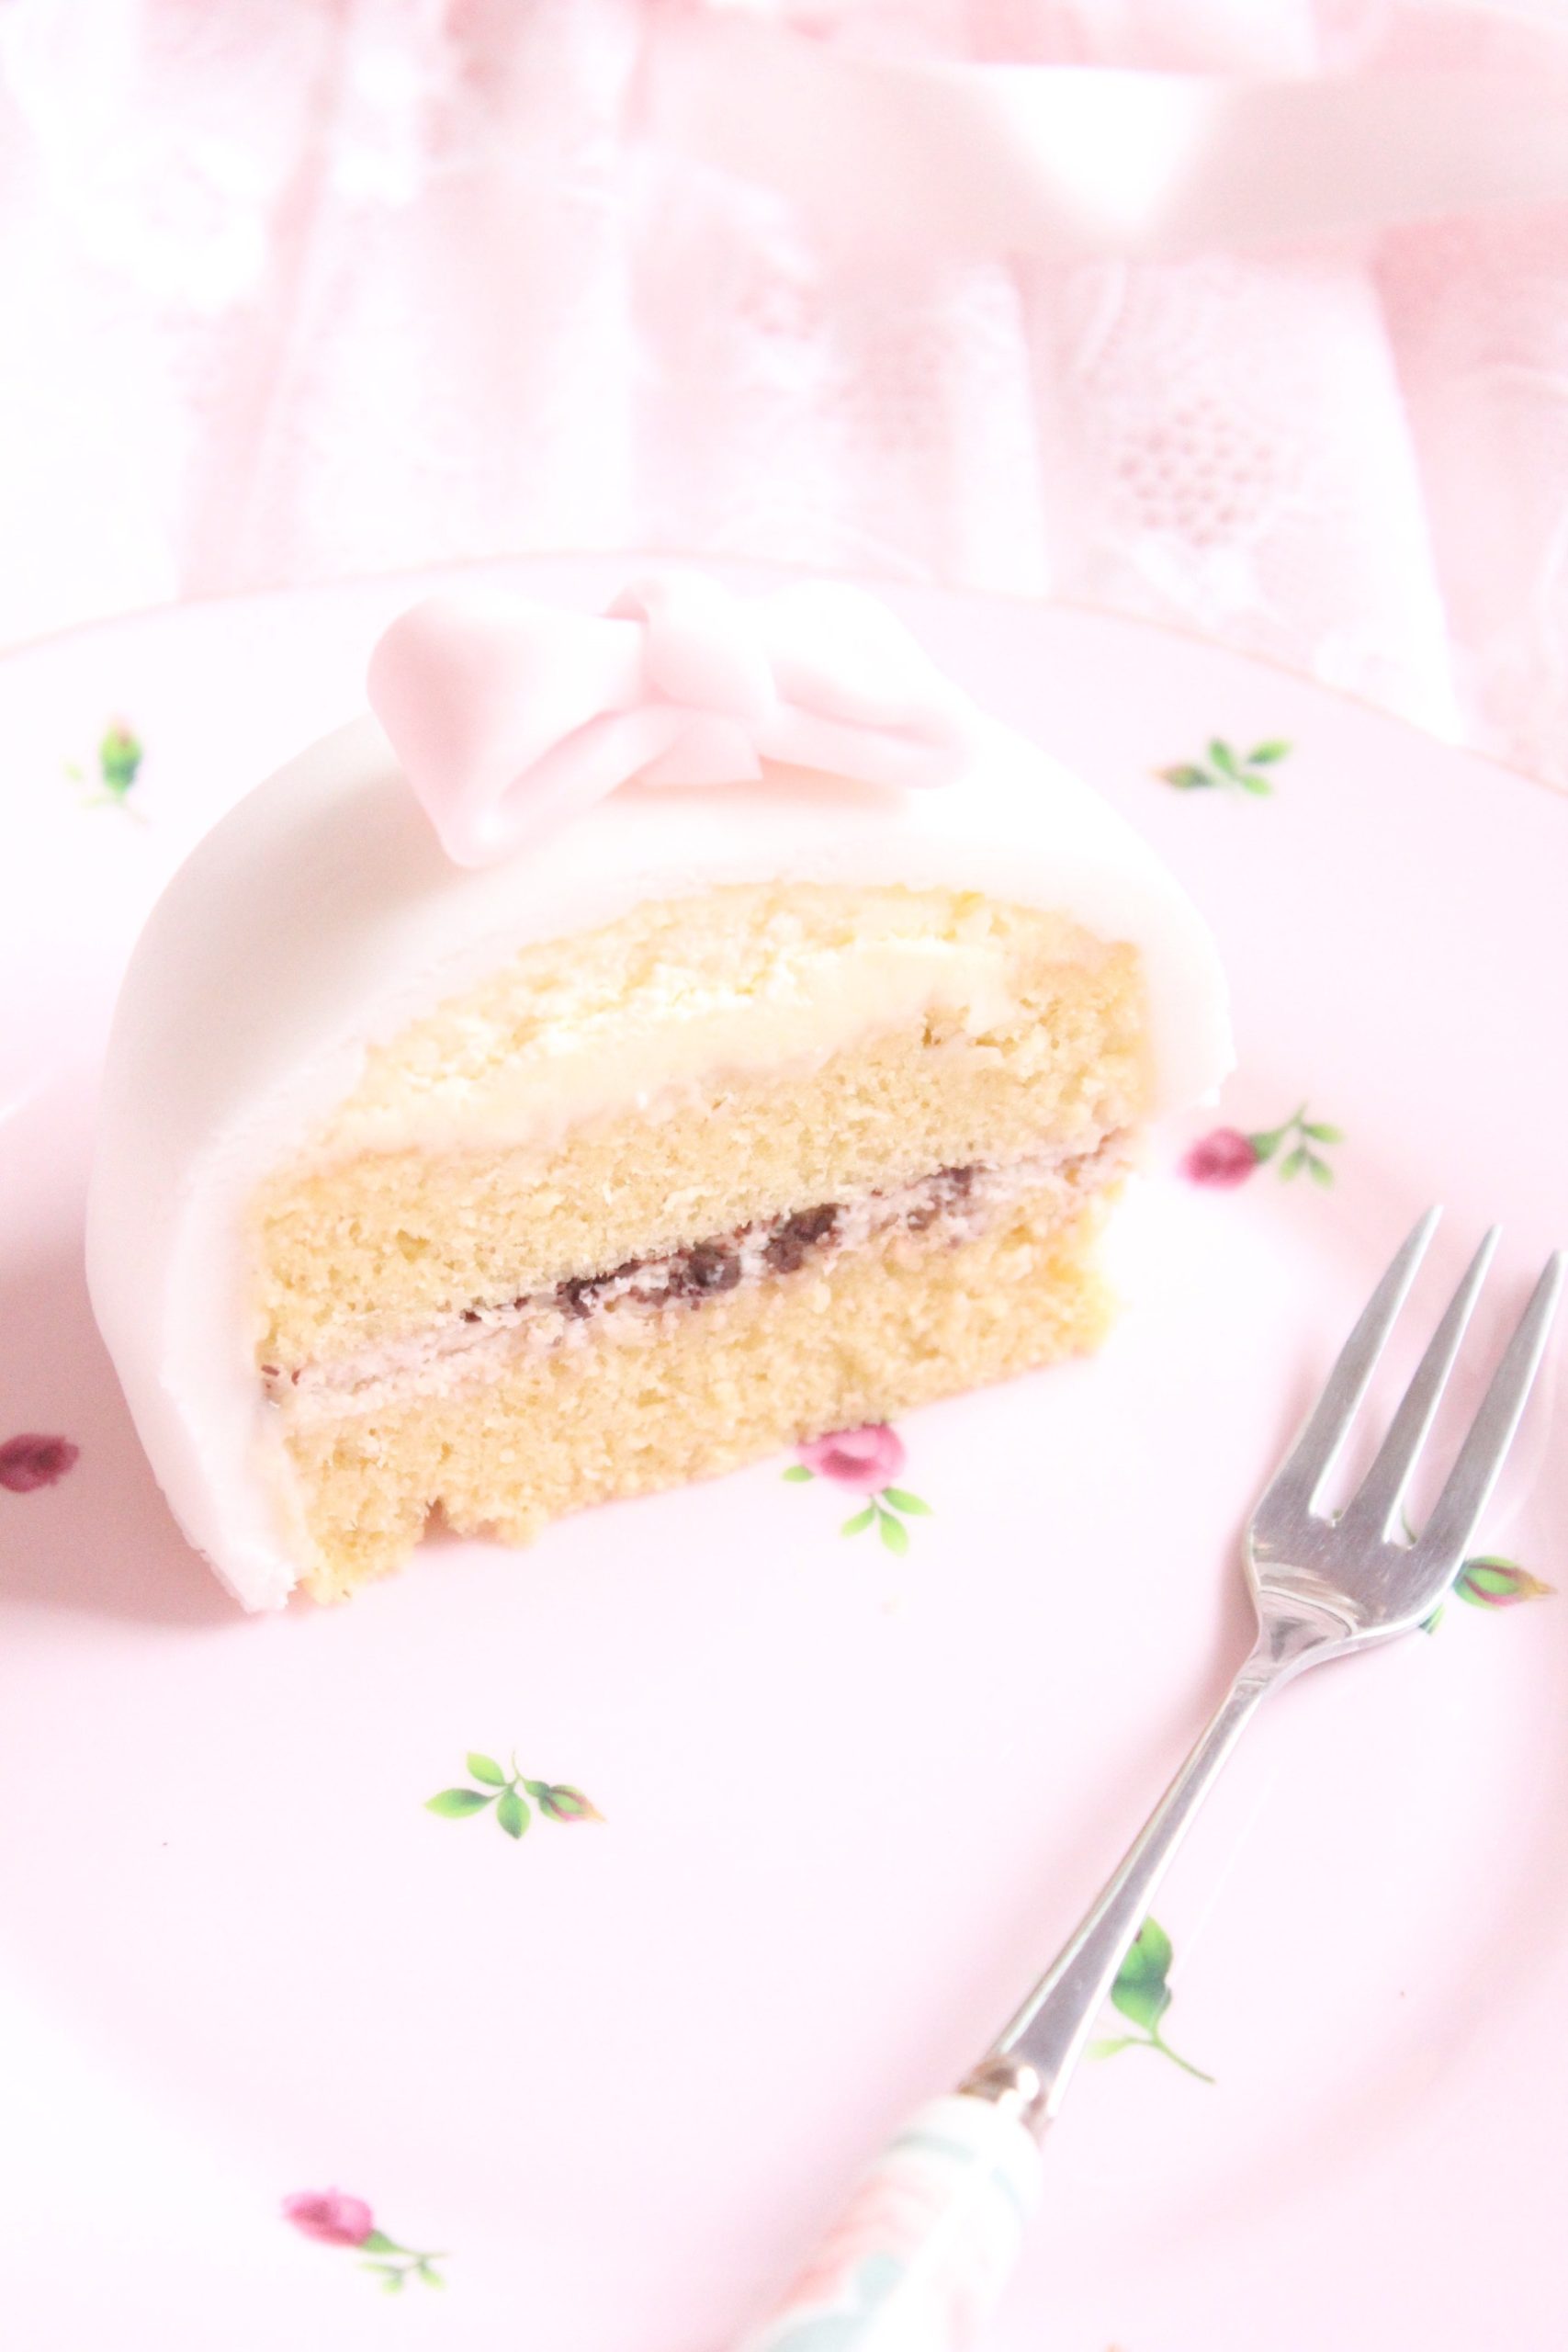
I also decided to leave the diplomat cream and layered the cake with whipped cream, raspberry jam and dark chocolate. I used a similar recipe for my Pretty Pink Pumpkin cakes which I created in Autumn for Halloween.

Ingredients:
For the swiss roll sponge:
6 eggs
175g golden caster sugar
175g self-raising flour
50g butter (melted)
For the filling:
300ml double cream
100g grated dark chocolate
raspberry jam
For the decoration:
pink fondant
white fondant

Method:
For the swiss sponge:
- Pre-heat the oven to 200˚C. Line a 27 x 40 cm Swiss roll tin with non-stick baking parchment.
- Using an electric whisk, mix the eggs and sugar together until light and fluffy (this can take 5 minutes.)
- Fold in the flour and once this is complete, gradually fold in the melted butter.
- Pour the mixture into the tin (I only needed to use half of my mixture) and bake for 12-15 minutes until pale, but cooked and springy in the middle.
- Transfer the baking tray to a wire rack to cool for at least 5 minutes, then carefully turn it upside down, remove the parchment paper and allow to cool completely before you assemble the cake.
- Take a medium sized cookie cutter and cut out twelve circles.

Assembling the layers:
- For the first layer, gently apply the raspberry jam.
- Once you have done this, add the whipped cream on top ~ make sure you cover the sponge entirely and finish by sprinkling some chocolate shavings.
- Place the second sponge circle on top and repeat. Once you reach the last layer, you can place the final sponge circle on top.
- Add some more cream on top (more than the first layer) and using an offset spatula, make the cake round on top with the cream and cover the entire cake with the rest of the cream (repeat this for the next four cakes)

The Fondant Decoration:
- Lightly dust the work surface with powdered sugar.
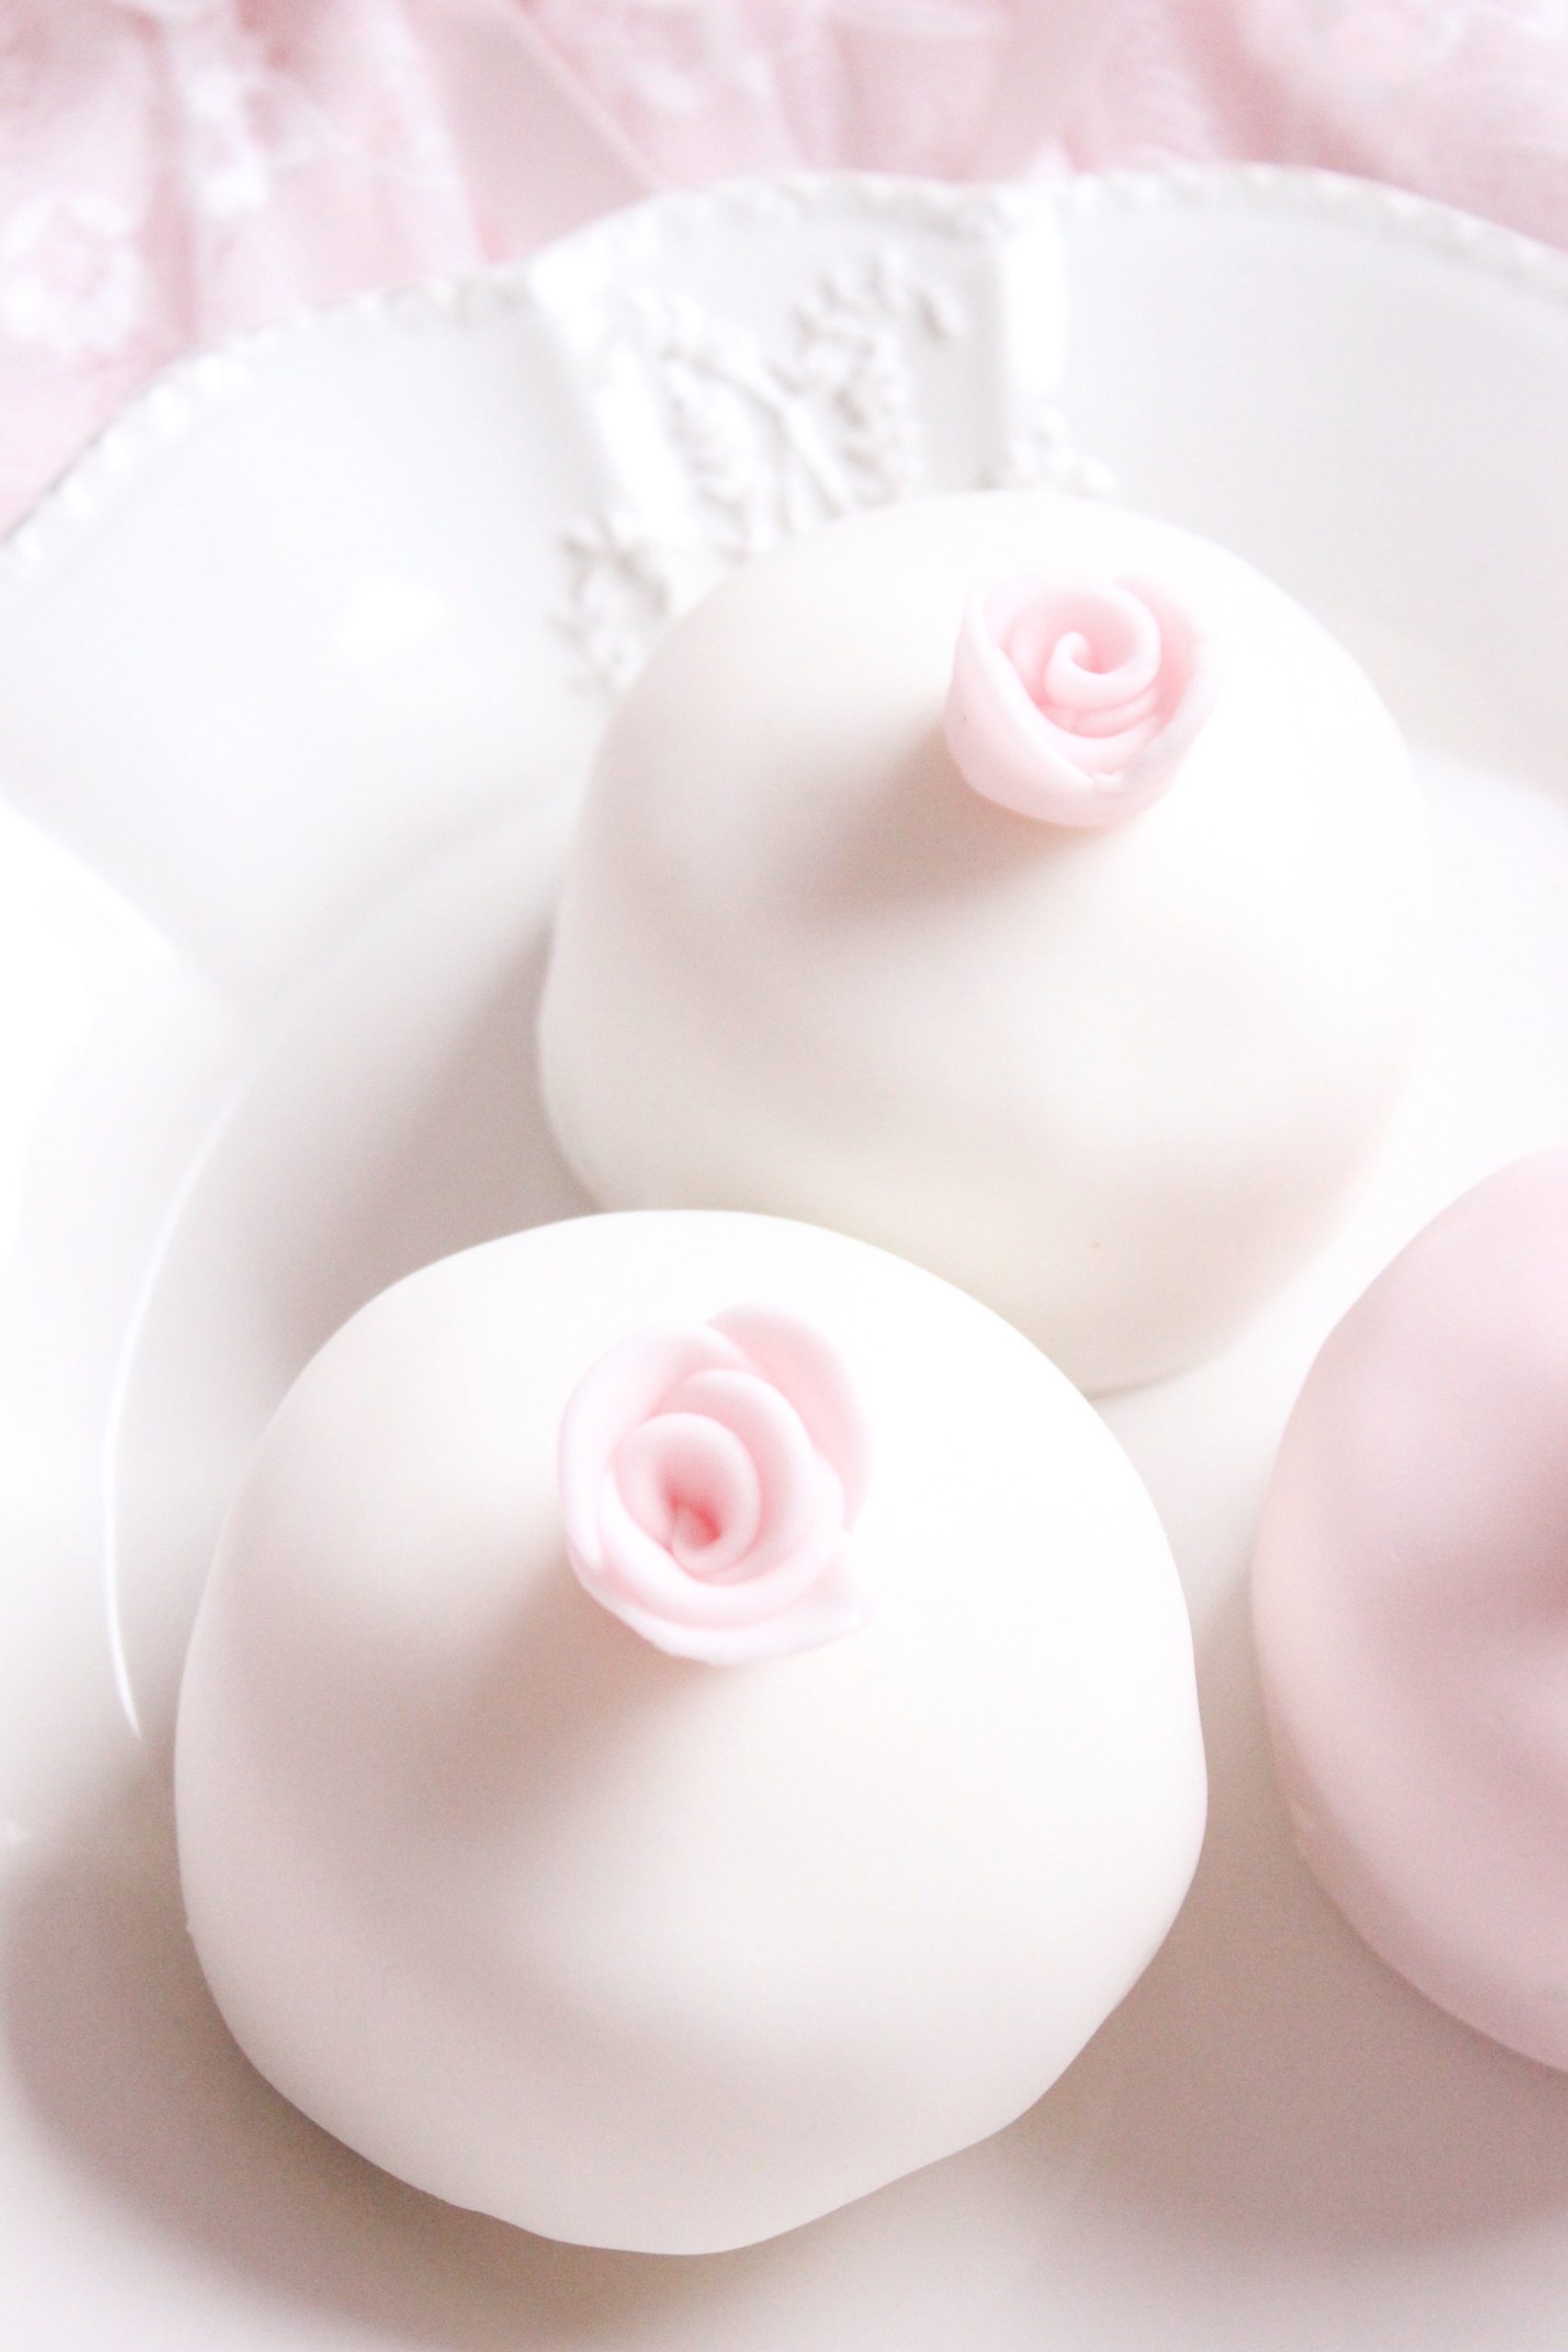
- Divide the pink fondant into four portions and roll each piece into 8-inch rounds (under 1/8 inch thick)
- Centre the fondant over the cake, letting it drape over the sides and use your hands to adjust the fondant.
- Use a cookie cutter almost as large as the cake and press it over the top to cut the fondant off the sides and remove the excess.
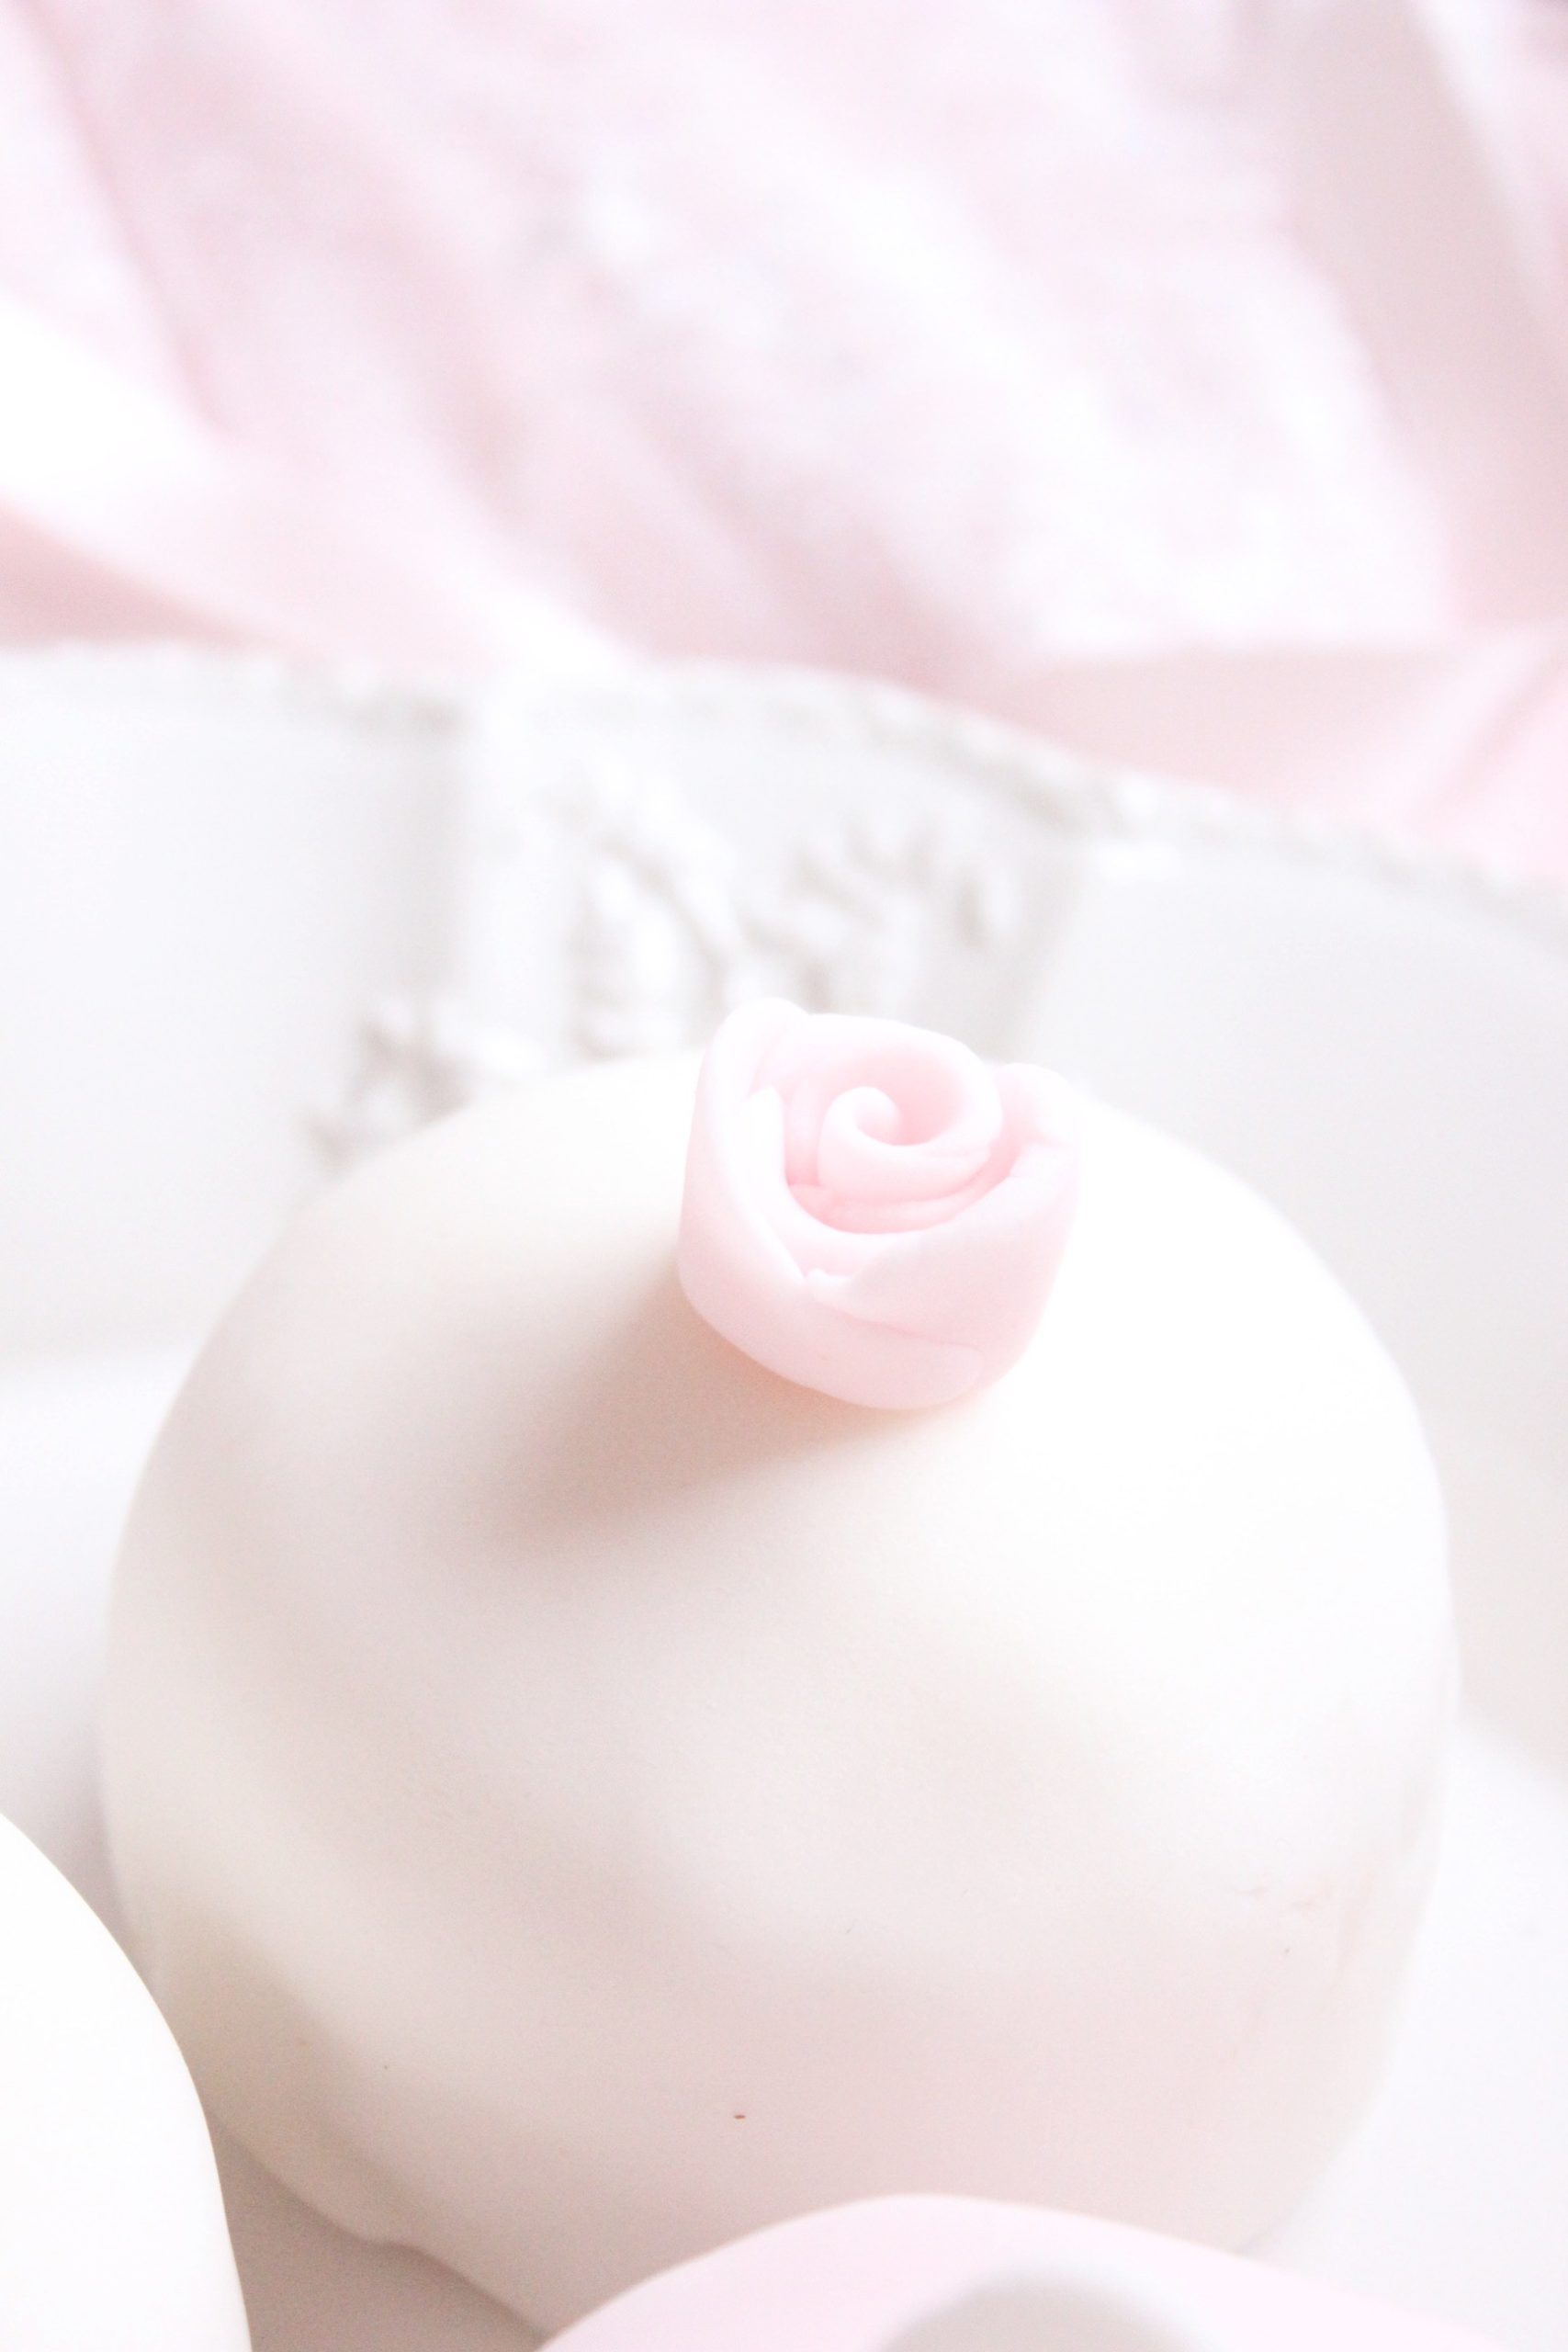
- To create the fondant roses and bows, I followed these tutorials.
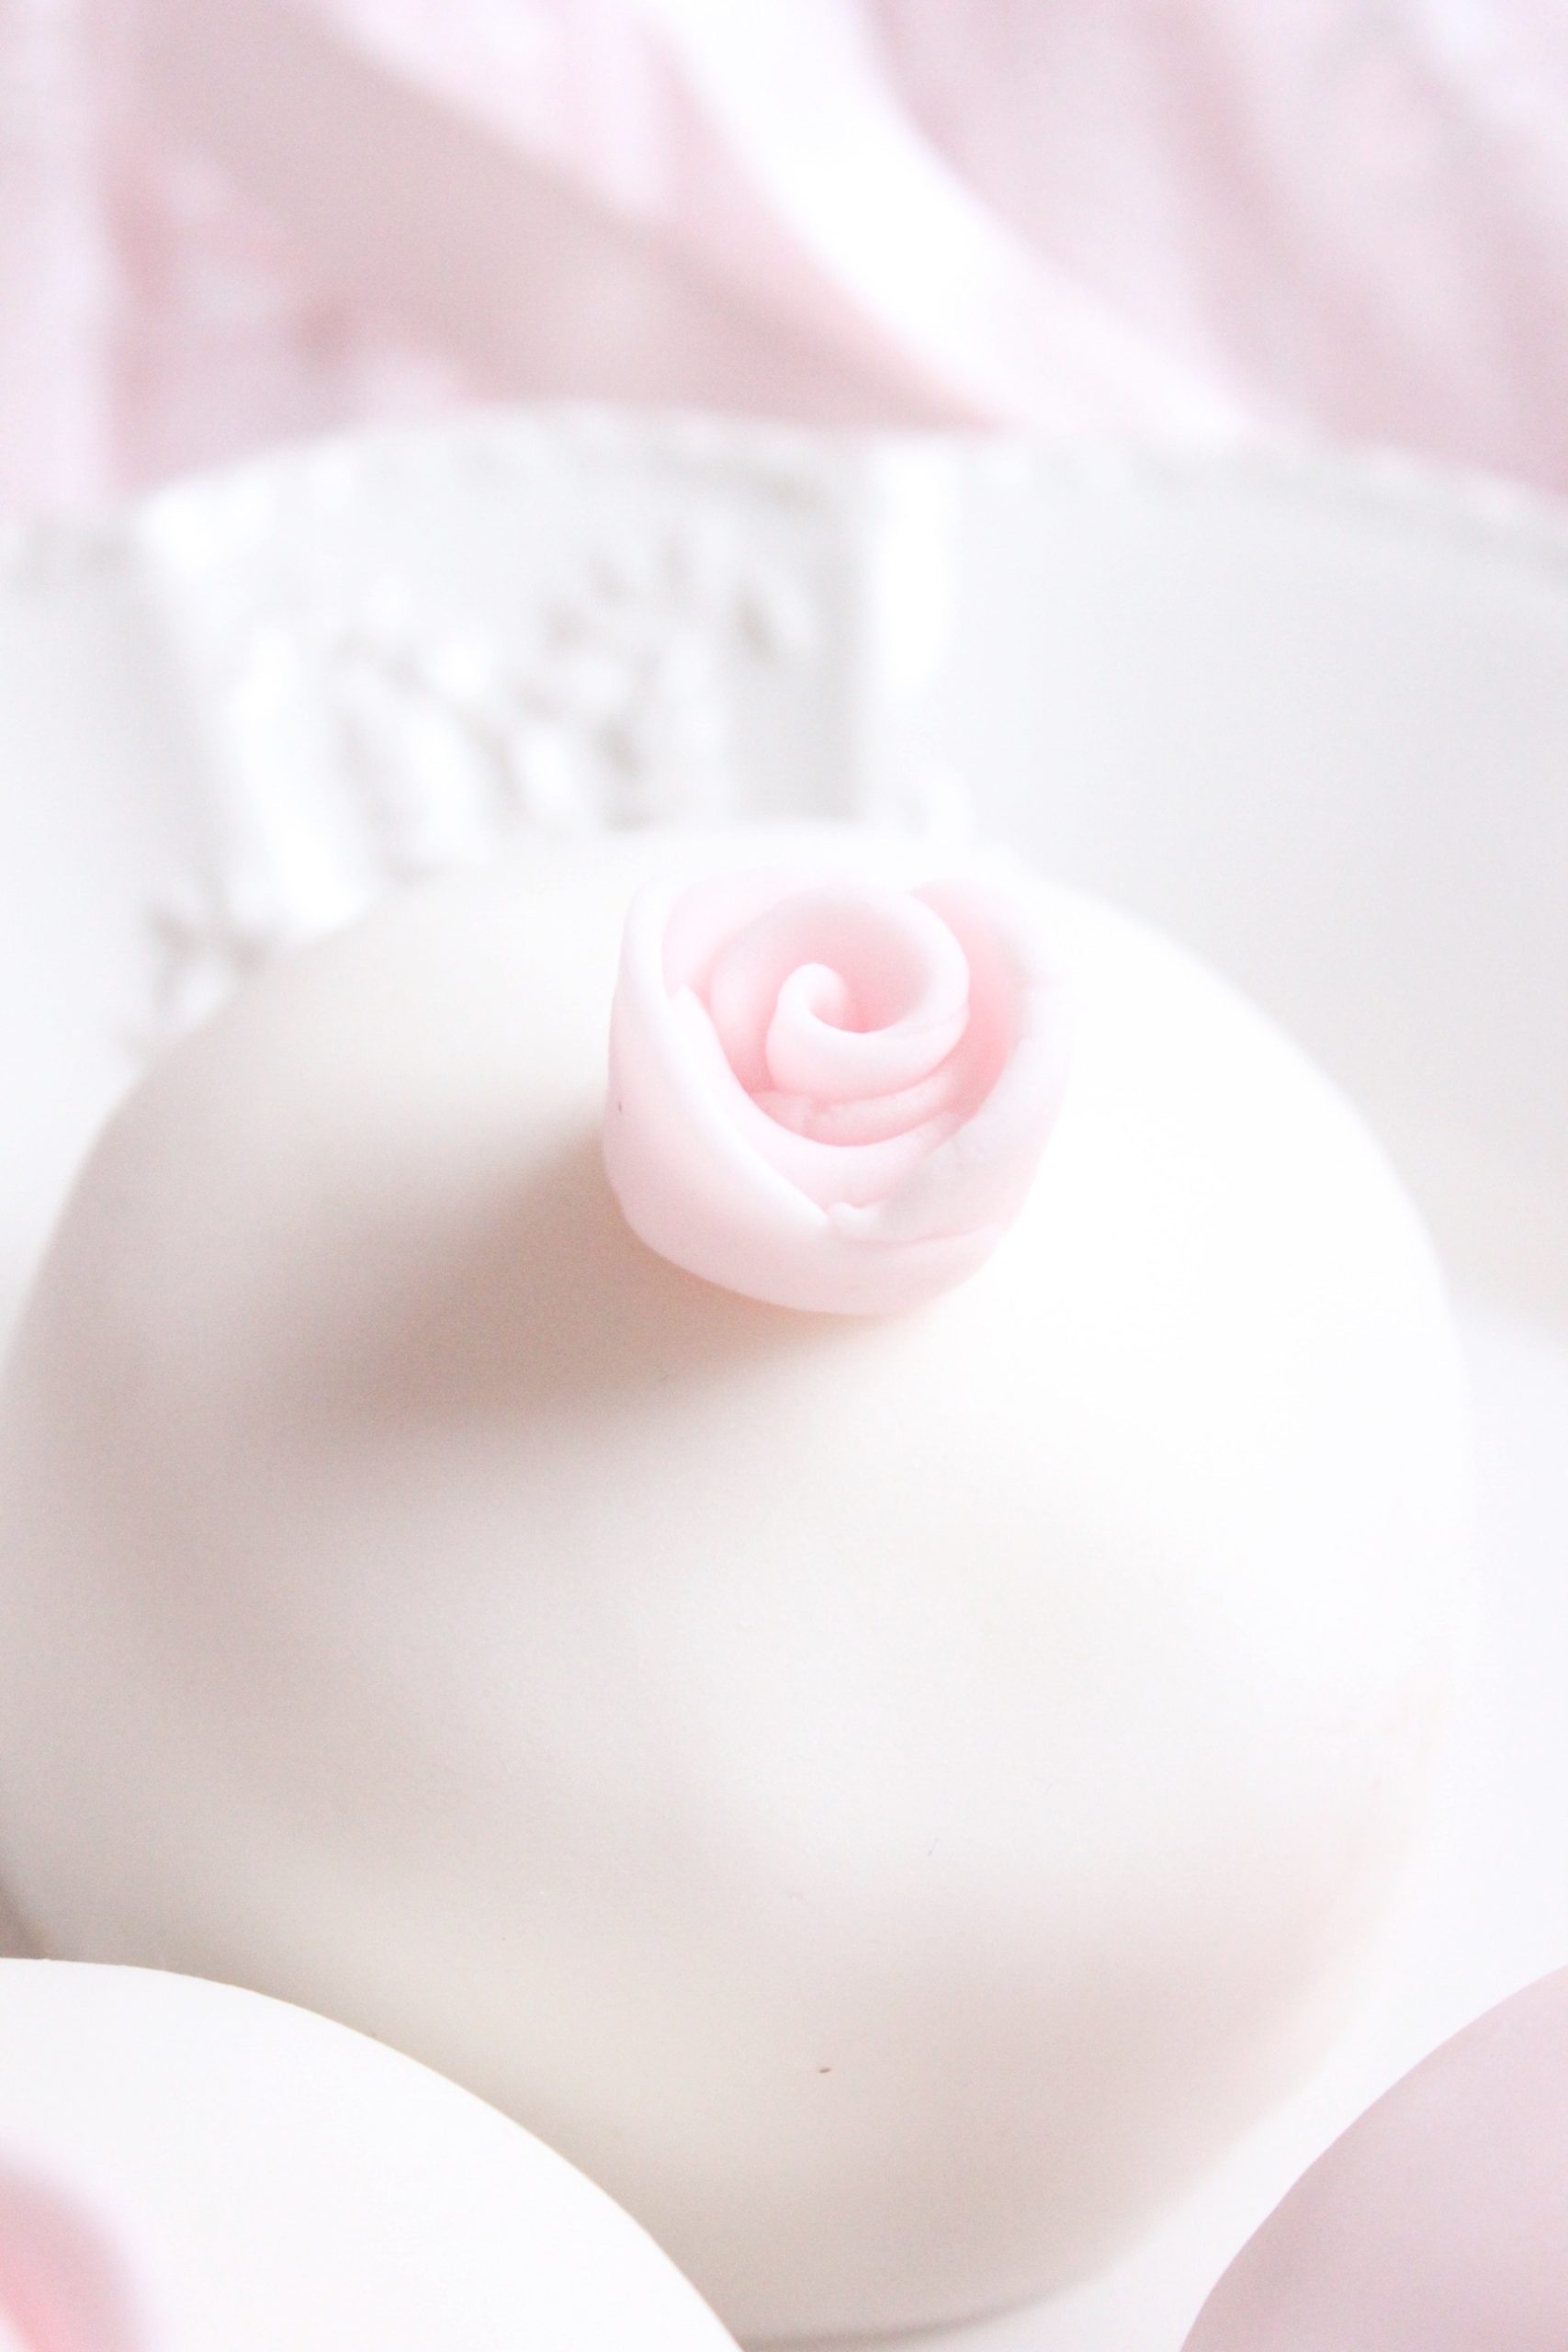
- Once you have created your fondant decorations, place them in the centre of each cake.
- To finish, dust lovingly with powdered sugar!
Happy baking angels! I hope this recipe inspires you and I’d love to know what you’ve been baking lately?
I’m sending lots of love to you all,


Youtube|Instagram|Twitter|Pinterest



These are so gorgeous! I’m definitely going to give these a go at some point!
-Kyra
Thank you Kyra! You should definitely try the recipe if you can ~ they’re so cute and dainty 🌸🍰🌸