
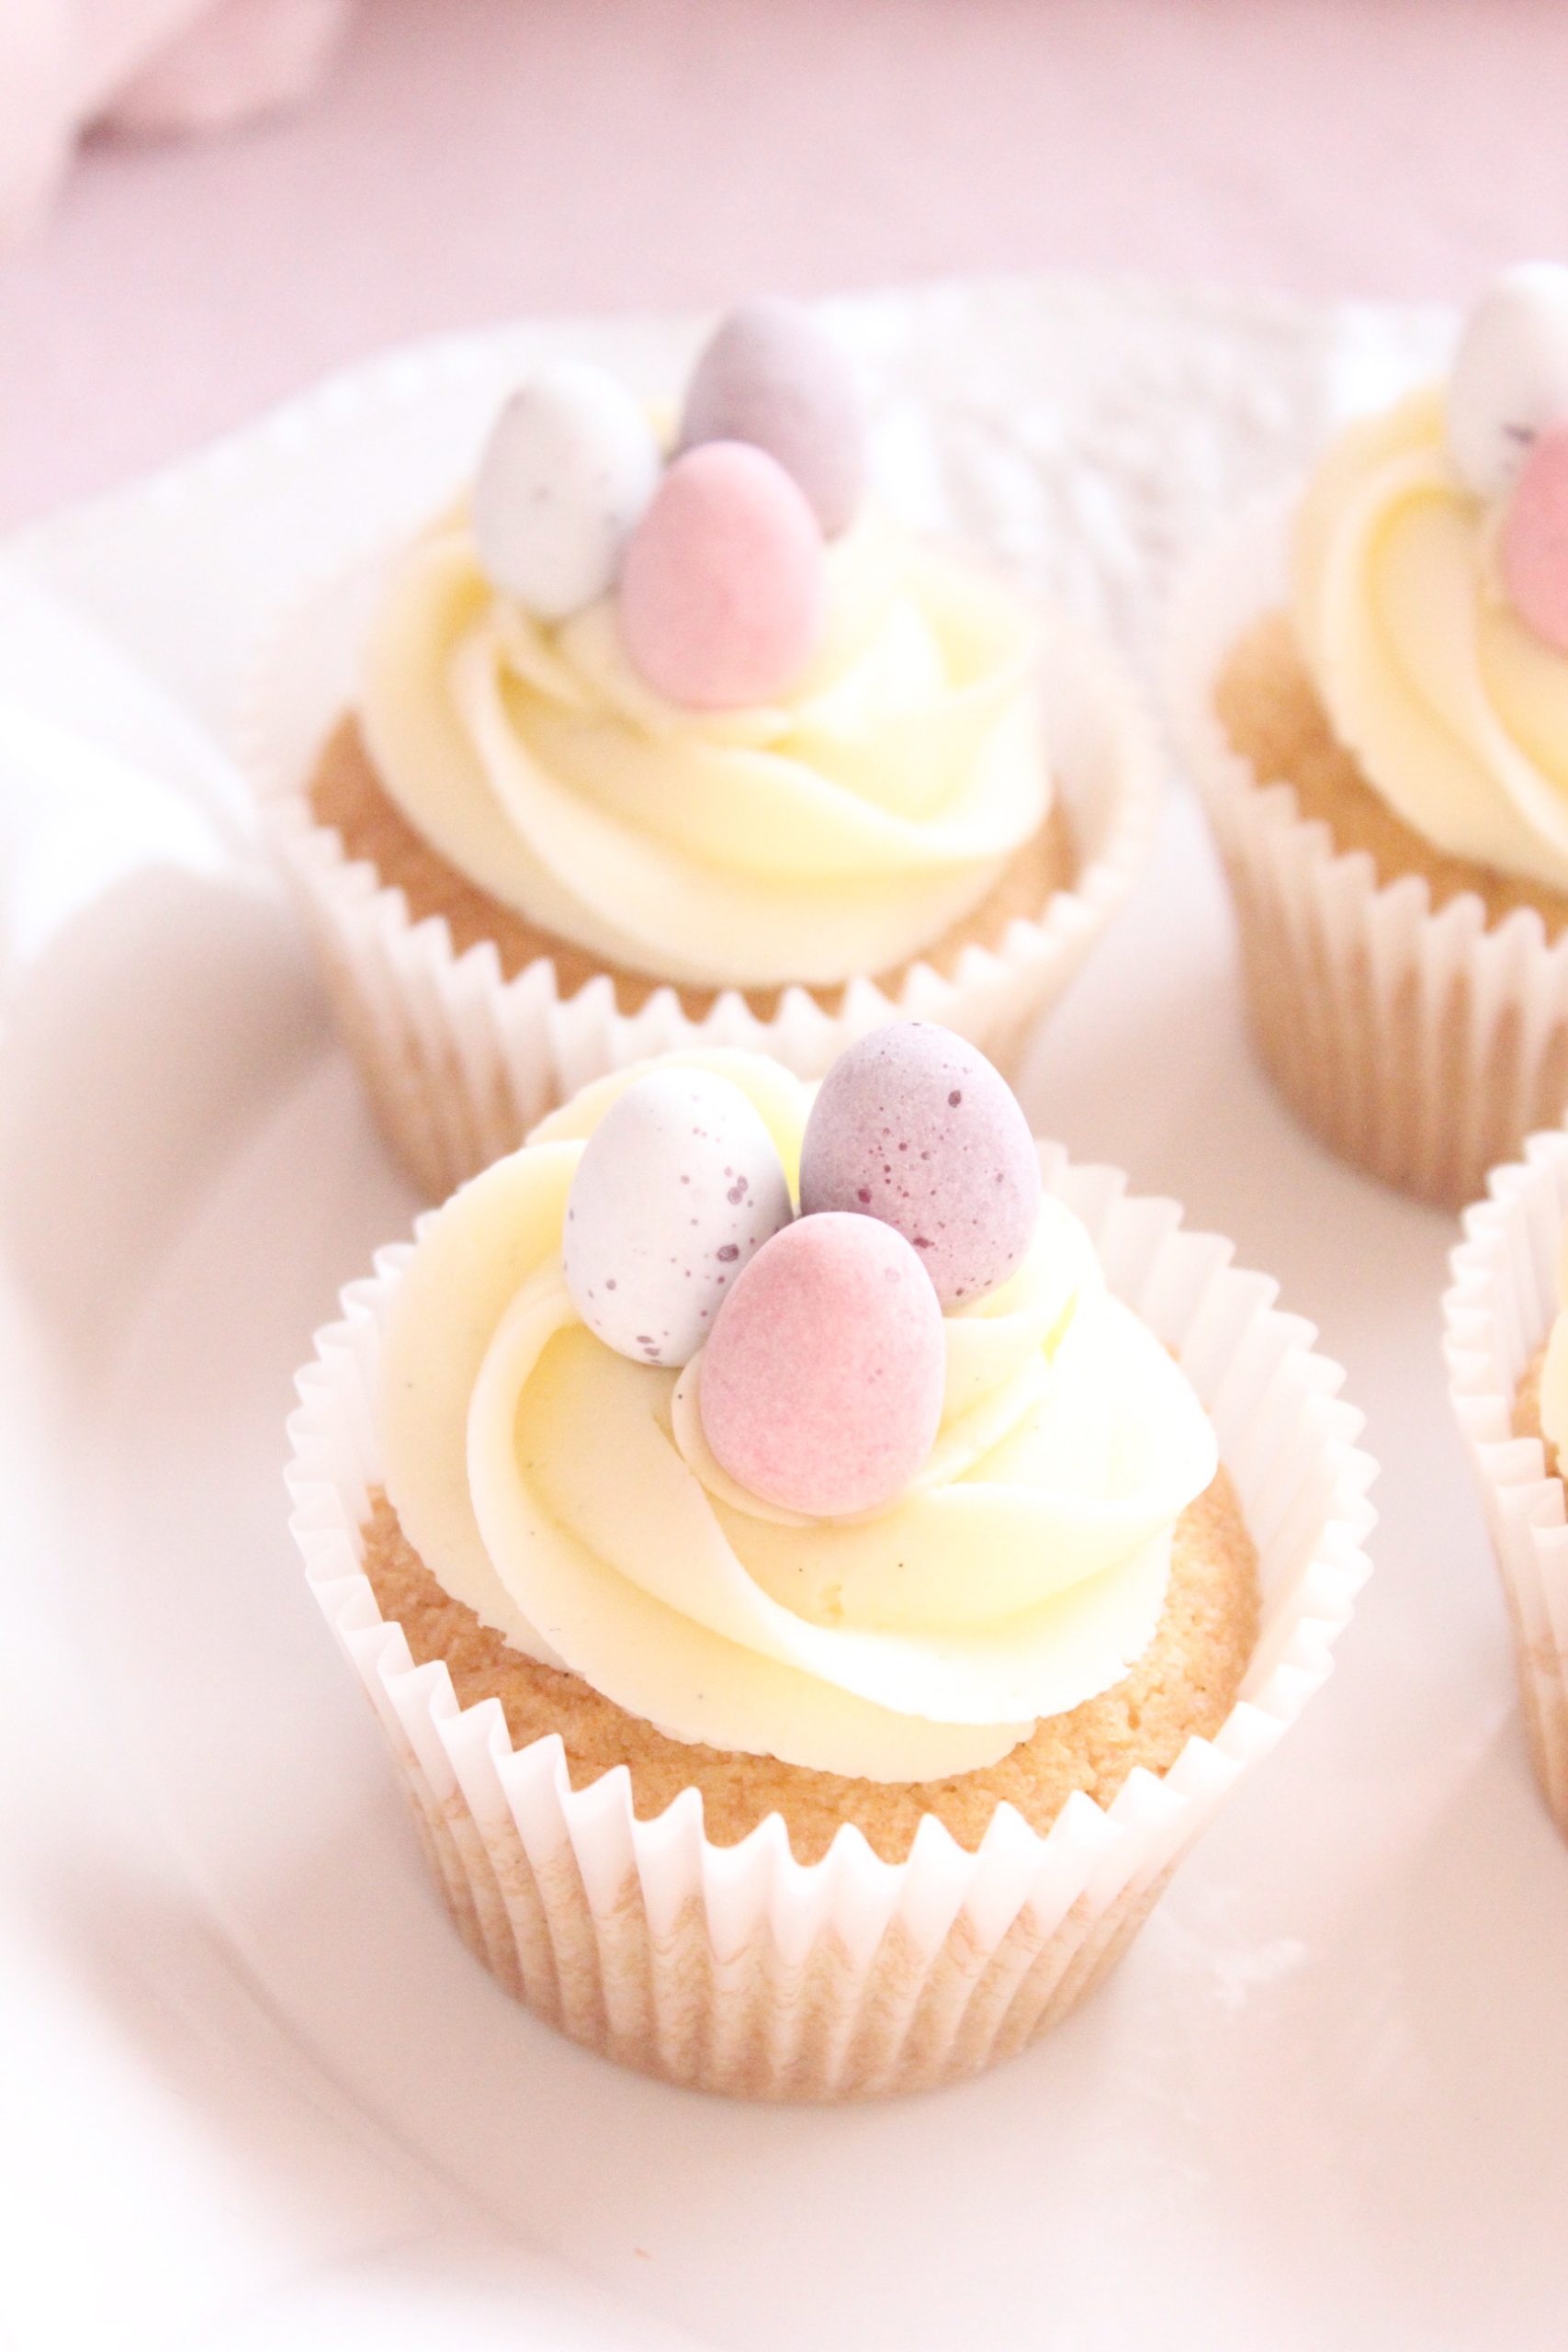
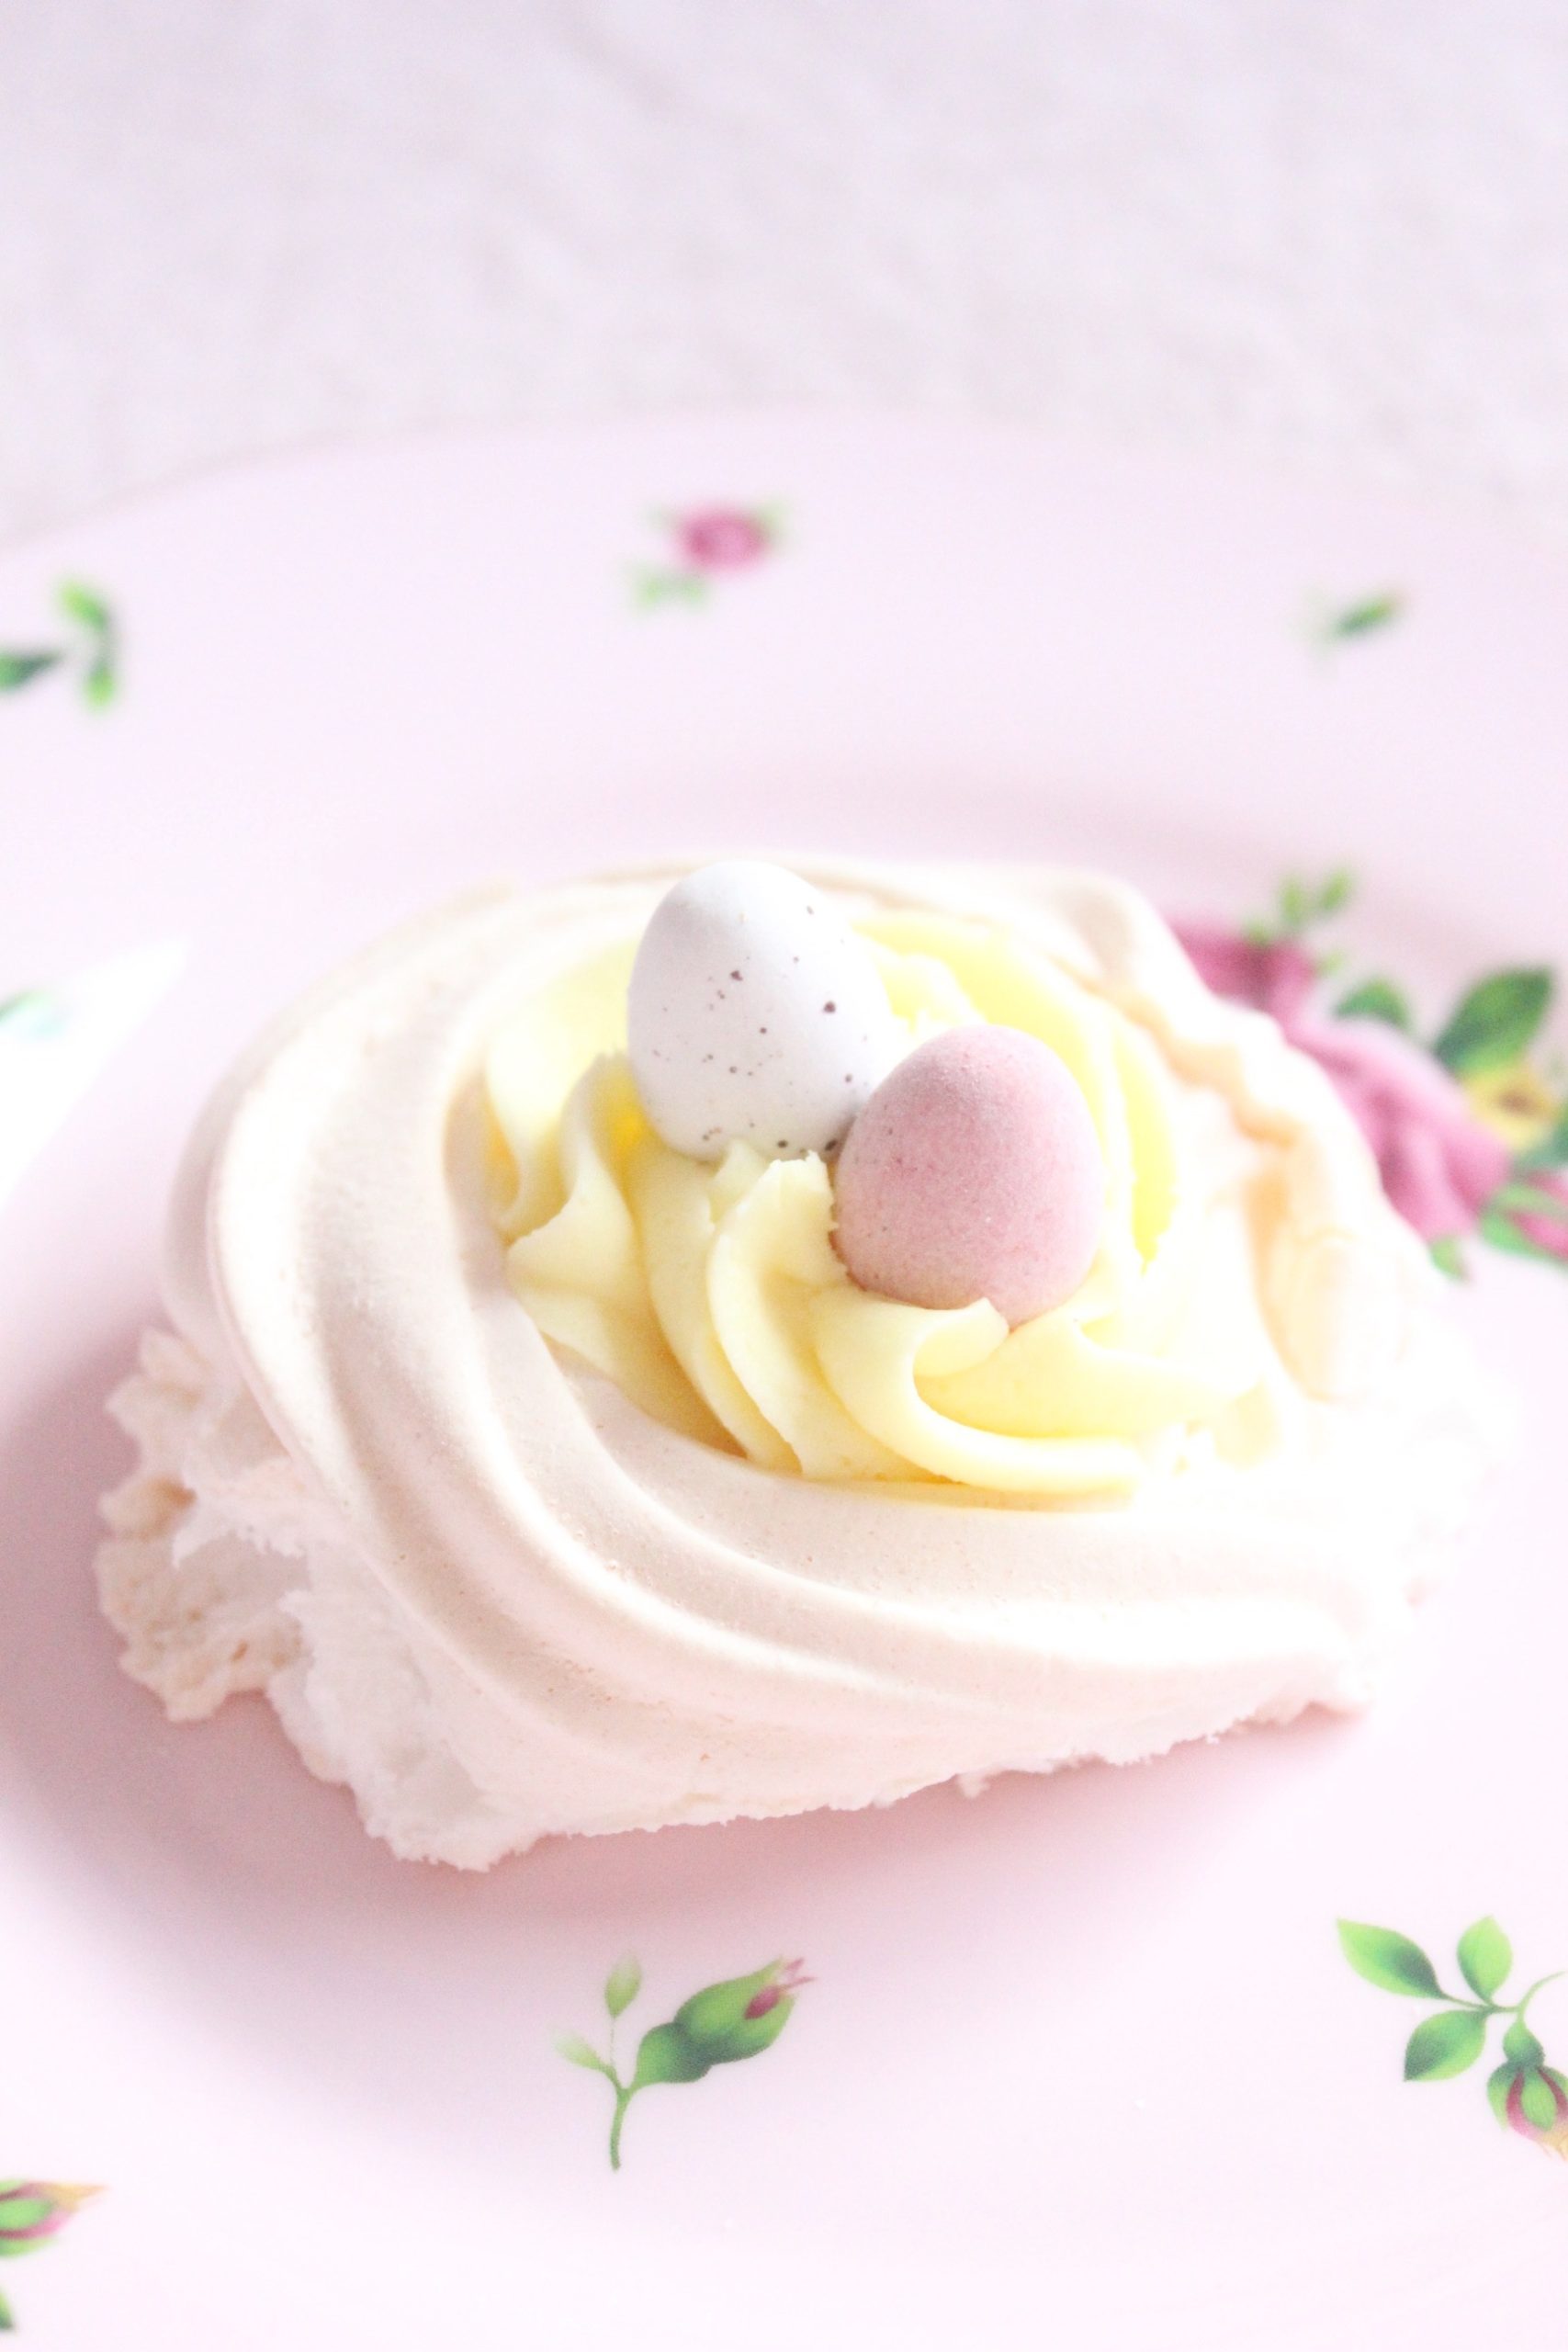
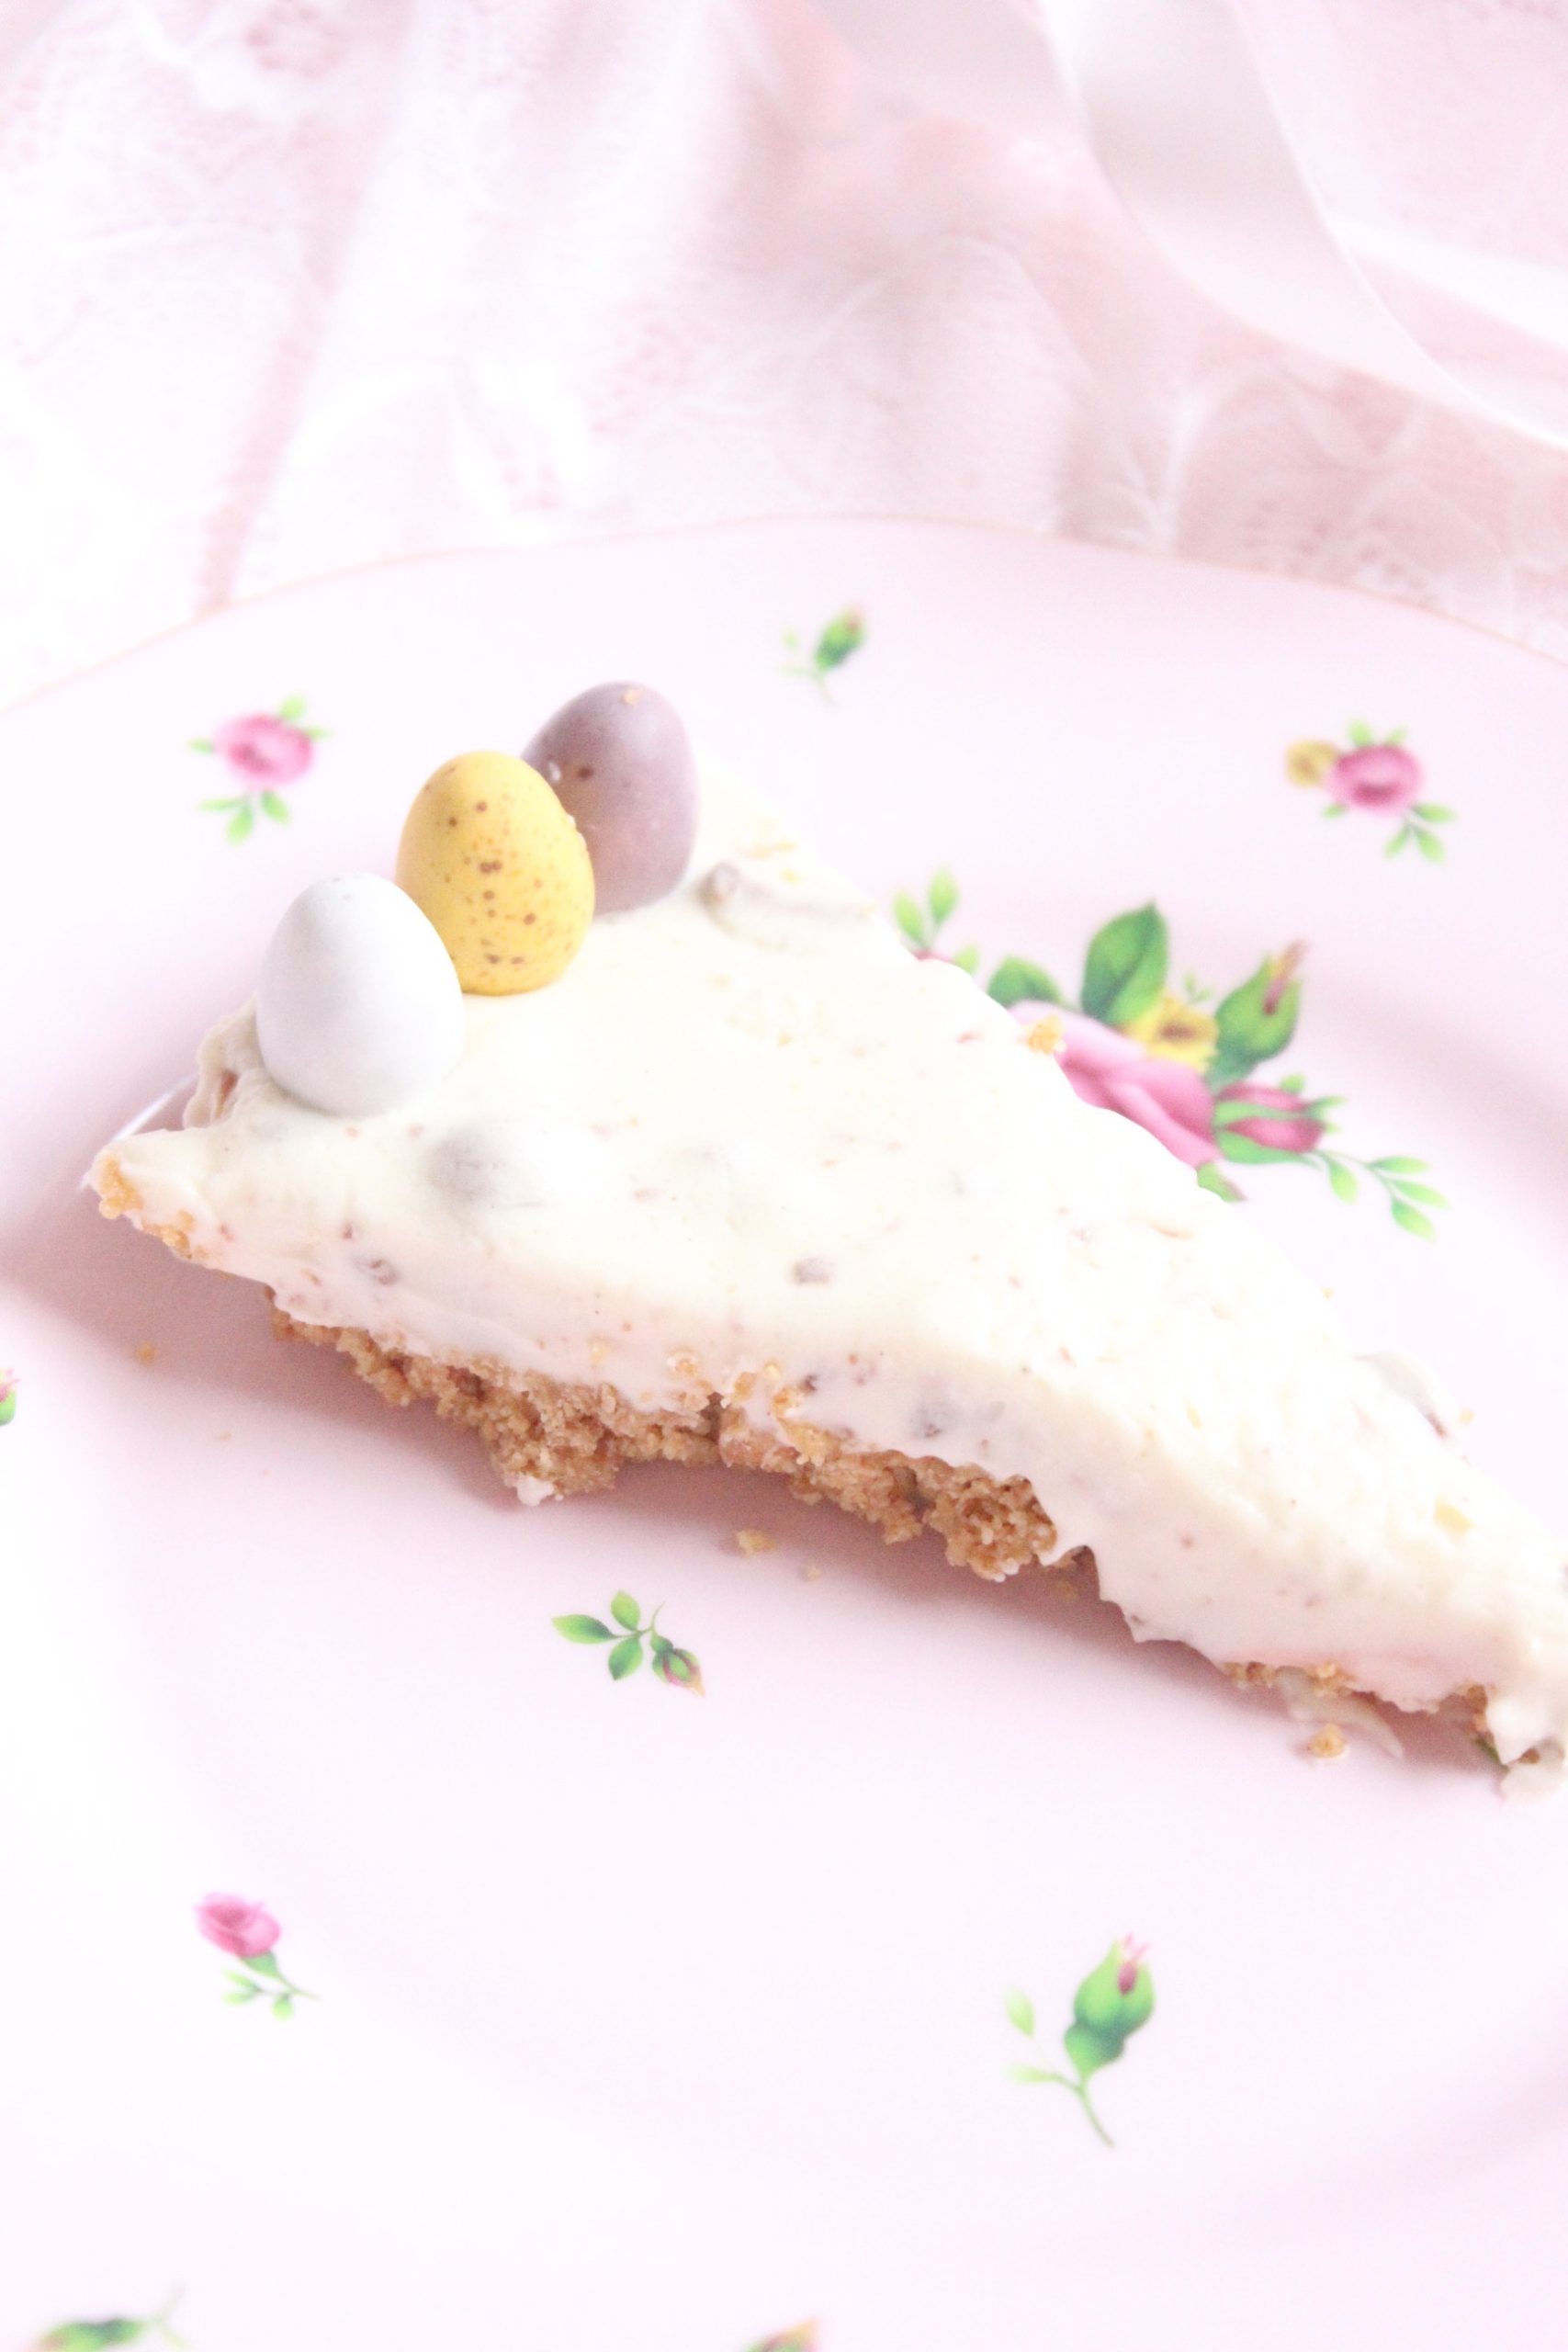
The hoppy bunny nuzzled his nose inside the bright wicker baskets filled with glorious eggs. At the Easter table she encountered a wondrous spread of delights which made her eyes beam! In the centre, next to a bouquet of pink peonies, she discovered a set of meringue nests filled with mini eggs; beside the pitcher of strawberry lemonade she spotted a scrumptious vanilla cheesecake topped with pastel coloured mini eggs; and to finish, next to the selection of hot cross buns, she encountered the best treat of all… vanilla bean cupcakes topped with a swirl of buttercream…
Baking is one of my favourite hobbies and because many of us are spending a lot of time at home and Easter is just a few hops away, I thought I would create my own Easter recipe guide.
Getting creative in the kitchen is the perfect way to distract yourself from your worries!

You can play your favourite music ~ I love to listen to classic ballet scores on my Roberts radio and I love this Disney princess lullaby album.
Make sure to take your time and appreciate the process of creating something. This is the perfect opportunity to slow things down…

The three recipes I have created are so simple to make!
Mini Egg Meringue Nest
Mini Egg Cheesecake
Mini Egg Cupcakes

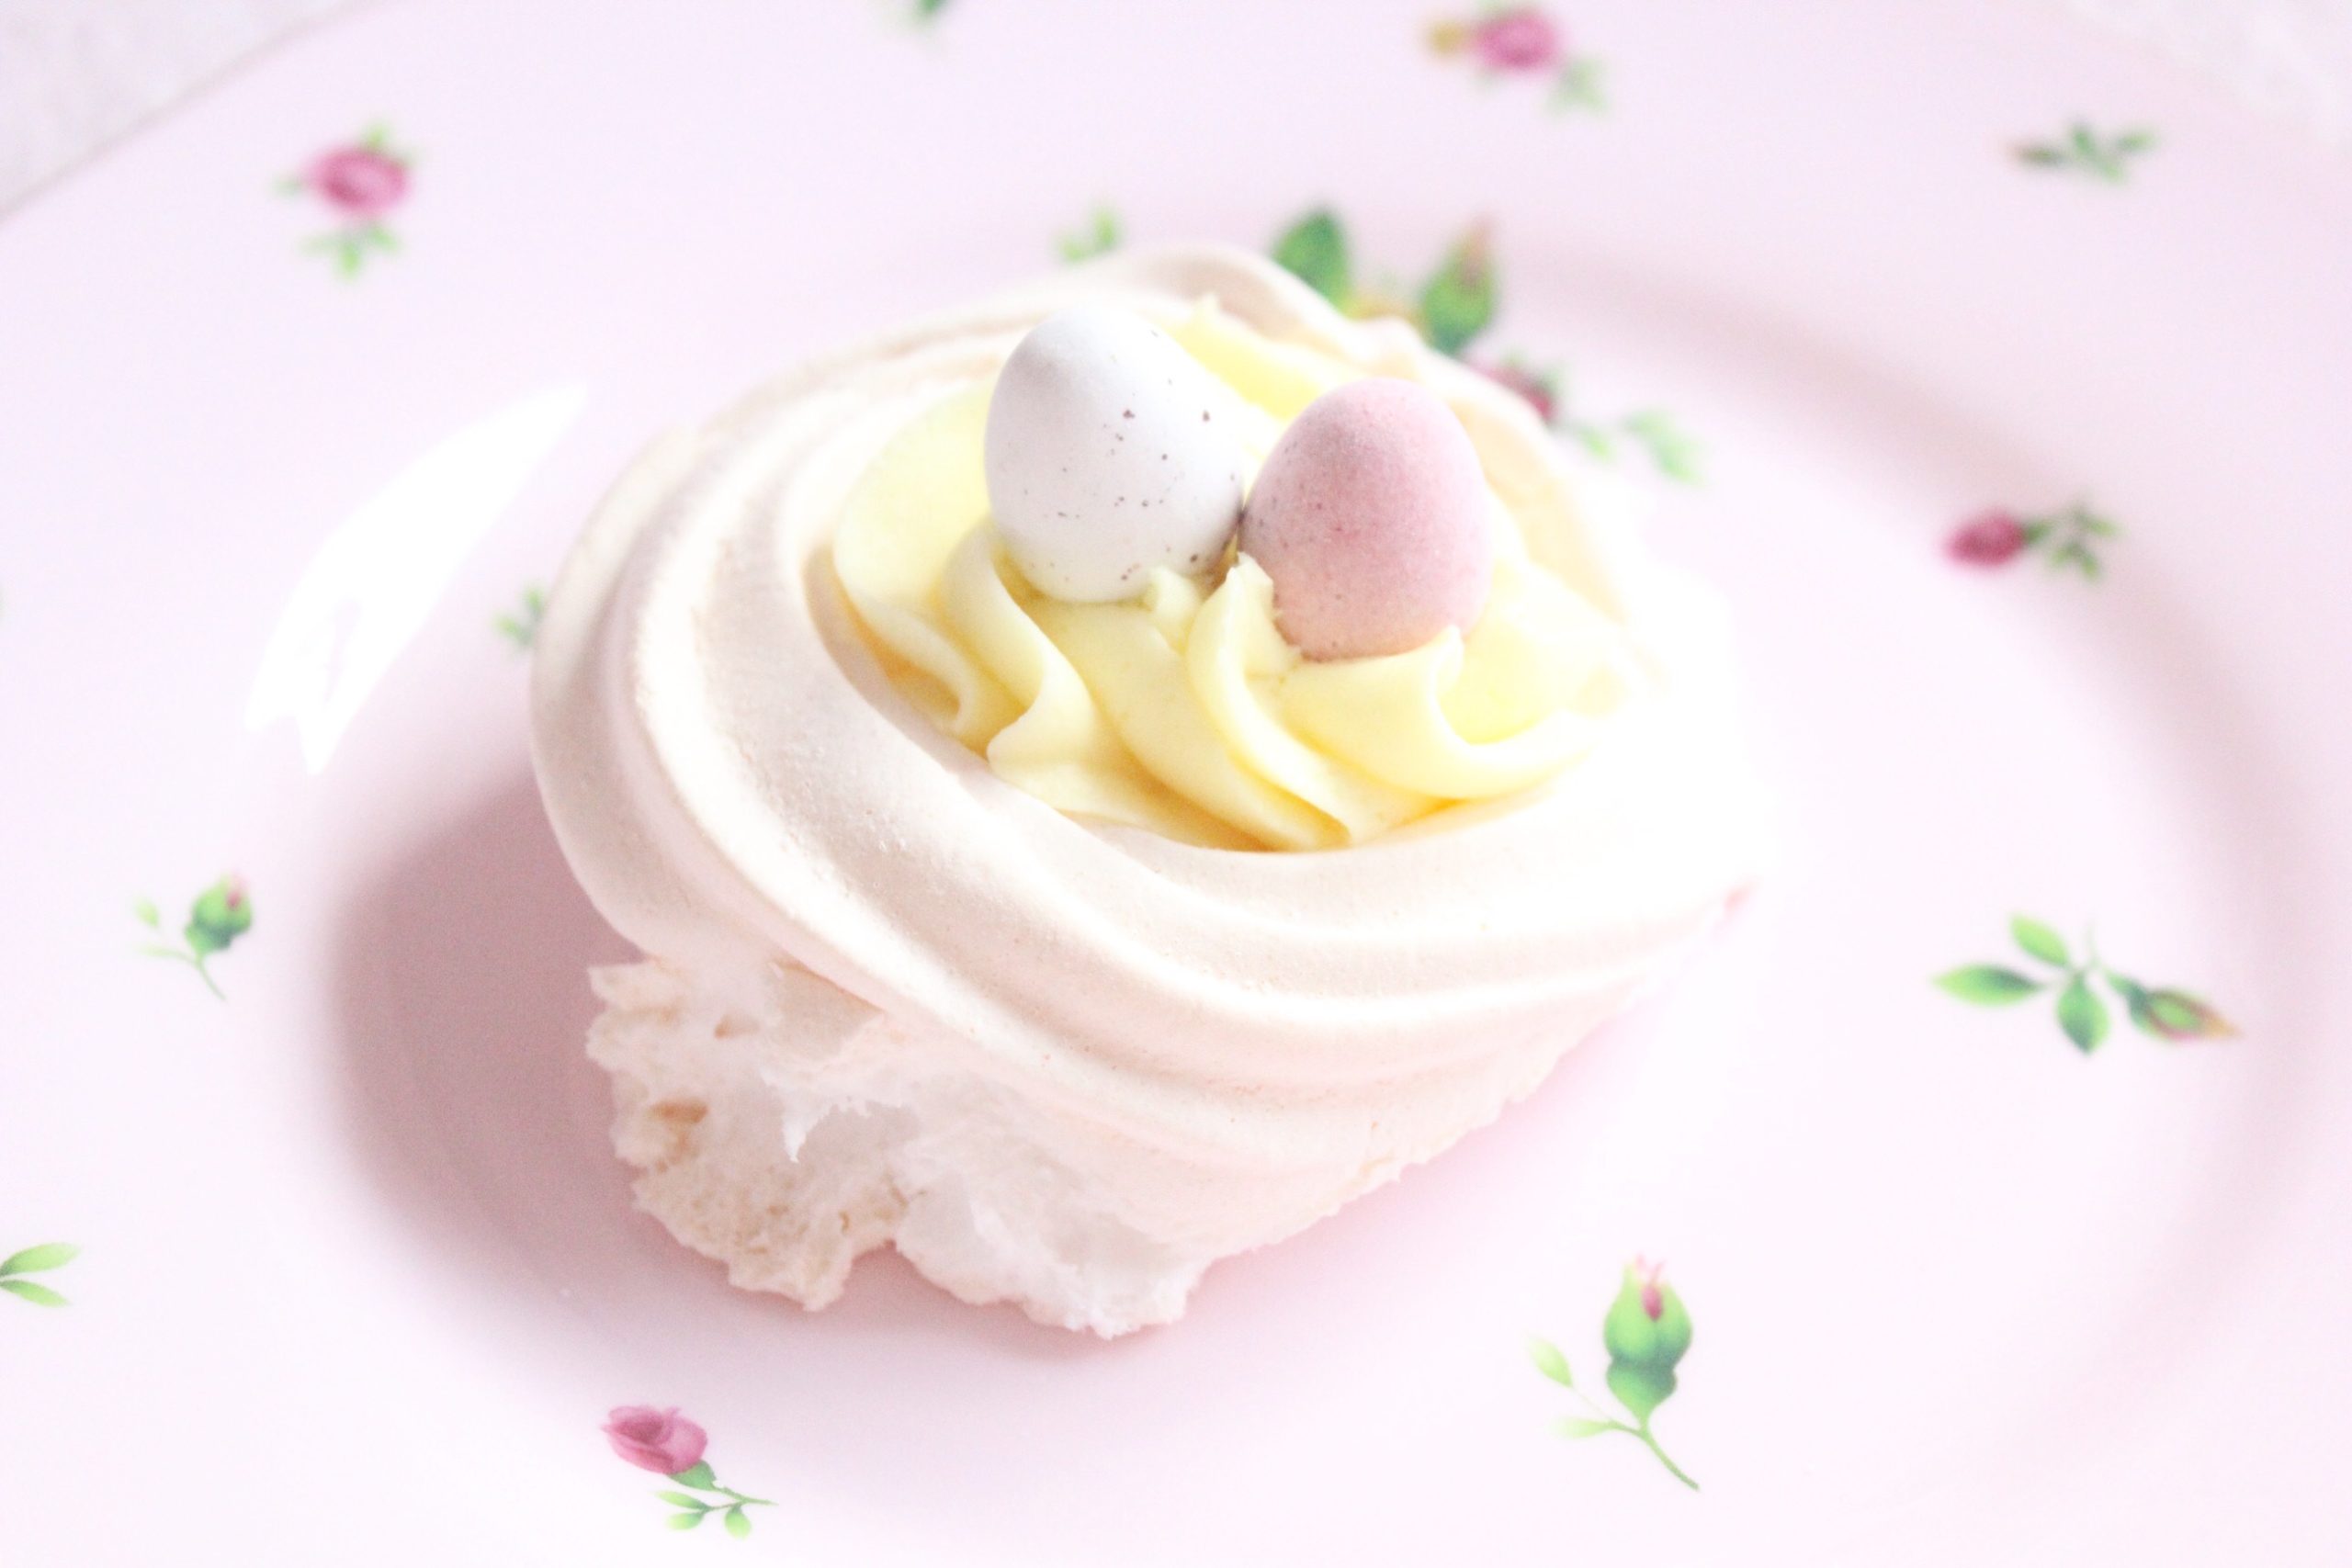
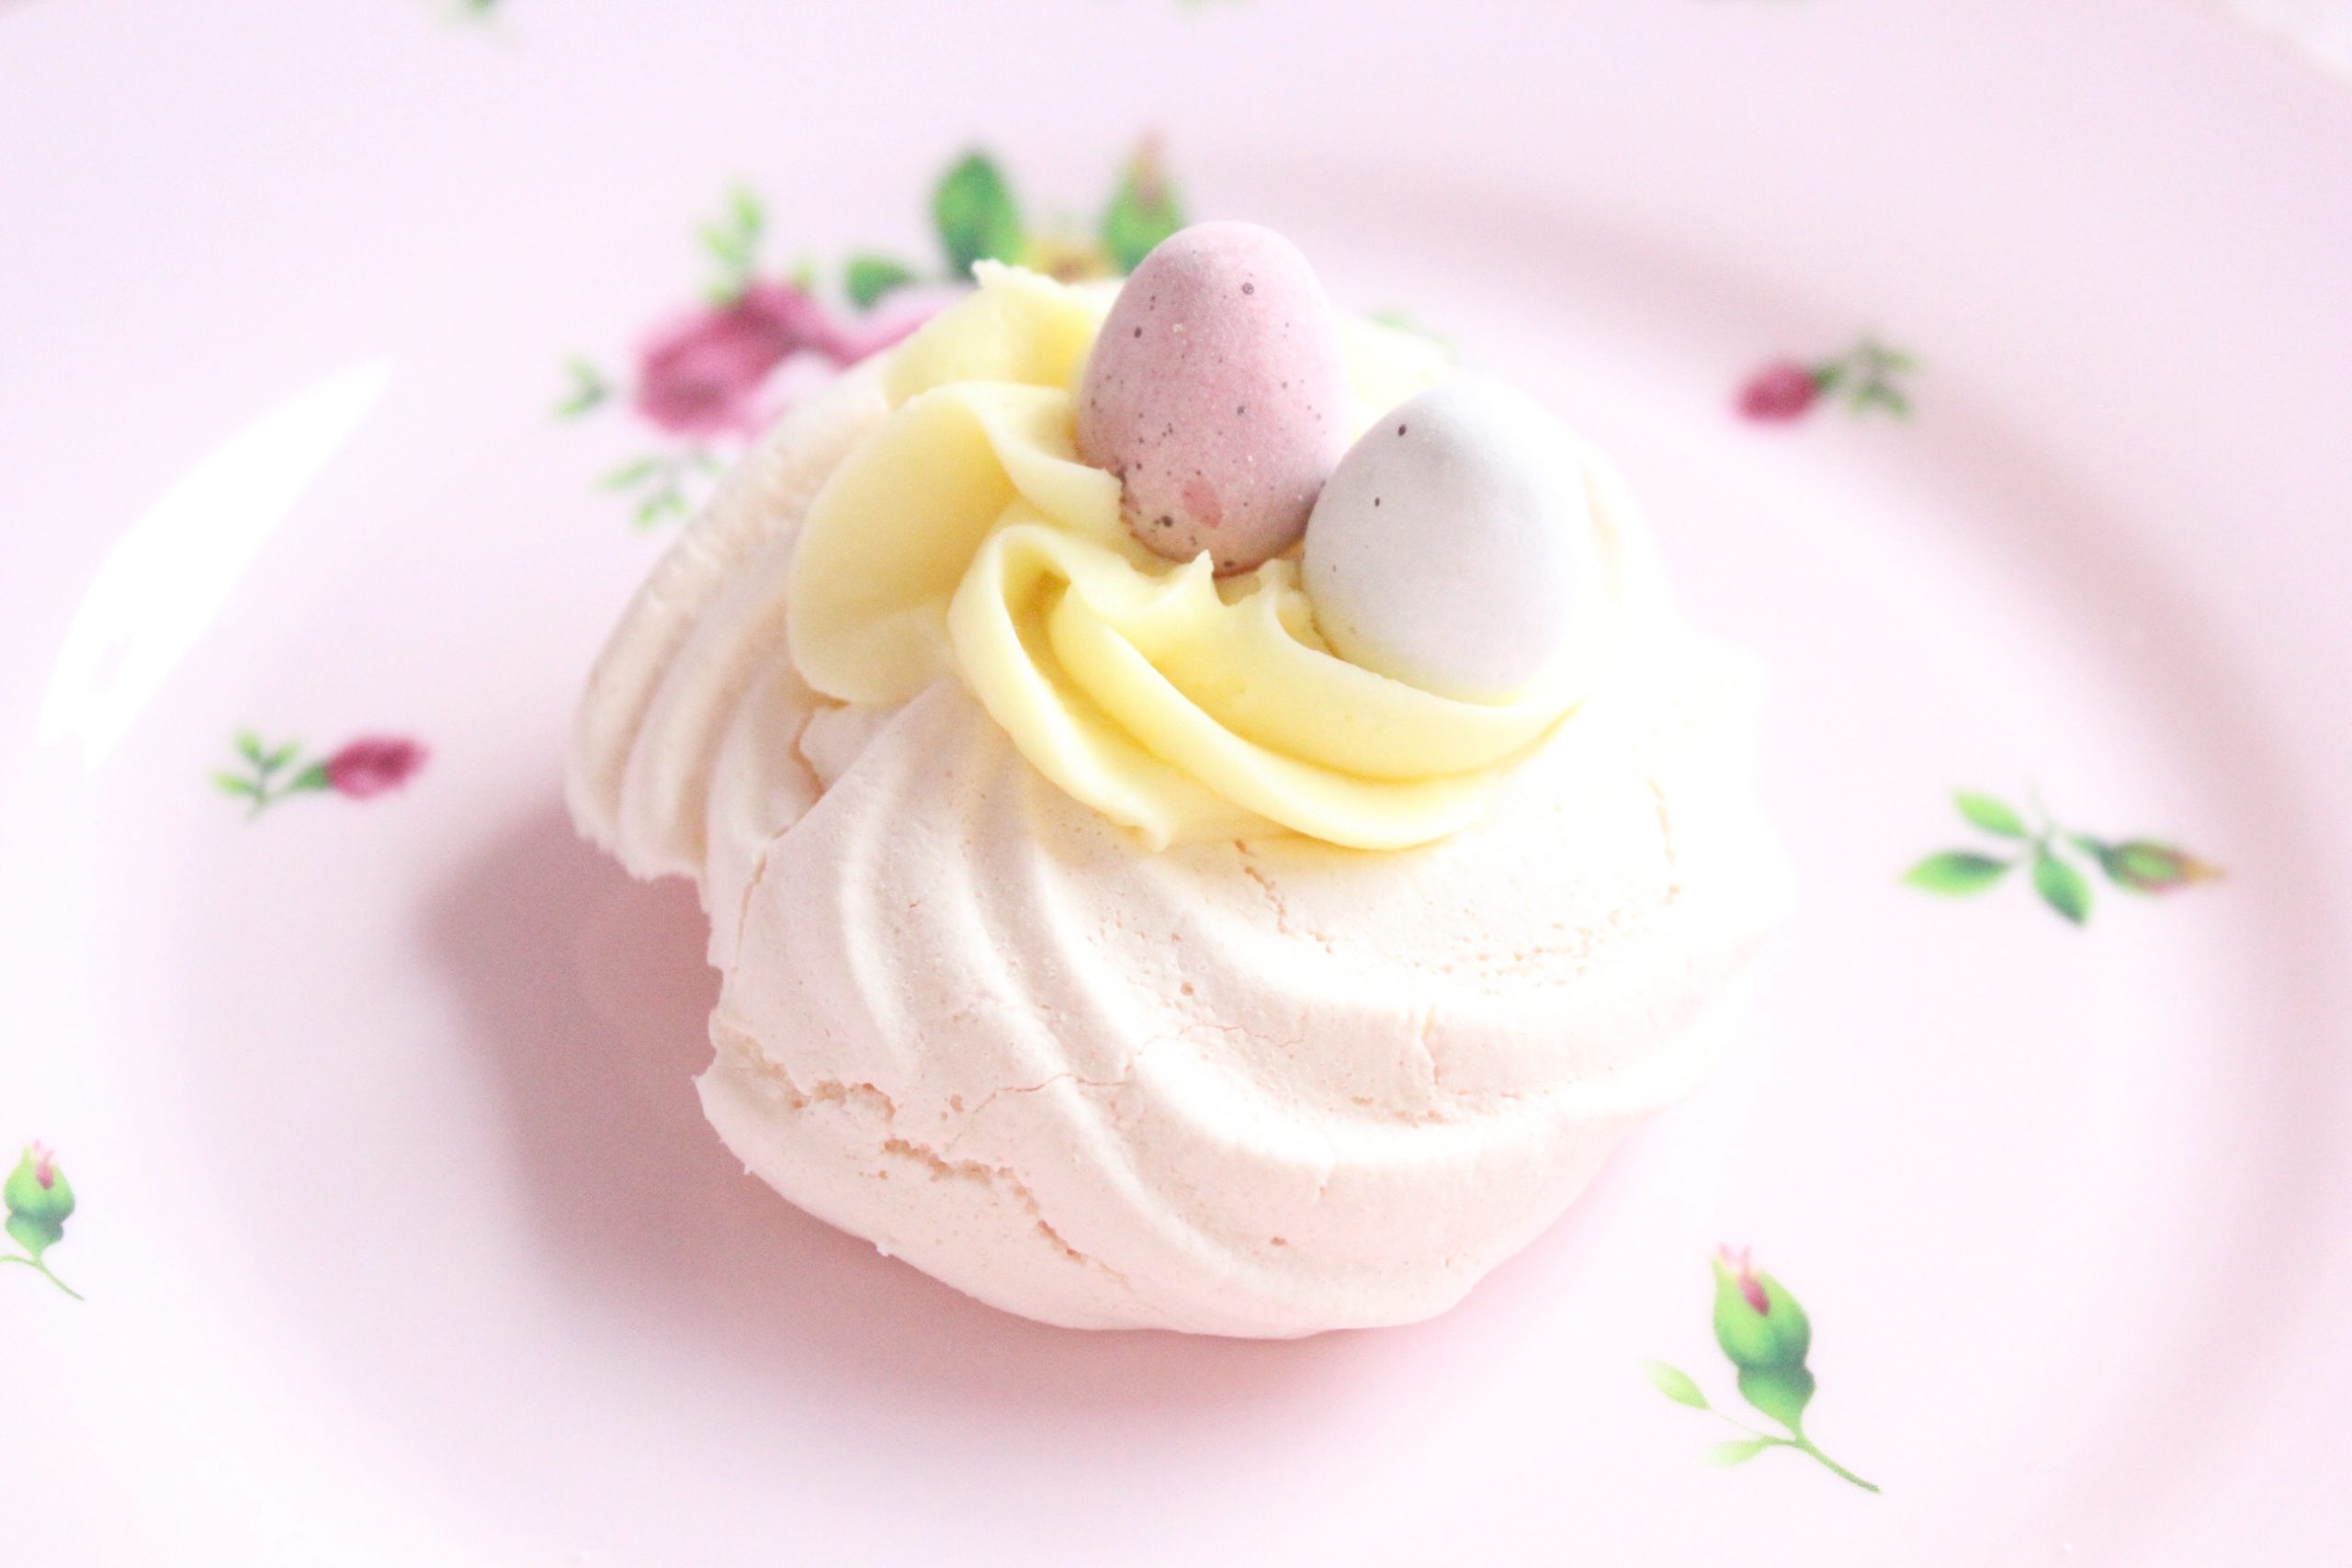
The first recipe is a set of cute meringue nests which mirror baby Easter chick nests! I was inspired by Mary Berry’s Easter Lemon Pavlova recipe and decided to make a miniature version. You can fill your nests with lemon curd and whipped cream ~ I used a vanilla buttercream which is so simple to create and makes the perfect centre piece for an at-home Easter Brunch.

for the meringue nests:
2 large egg whites
100g caster sugar
mini eggs
for the frosting:
150g butter
300g icing sugar
yellow food colouring
1-2tsp vanilla bean paste
1-3tsp whole milk


for the meringue mixture:
♡ Pre-heat the oven to 100ºC and line a baking tray with parchment paper.
♡ Start by placing two egg whites in a large bowl and whisk on a low speed until foamy. Increase the speed to medium, whisking until the egg whites form stiff peaks.
♡ Add the caster sugar one tablespoon at a time and whisk until combined ~ your meringue mixture should be stiff and glossy.
Piping the meringue nests:
♡ Place the meringue mixture into a piping bag fit with a wilton rosette tip nozzle.
♡ Begin by piping a dot in the centre of your meringue nest, then in one continuous motion, swirl around the dot twice to make a big circle and again on top of the outer circle to make the sides.
♡ Repeat until you have used all your mixture.
baking the meringues:
♡ Carefully place your baking tray in the centre of your oven with your beautiful hands.
♡ Bake the meringue nests for 1 hour. Once cooked, turn off the oven but keep the door closed. Leave the meringues in the oven until completely cooled (to avoid them cracking.)
vanilla buttercream to decorate:
♡ Once you have measured out the butter, place it in a mixing bowl and mix it with an electric whisk for five minutes. Don’t stop mixing until it reaches a white, fluffy consistency.
♡ Gradually add in the sifted icing sugar, one heap at a time and combine the butter and dry ingredients at 2-3 minute intervals.
♡ Once they have been well mixed, (they should form a light, whippy texture) add in a couple of tbsps of milk, vanilla and yellow food colouring – you may not need to use all of the milk, just use as much as you think you need.
♡ To test the consistency of the buttercream, grab a spatula and see whether the mixture is easily spreadable.
♡ Once you are happy with the result, place your icing in a piping bag and fit with a Wilton 1M tip and begin piping in the centre of each meringue nest.
♡ To finish, place a little mini egg on top of each swirl of buttercream…
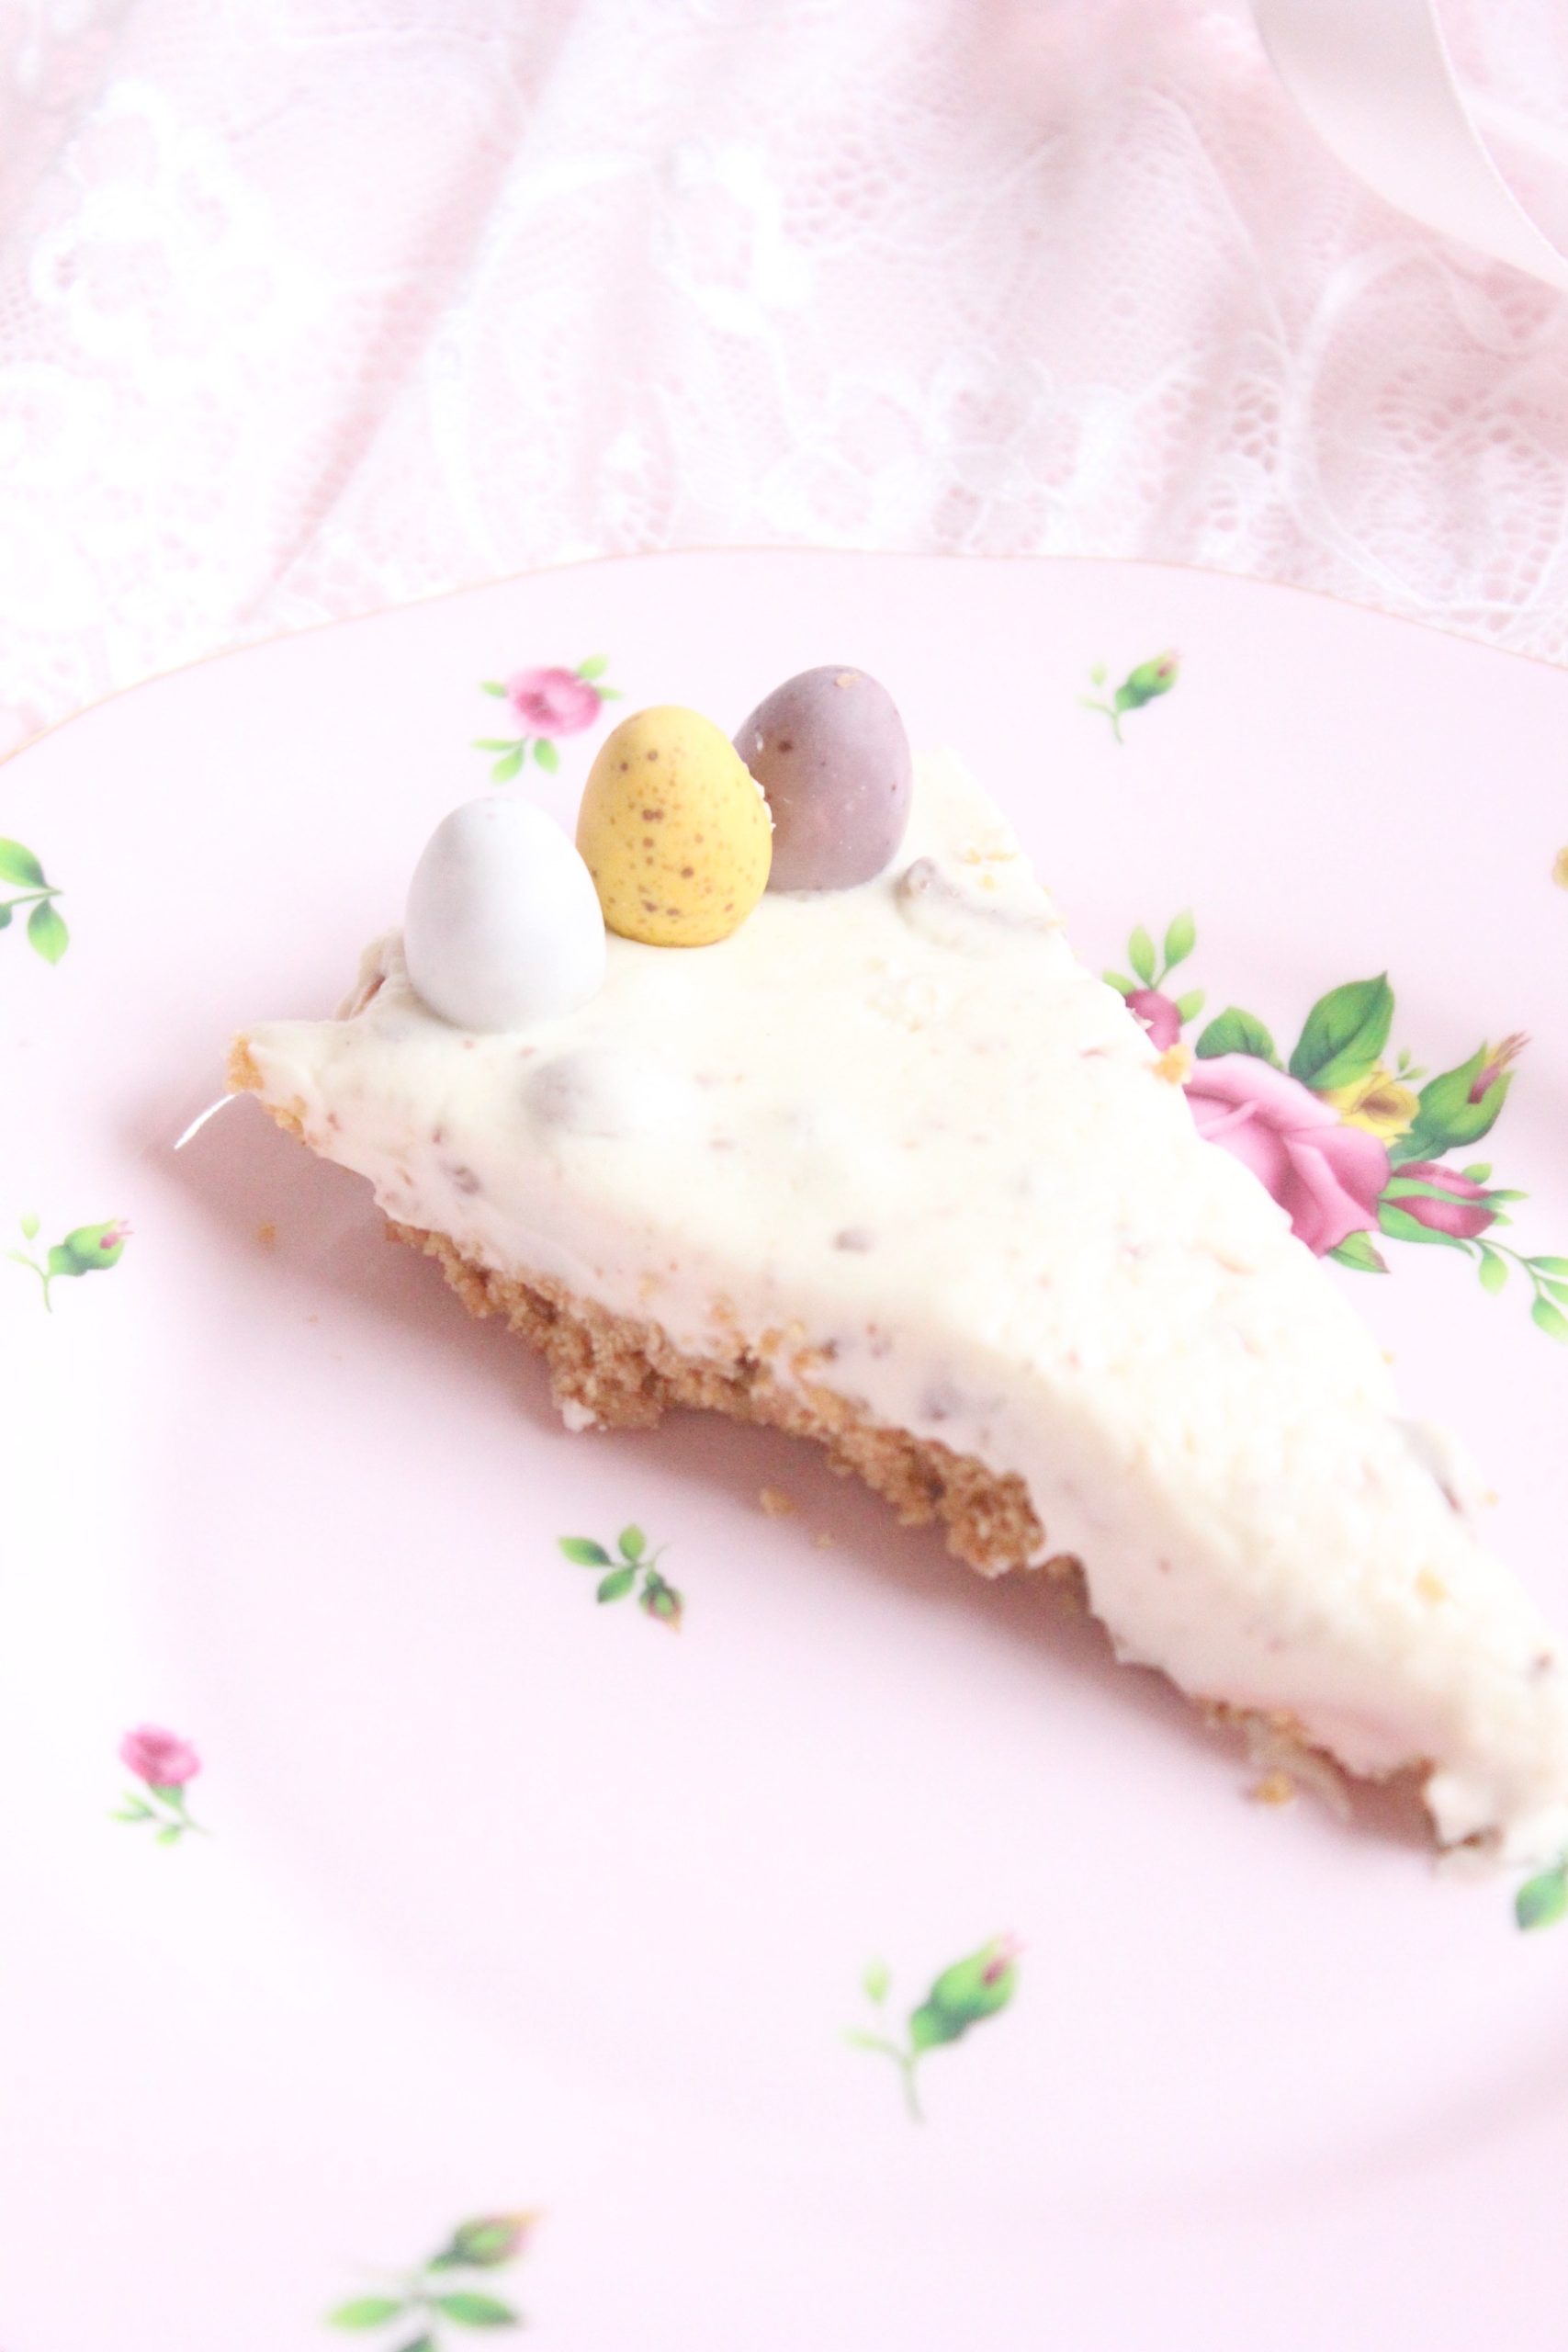
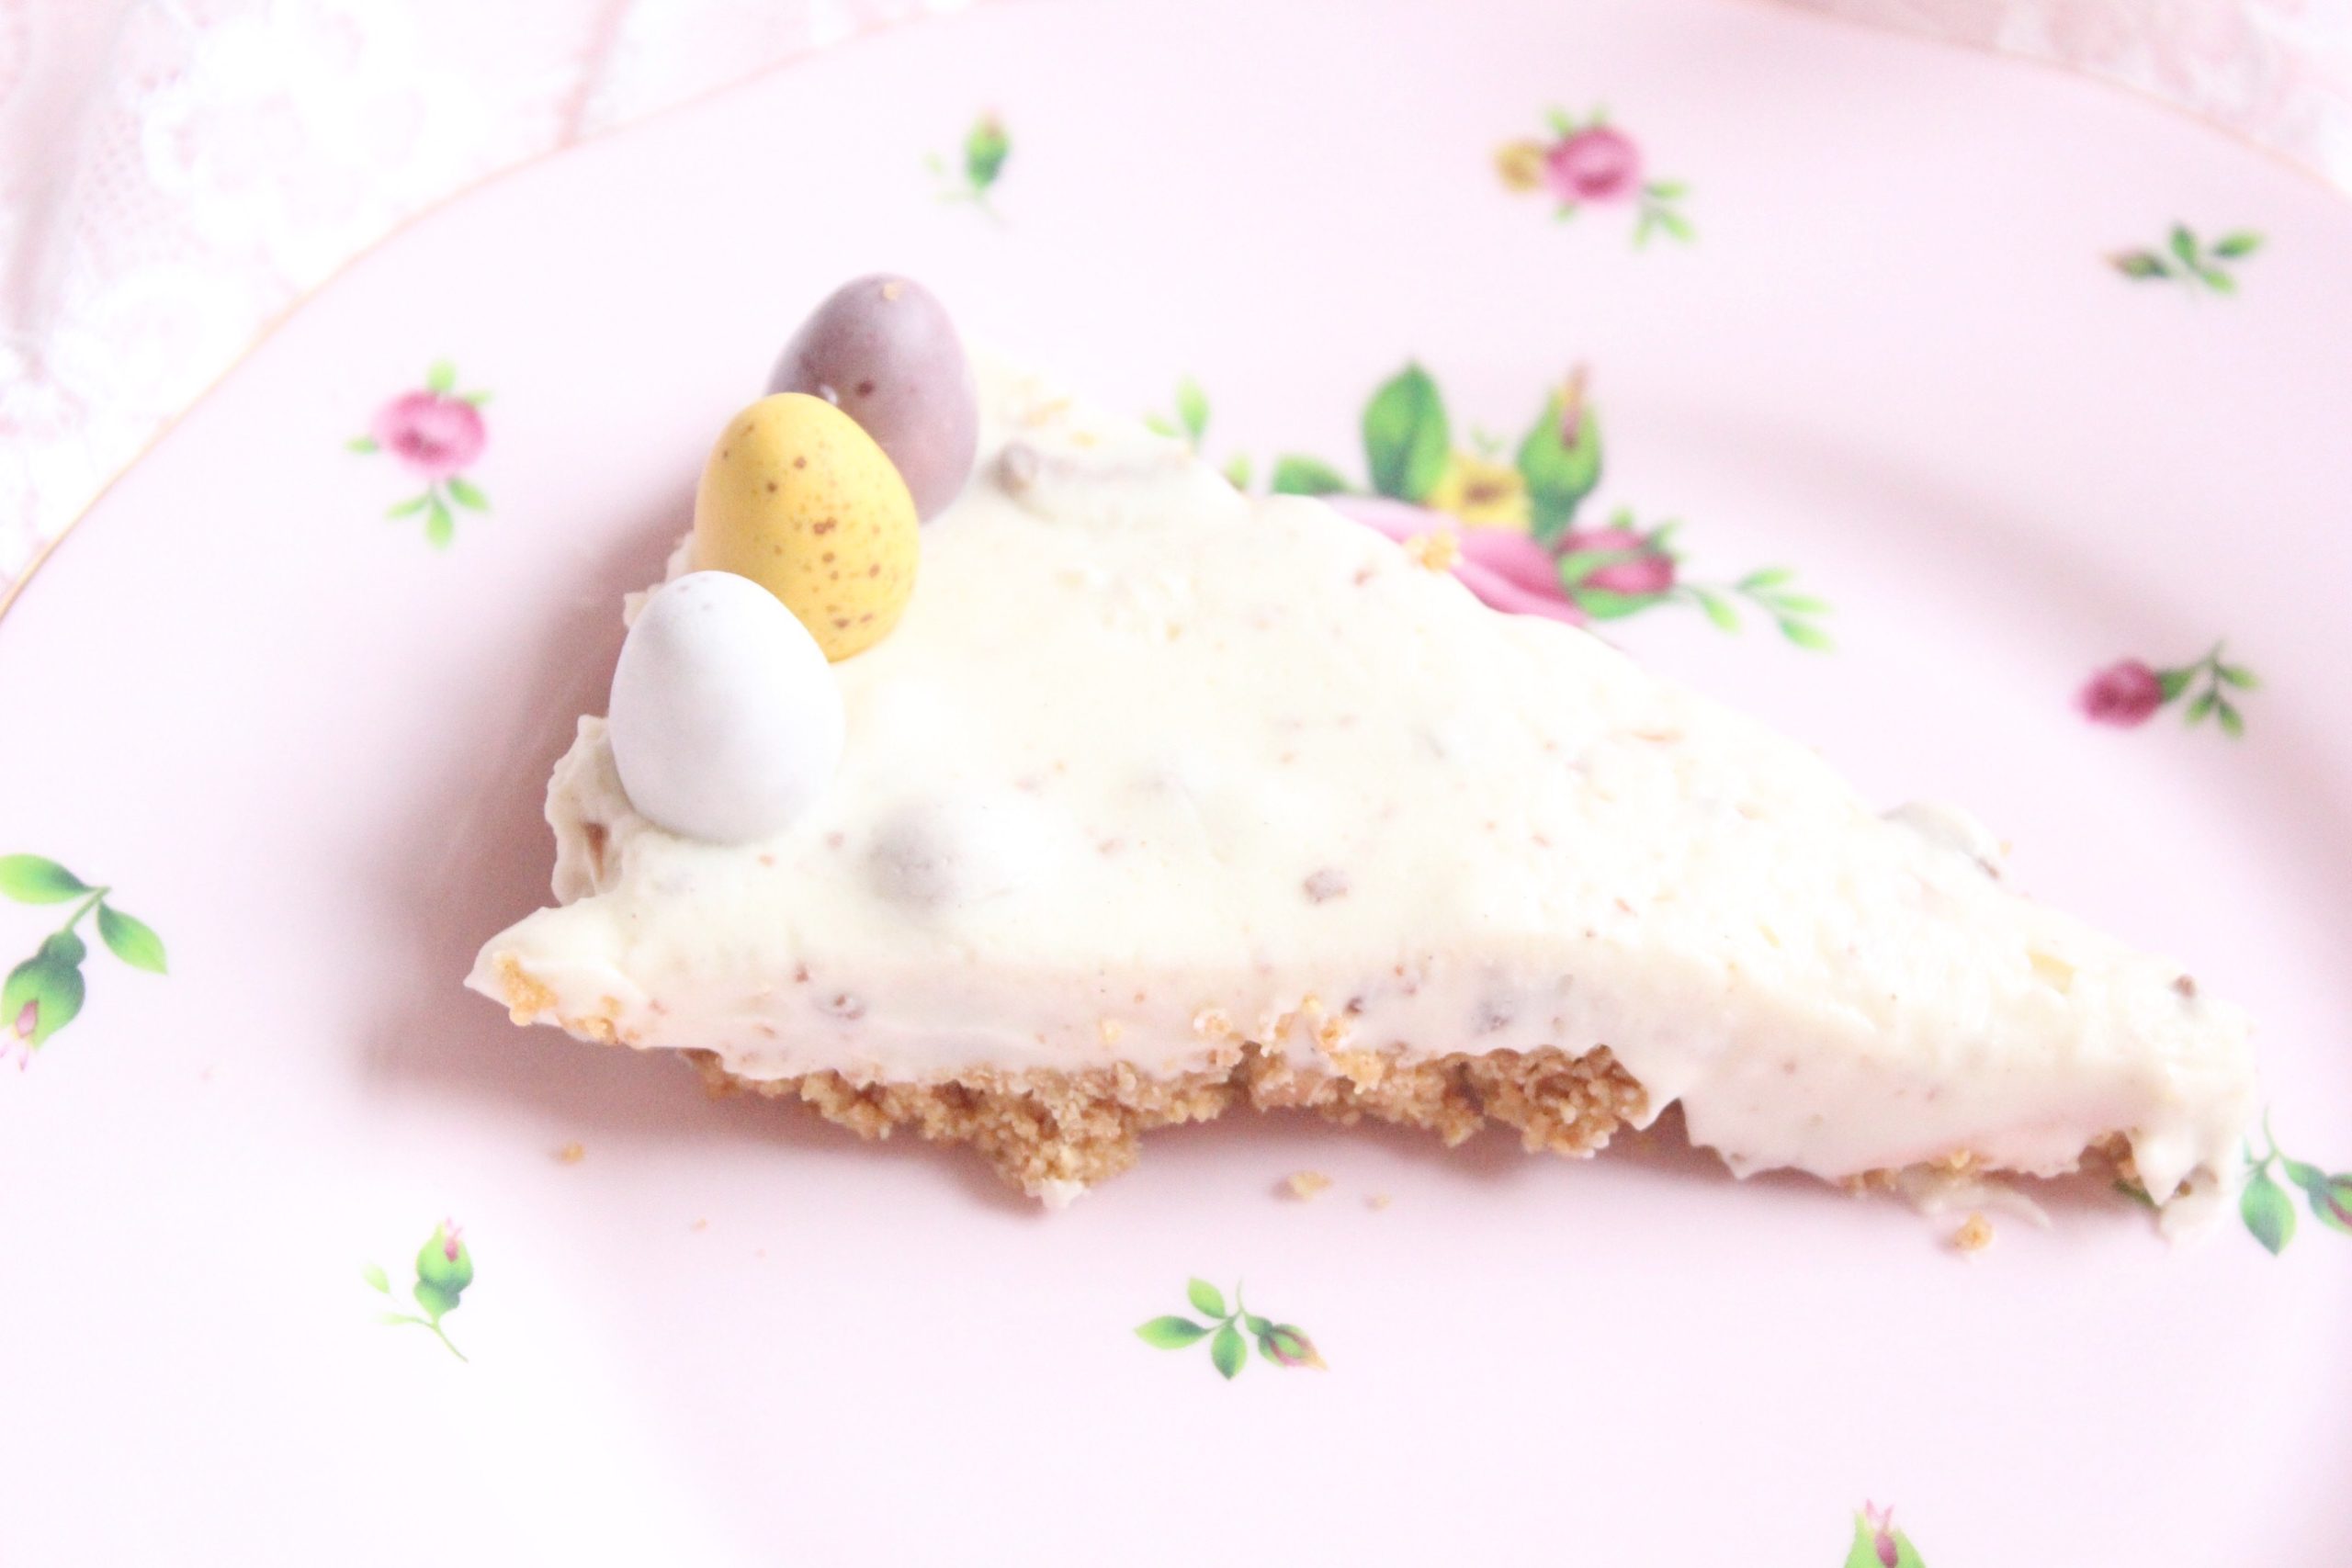
If you’re looking for something quicker than meringue, I have a no-bake cheesecake which is perfect for you!
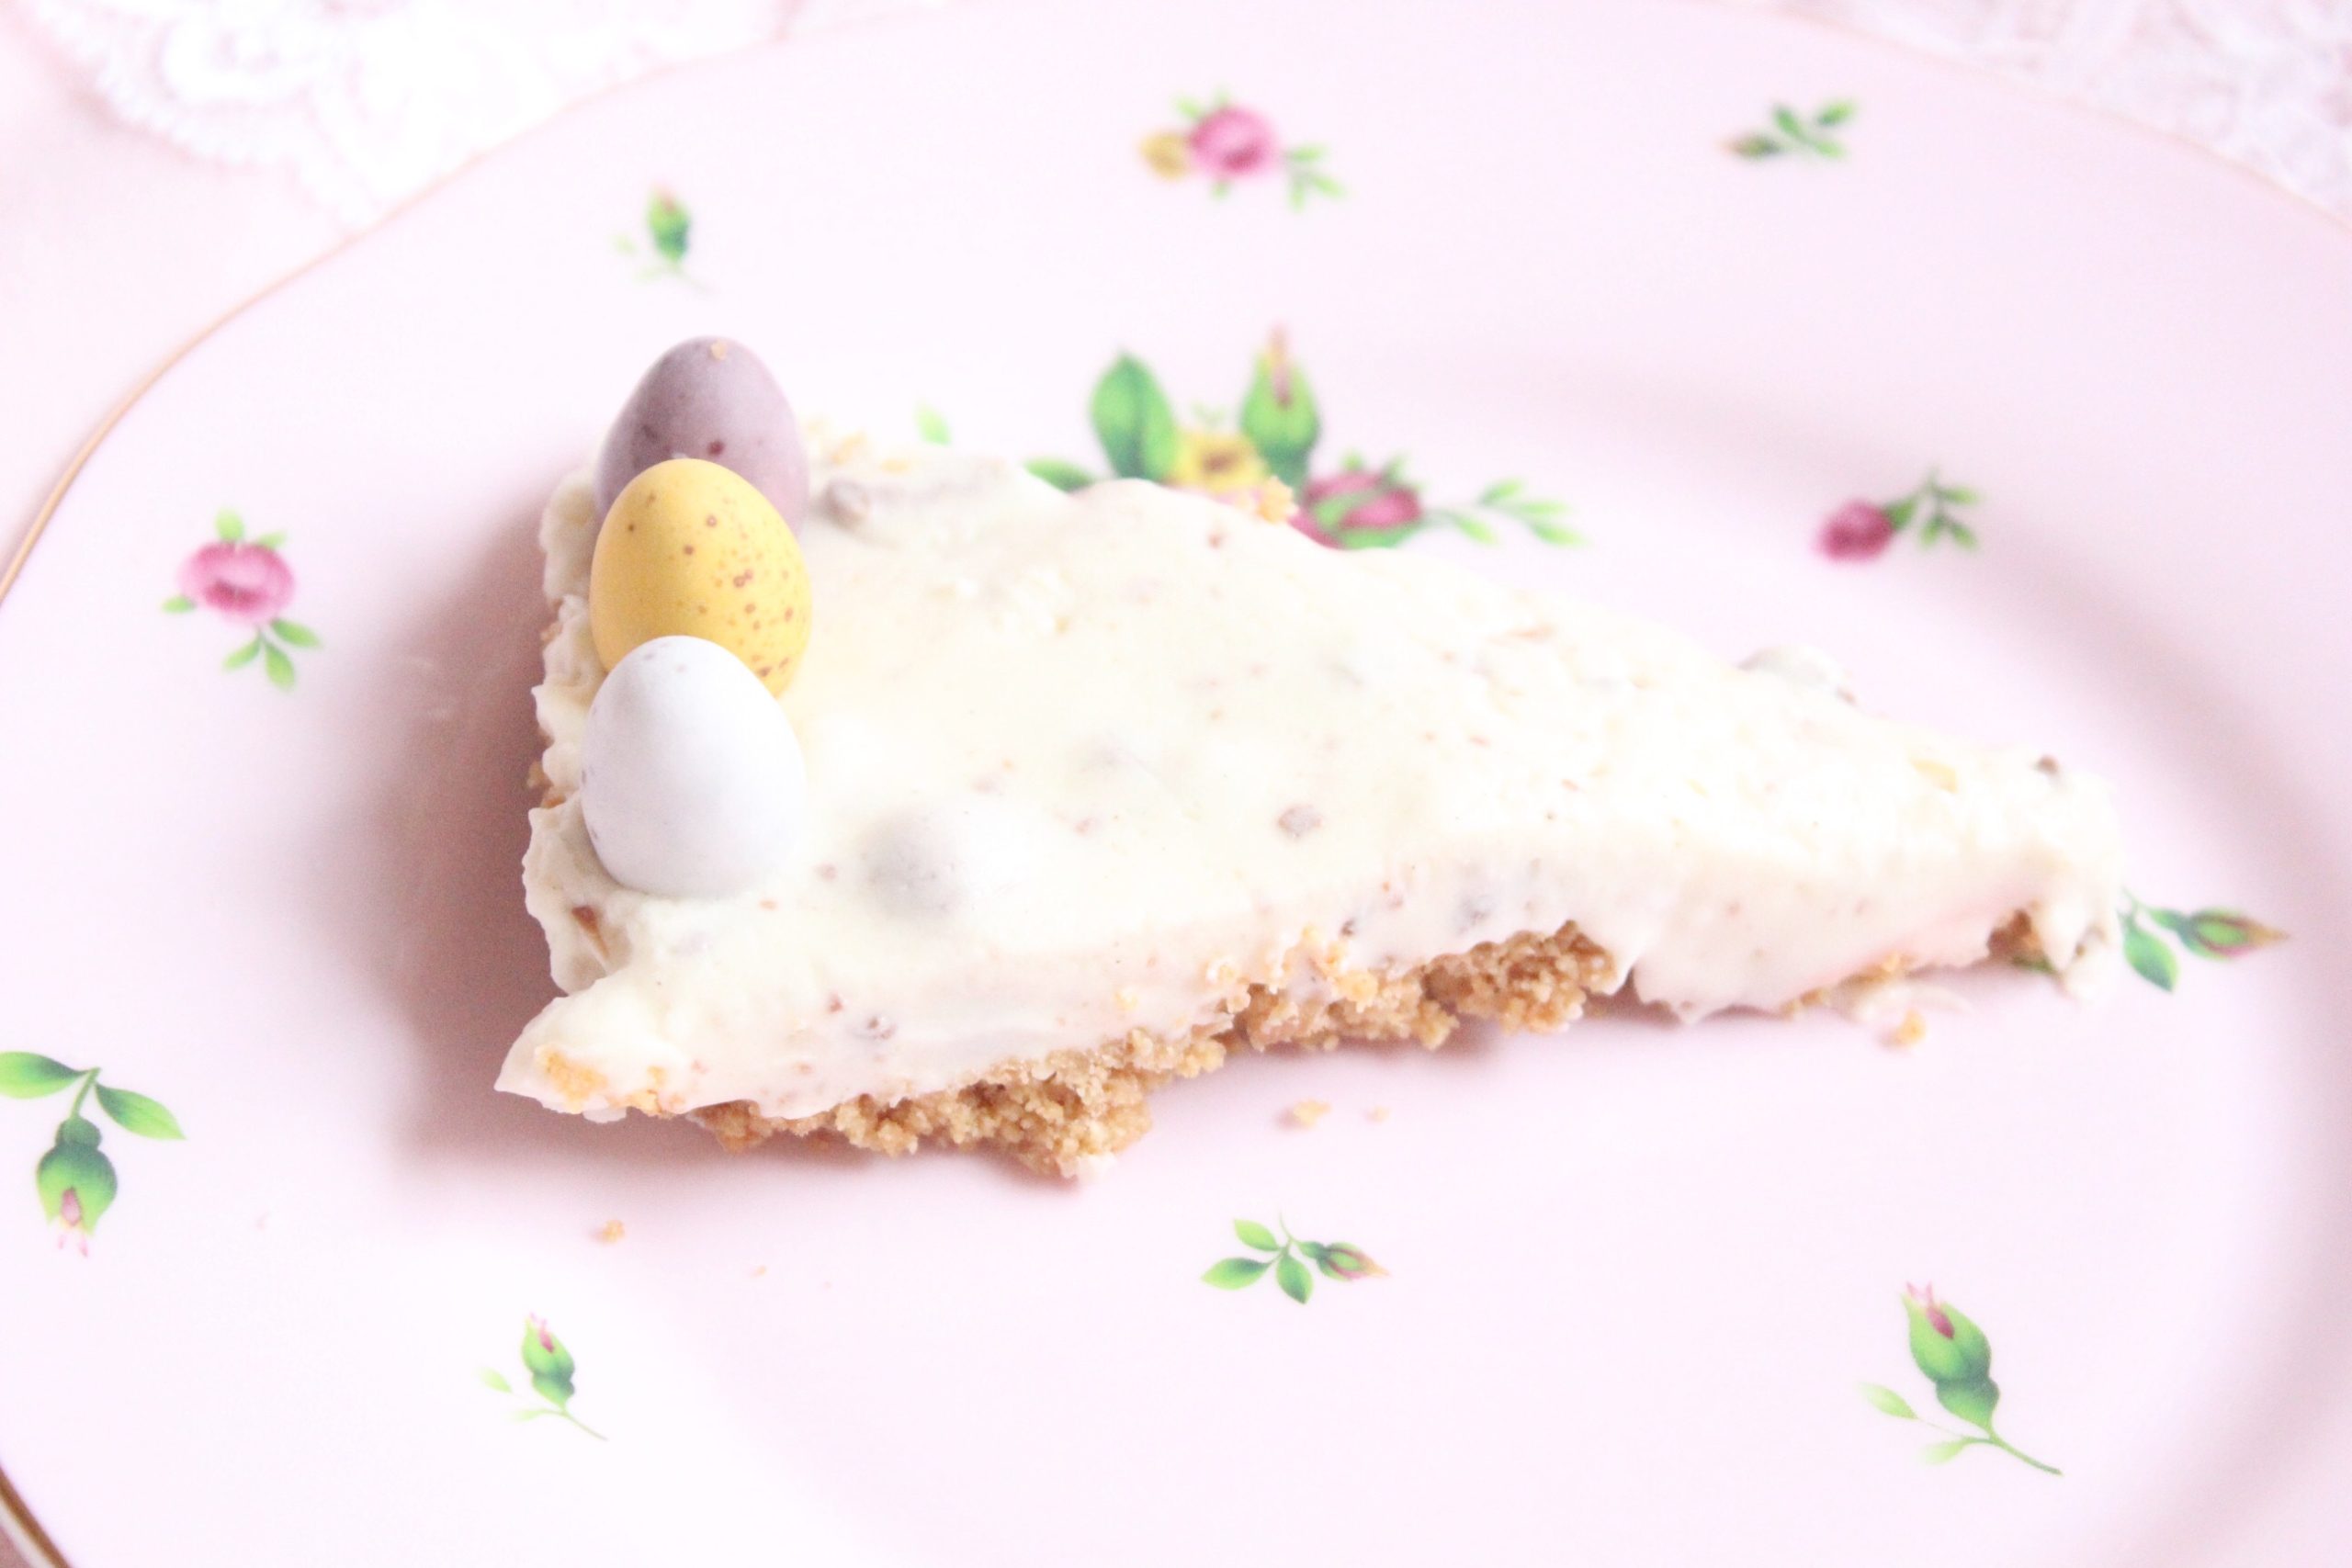
It consists of a dreamy cream cheese and white chocolate filling mixed with crushed mini eggs and a golden, digestive biscuit base! This is the perfect recipe to bake with children on a rainy Sunday afternoon.

for the cheesecake:
100g disgestive biscuits
40g butter
250g cream cheese
100g caster sugar
175g white chocolate
150ml double cream
1 tsp vanilla
3x bags mini eggs

♡ Line the base of an 18cm loose-bottomed tin with greaseproof paper.
♡ Crush the digestive biscuits until you have a crunchy texture.
♡ Slowly melt the butter on a low heat and mix with the crushed digestives.
♡ With your soft and gentle hands, press the biscuit mixture into the prepared tin and use a spoon to flatten it. Place the tin in the fridge to chill whilst you prepare the topping.
♡ Melt the white chocolate slowly, stirring gently in-between and set aside to cool.
♡ Empty the mini eggs and break/crush them to a fine texture.
♡ Whip up the double cream until it forms a soft peak and add the melted white chocolate by whisking together.
♡ Add the cream cheese, sugar, vanilla and whisk into the cream and white chocolate until combined and thick. Finish by carefully folding in the mini eggs.
♡ Add the cheesecake mixture to the digestive base and use a small palette knife to smooth the top.
♡ Place in the refrigerator to set – this can happen overnight. Once chilled completely, delicately and lovingly, remove from the tin and decorate with the remaining mini eggs.


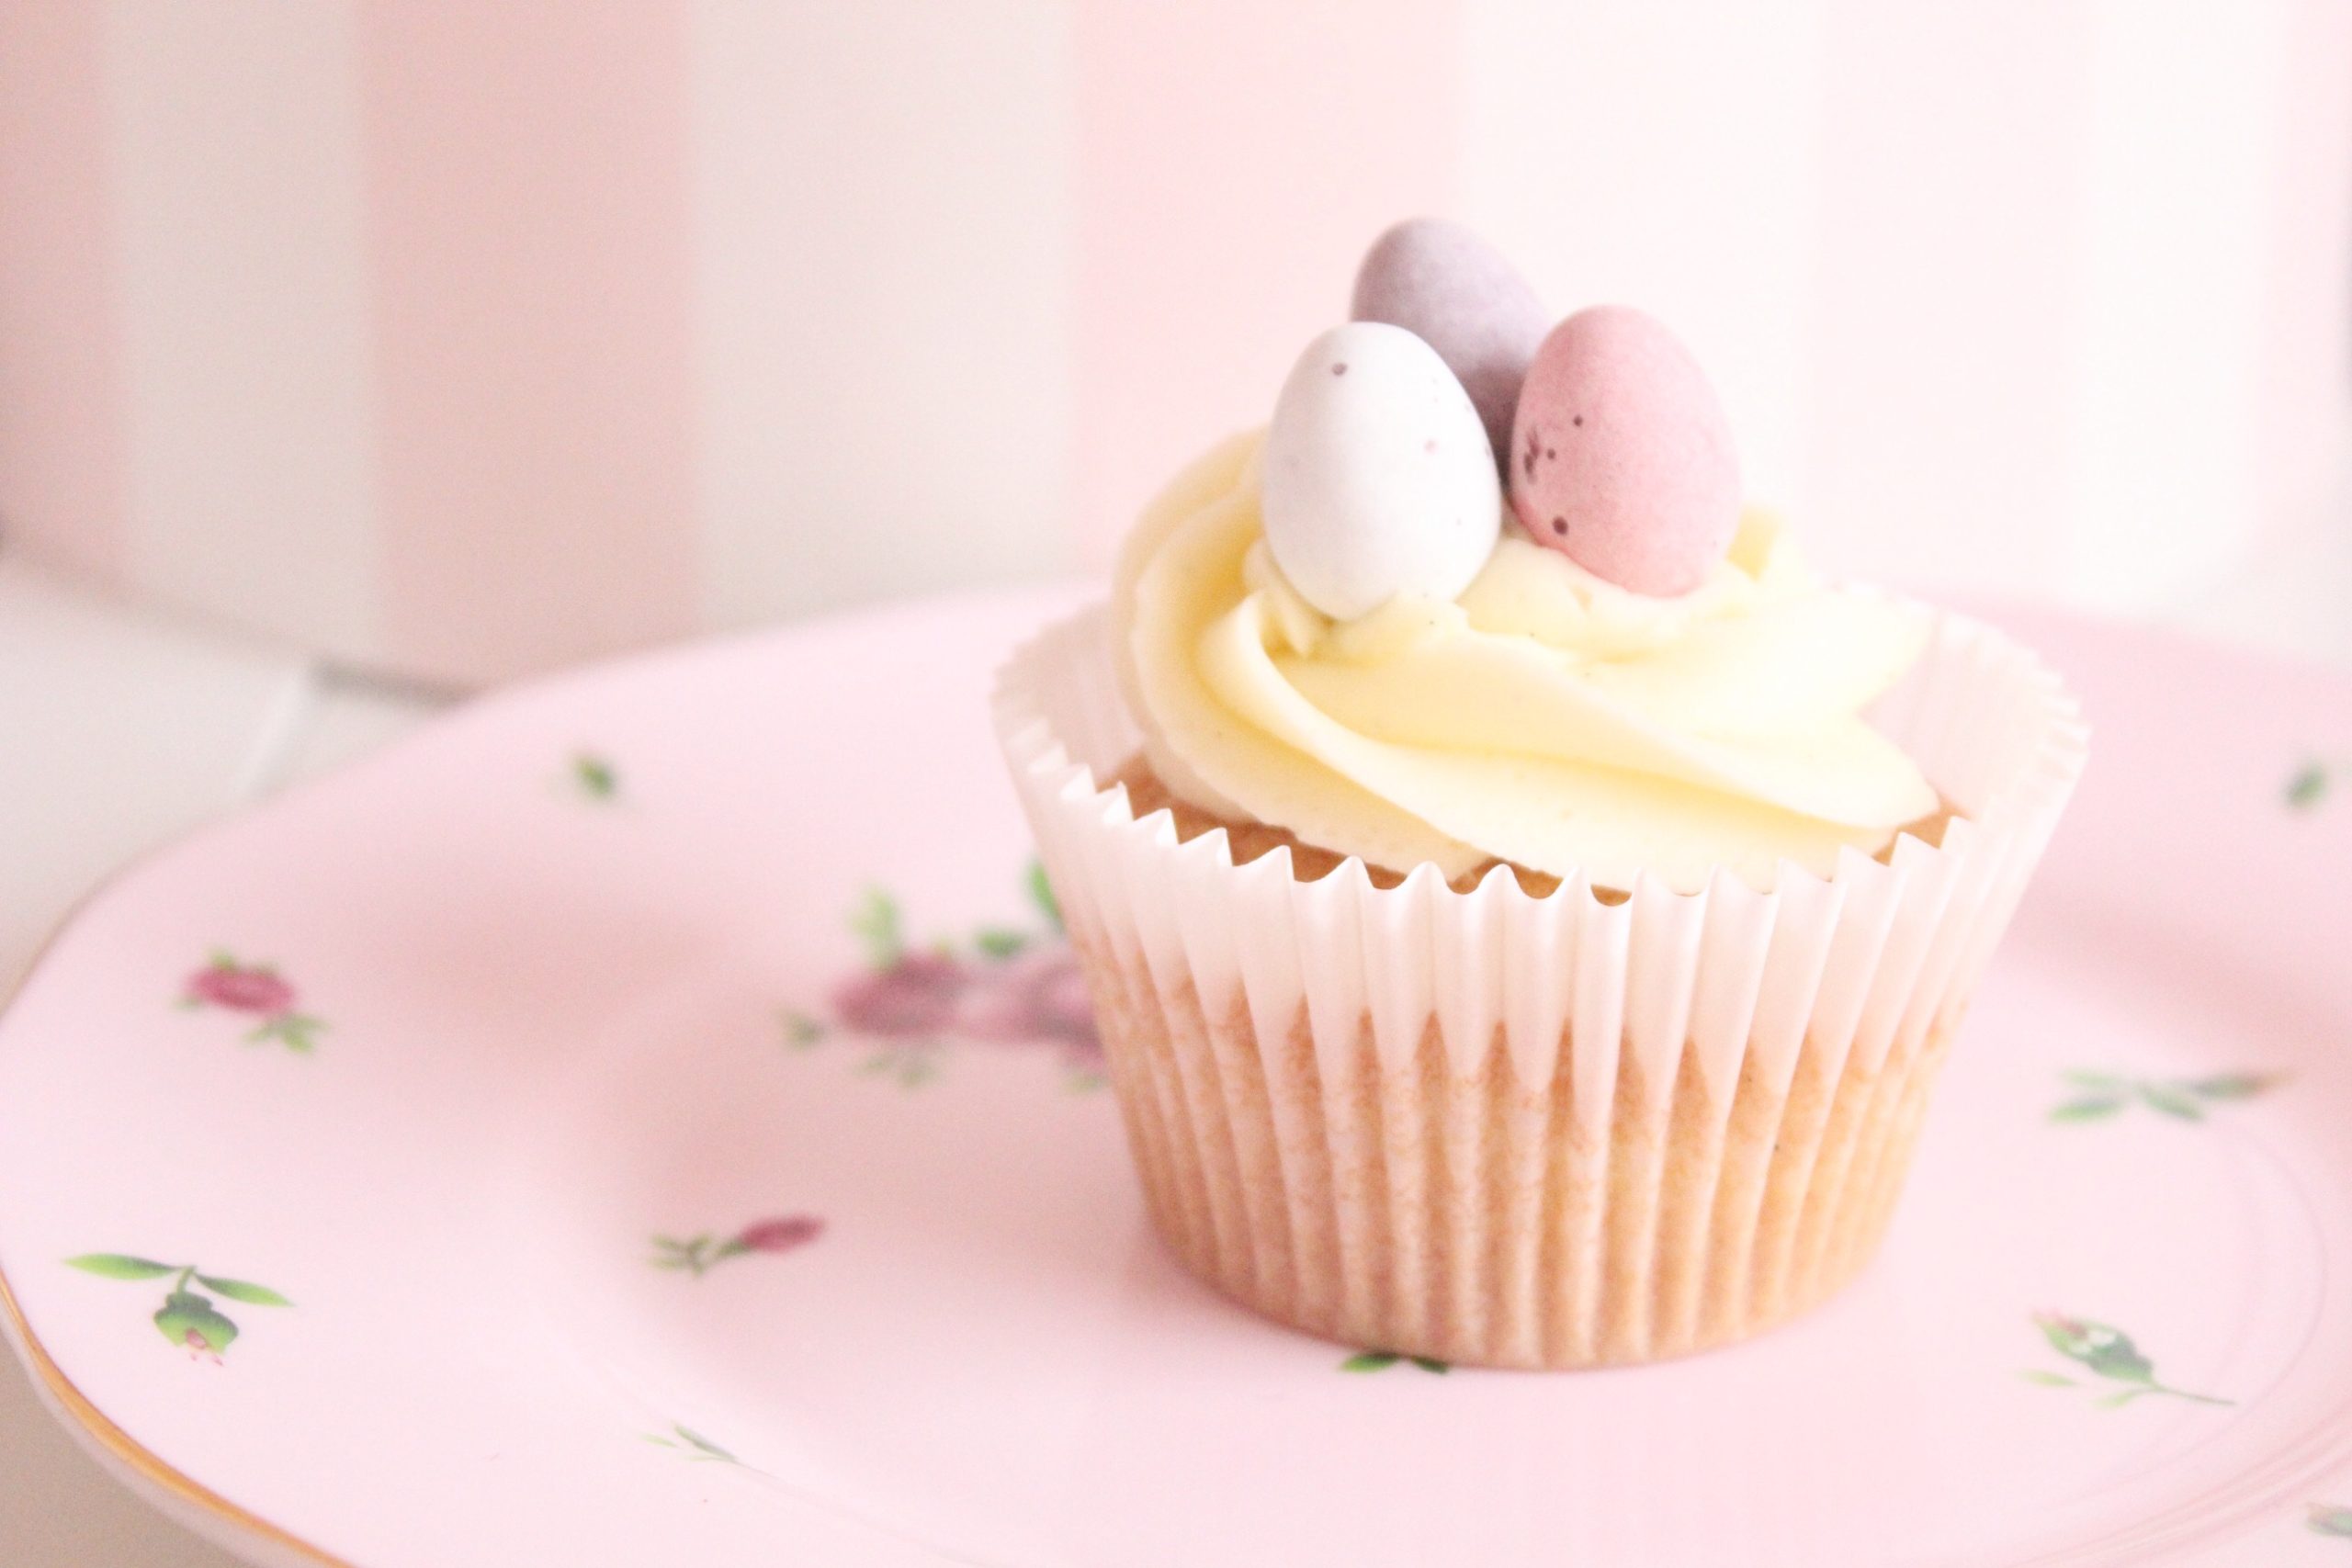
Saving the best for last; cupcakes are my favourite treat to bake and when Easter arrives, I always feel excited about adding Mini Eggs to my recipes.
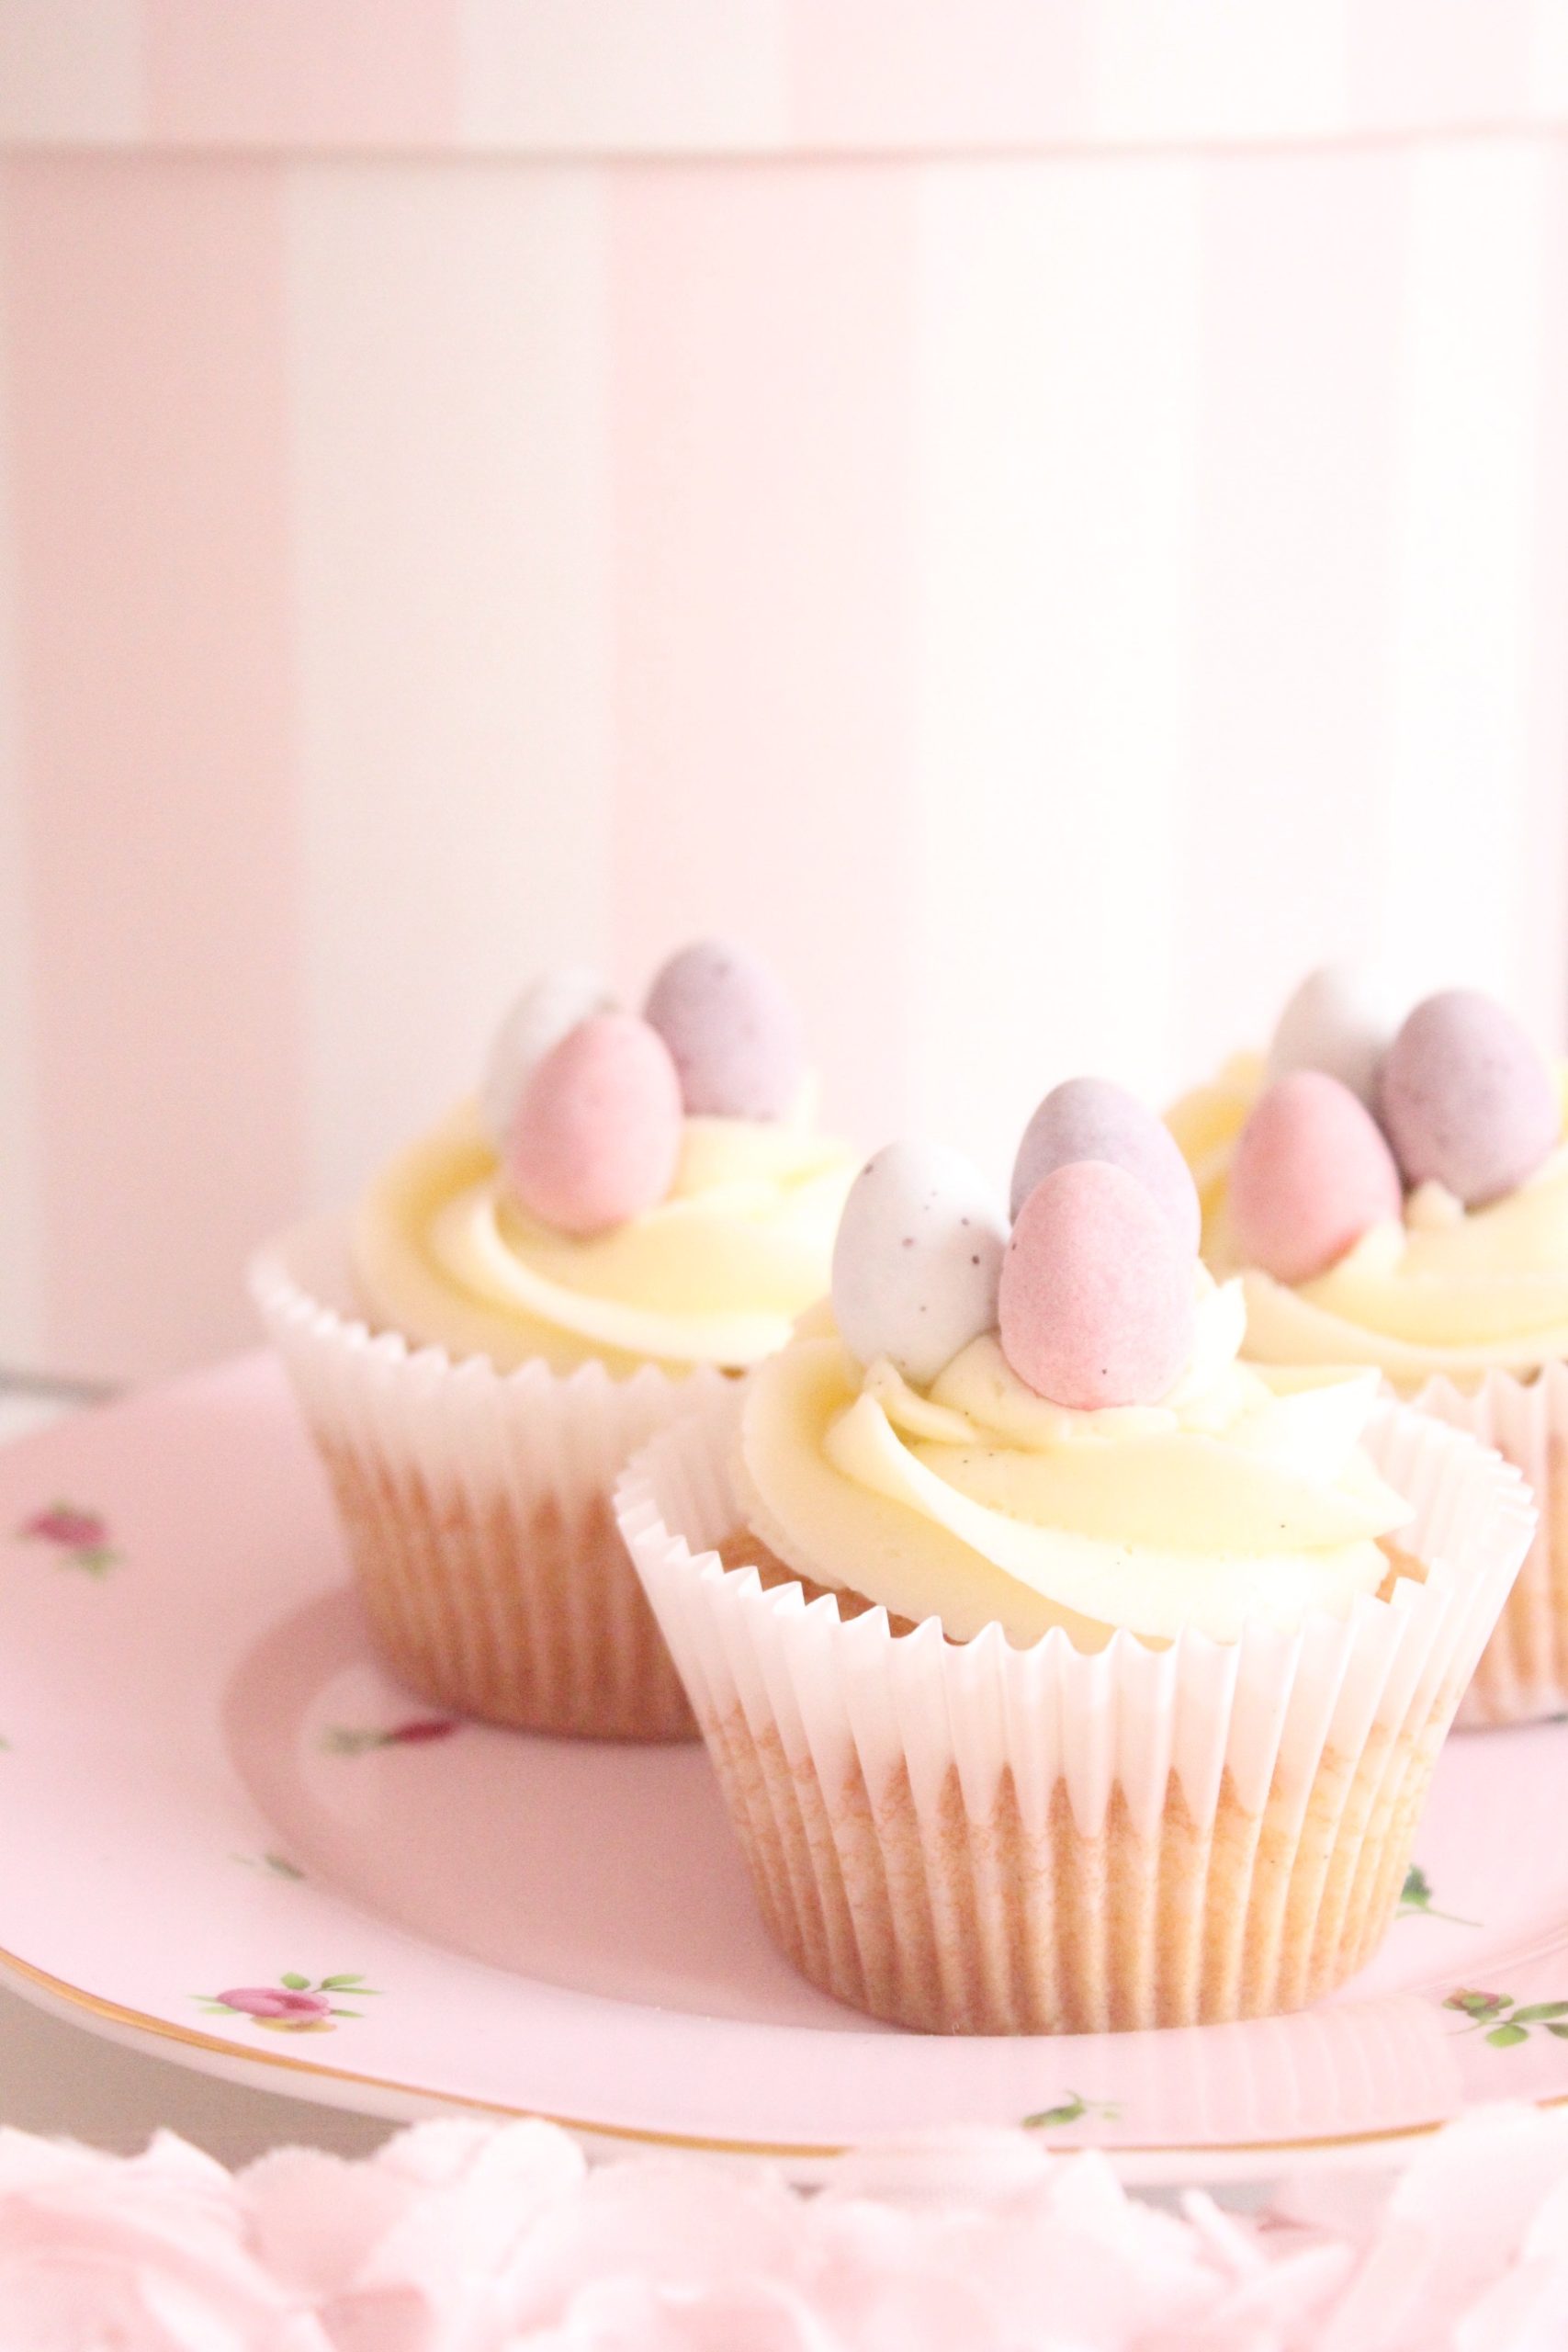
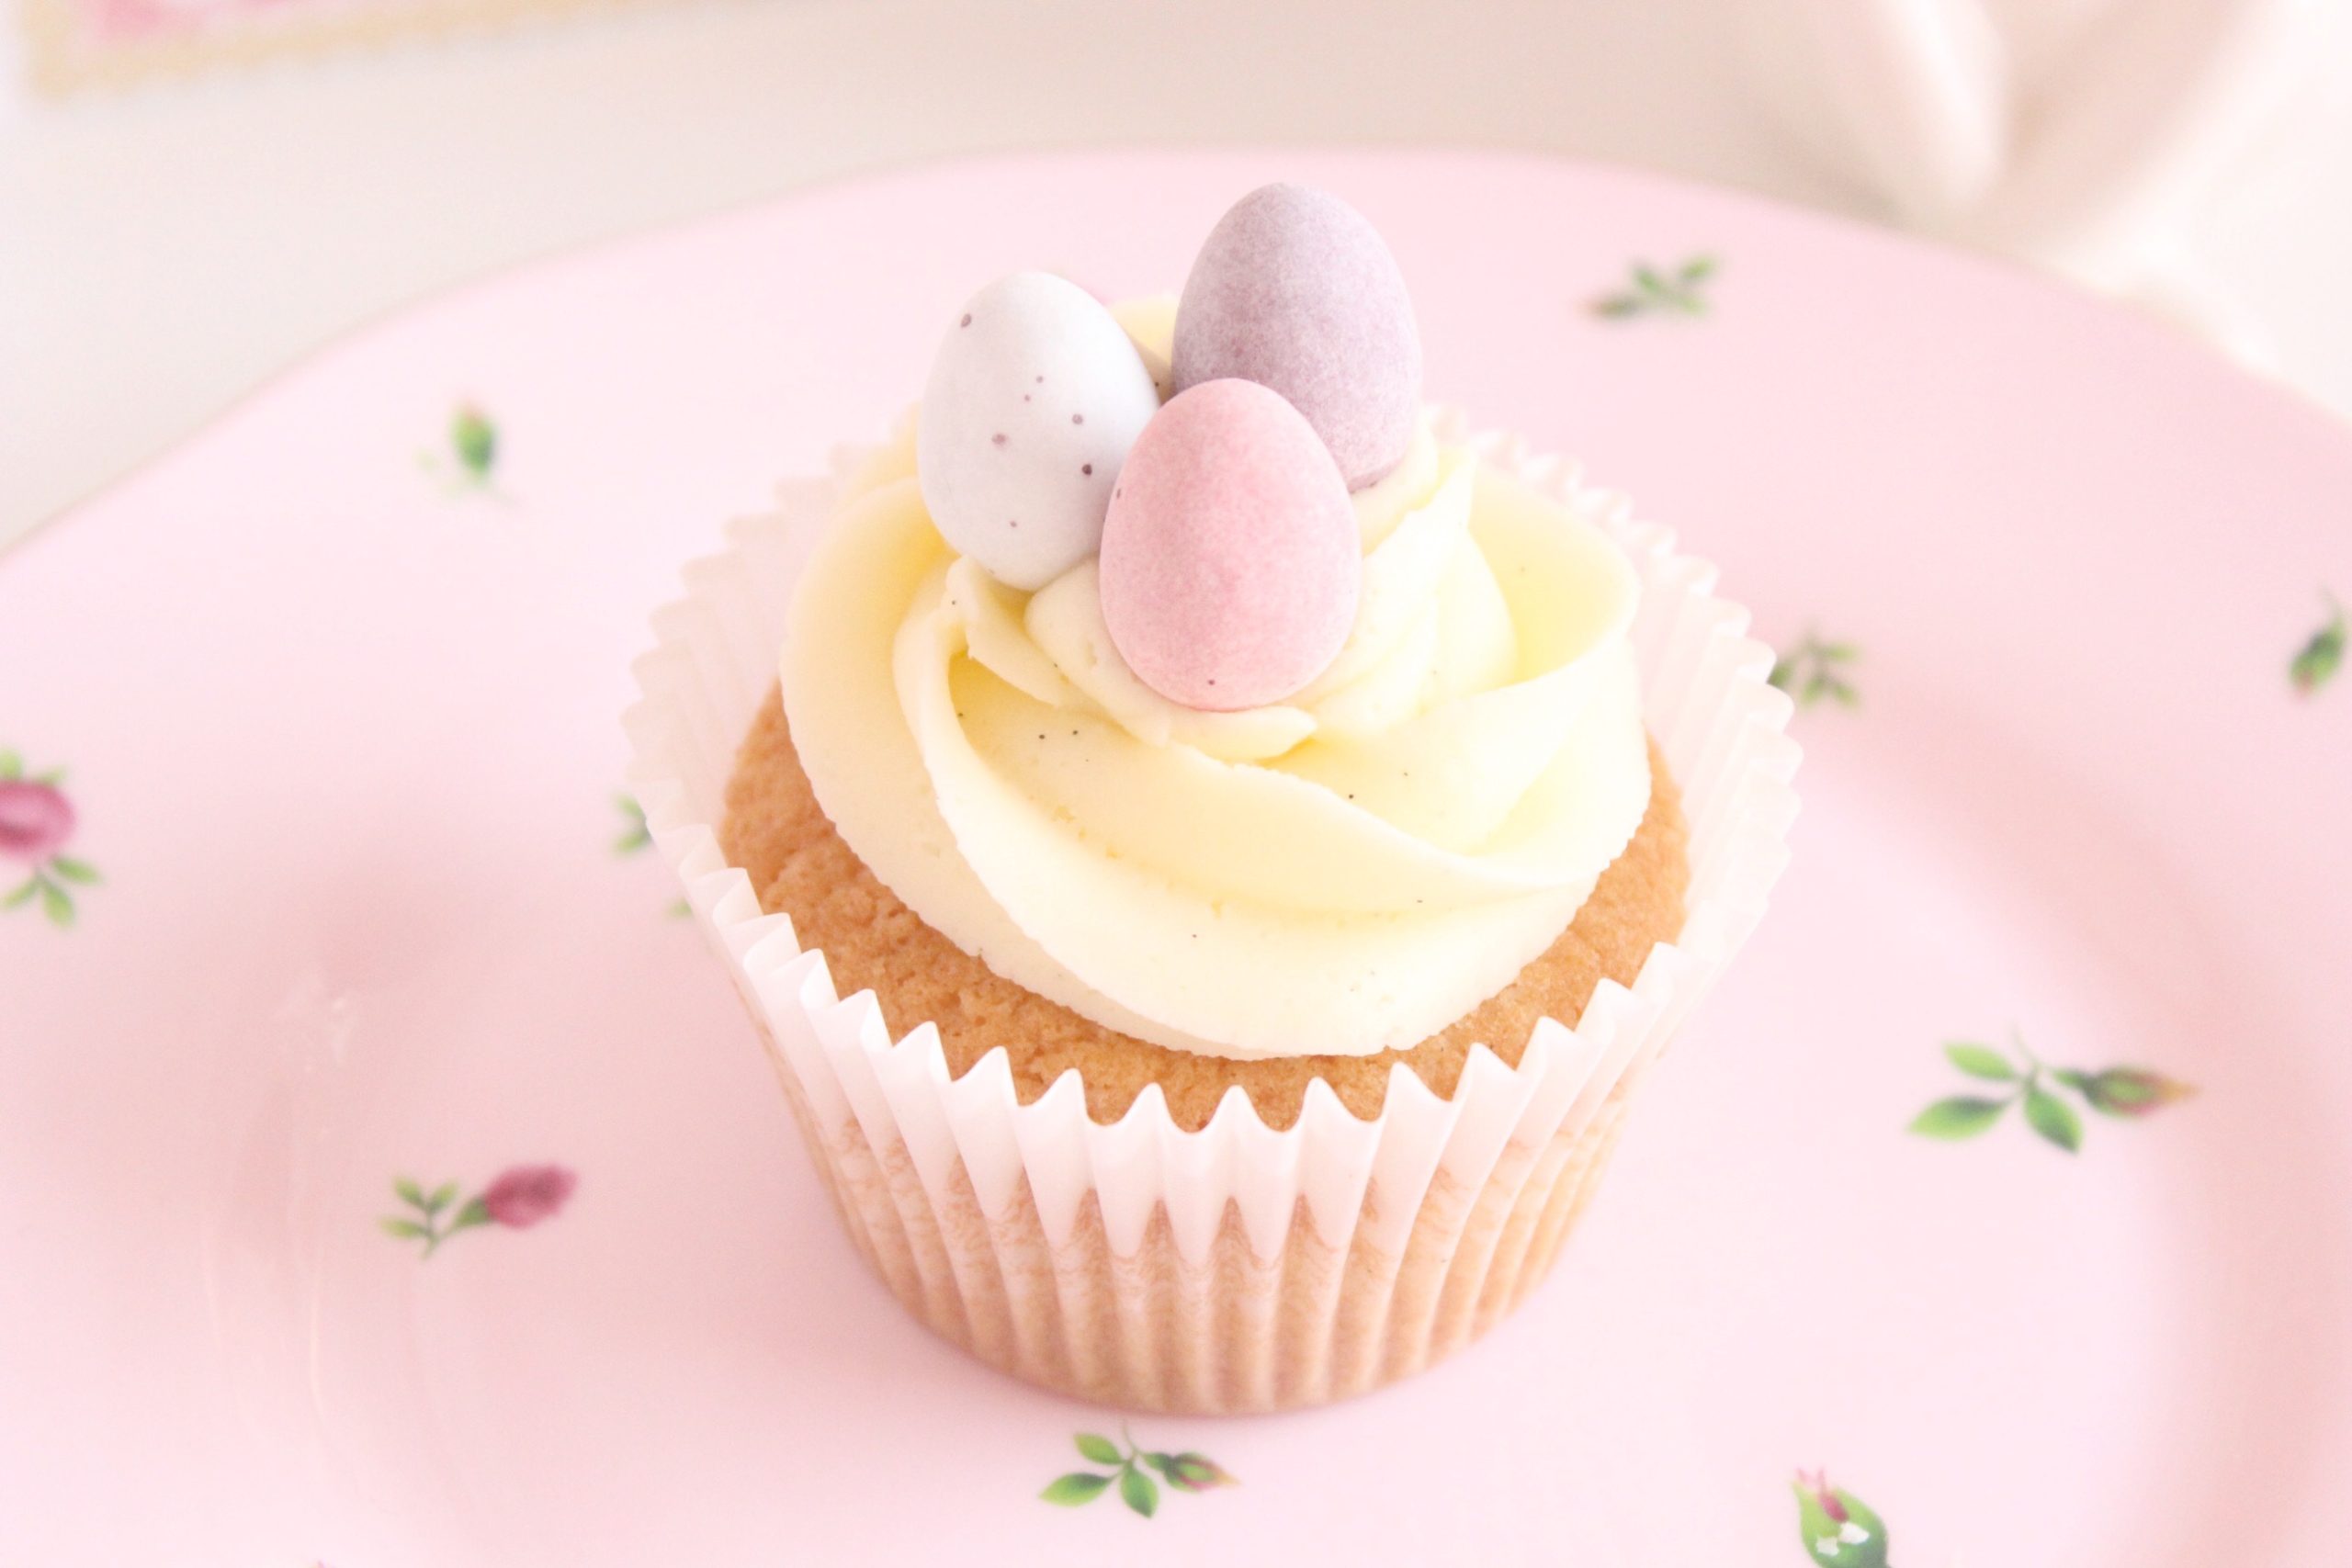
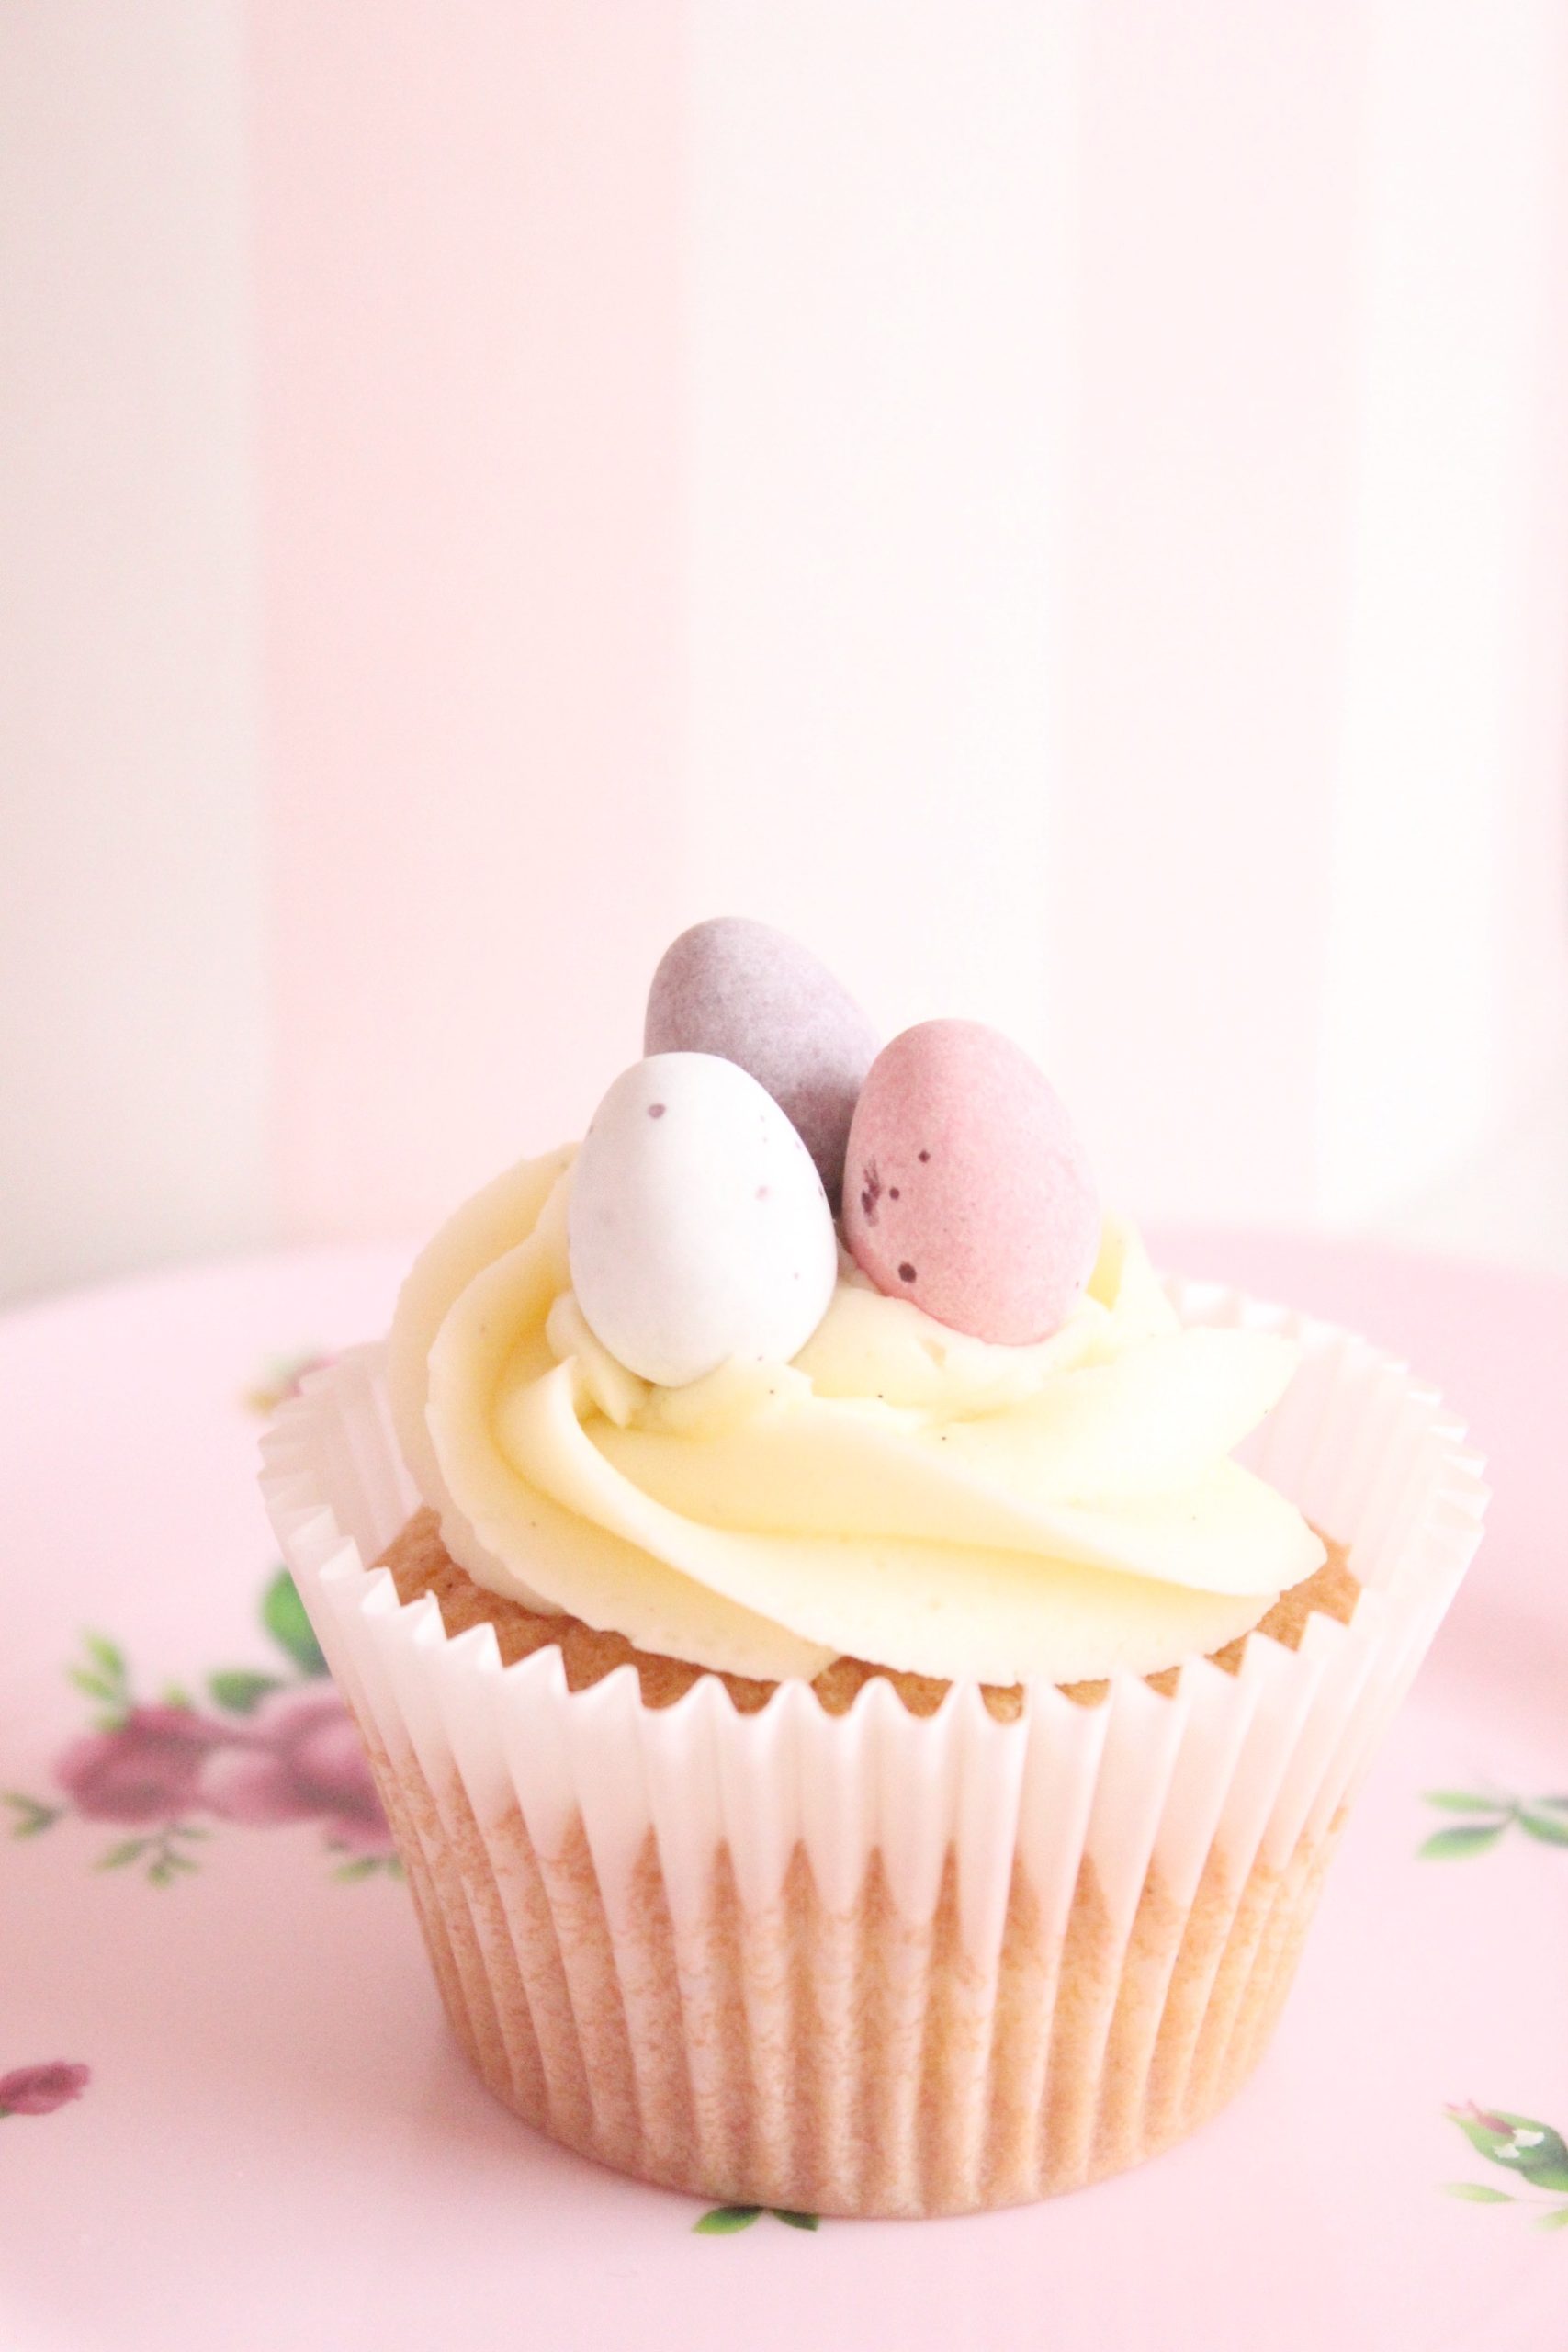
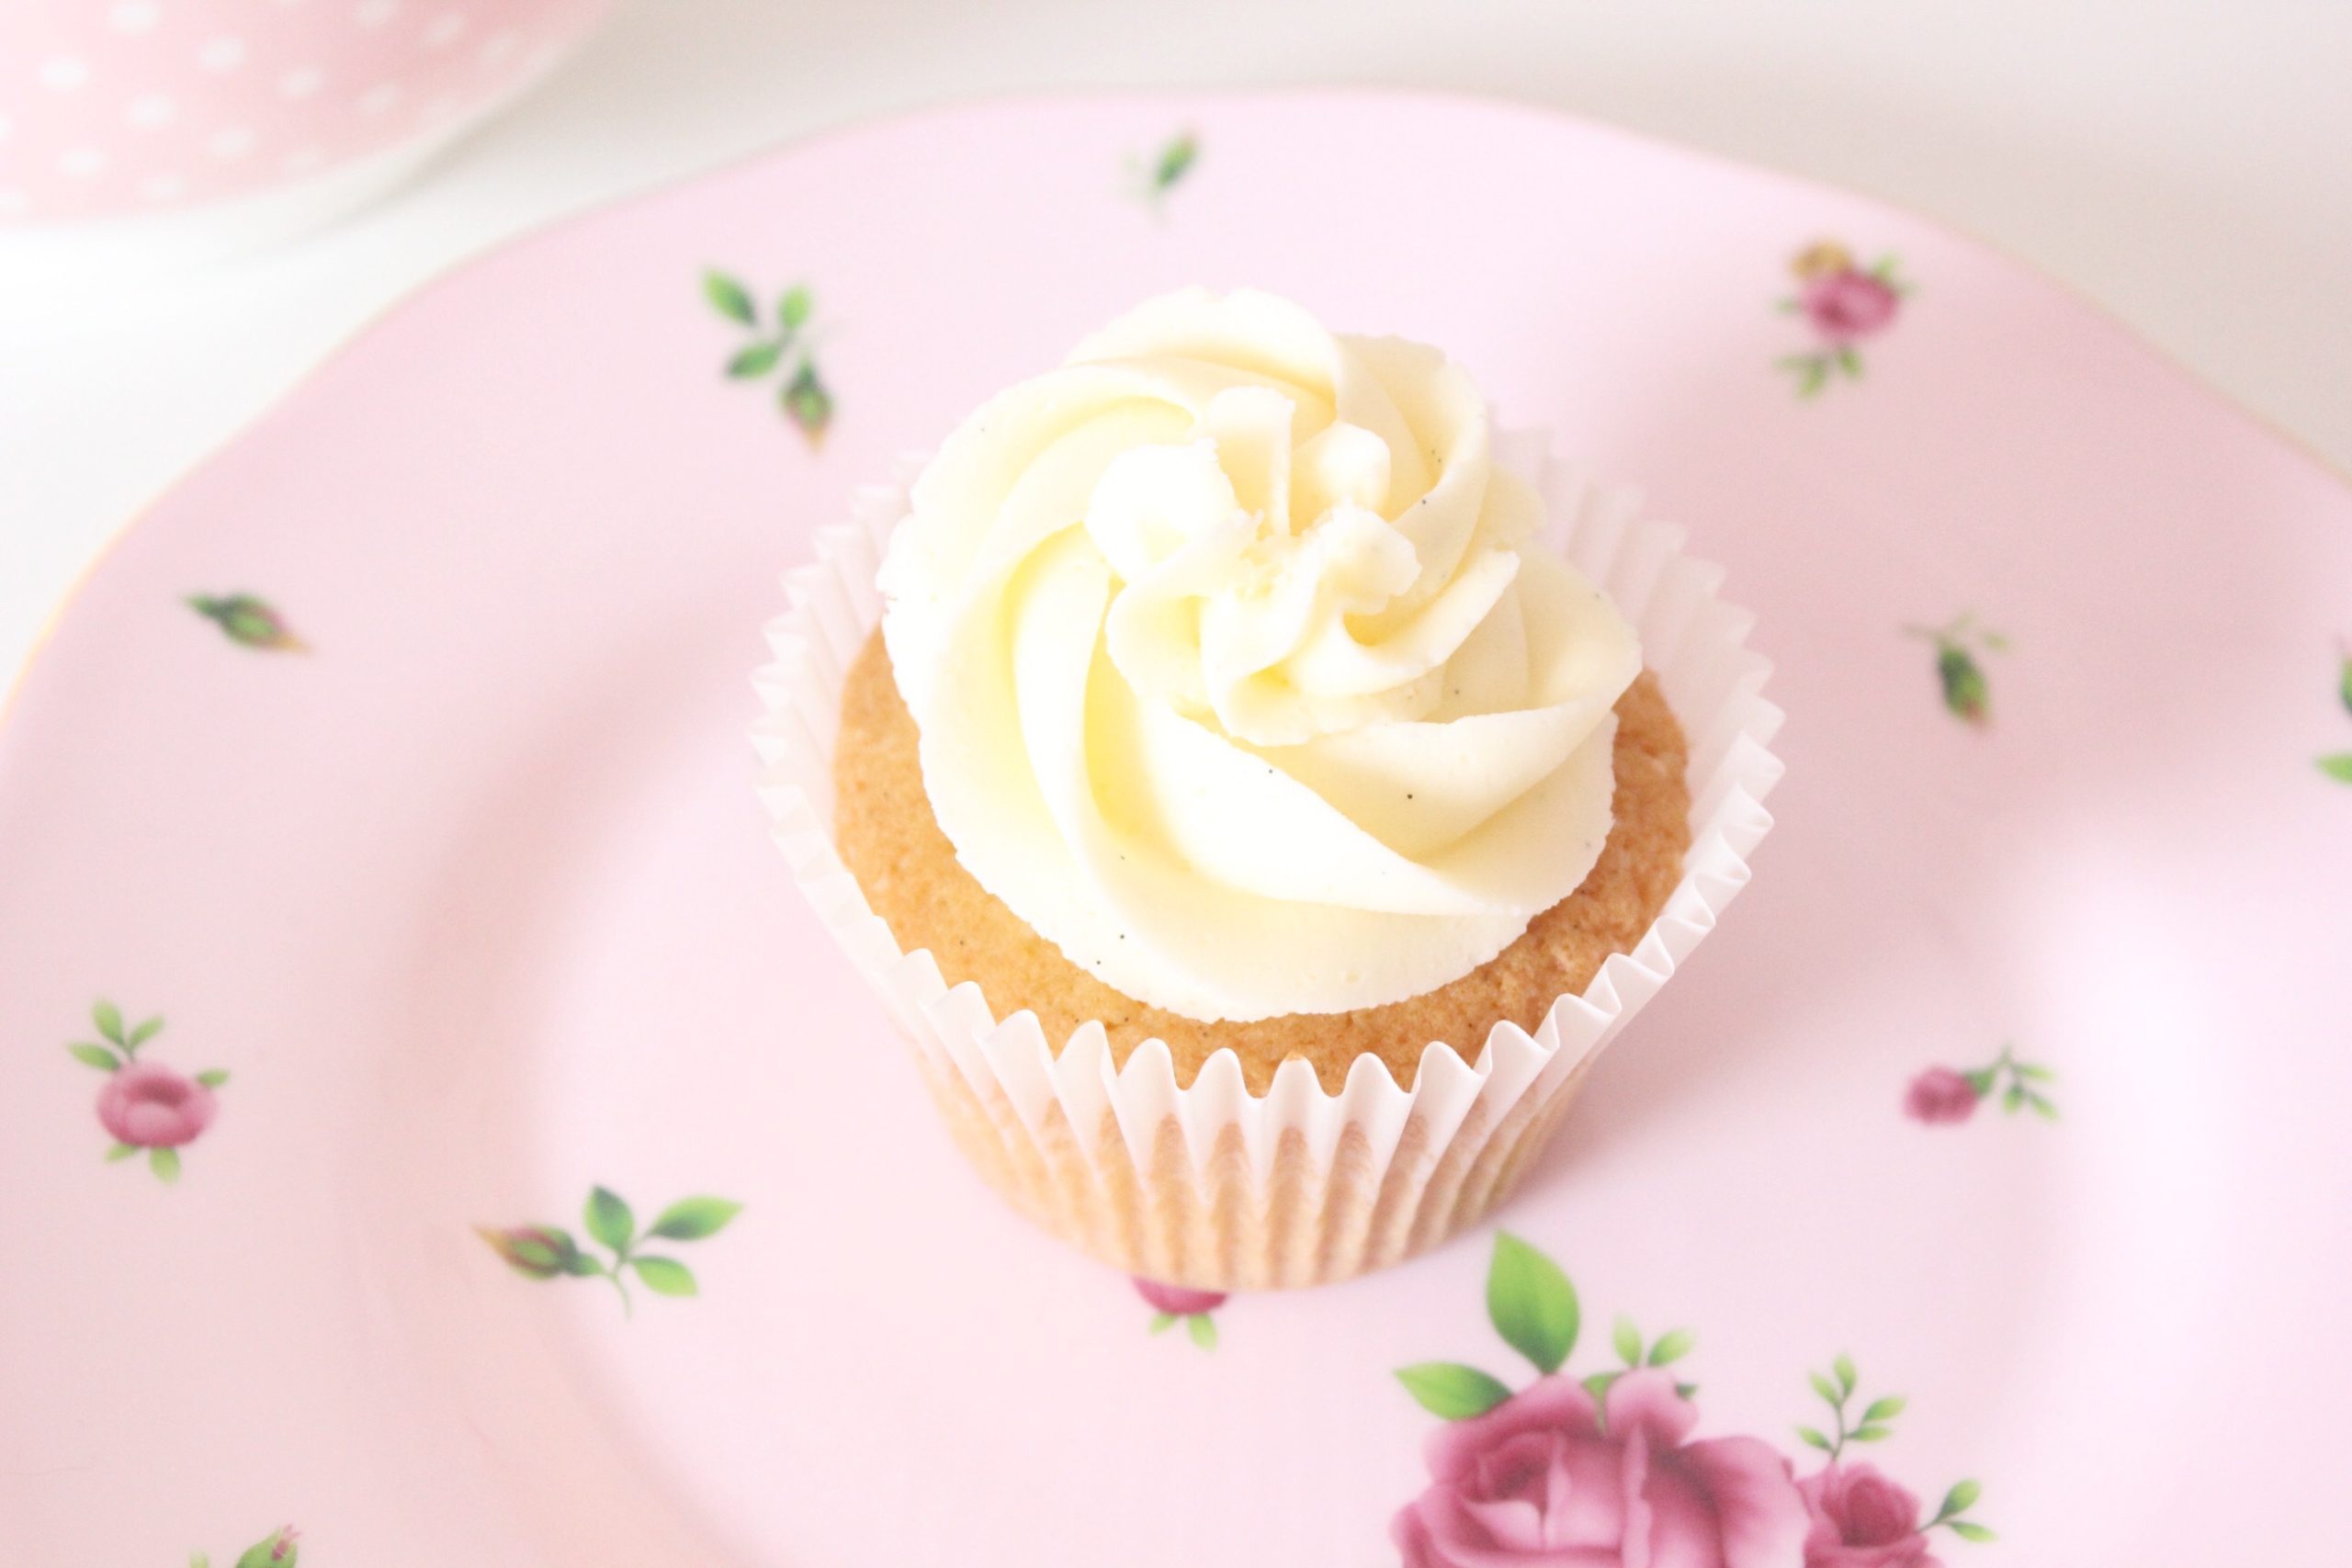
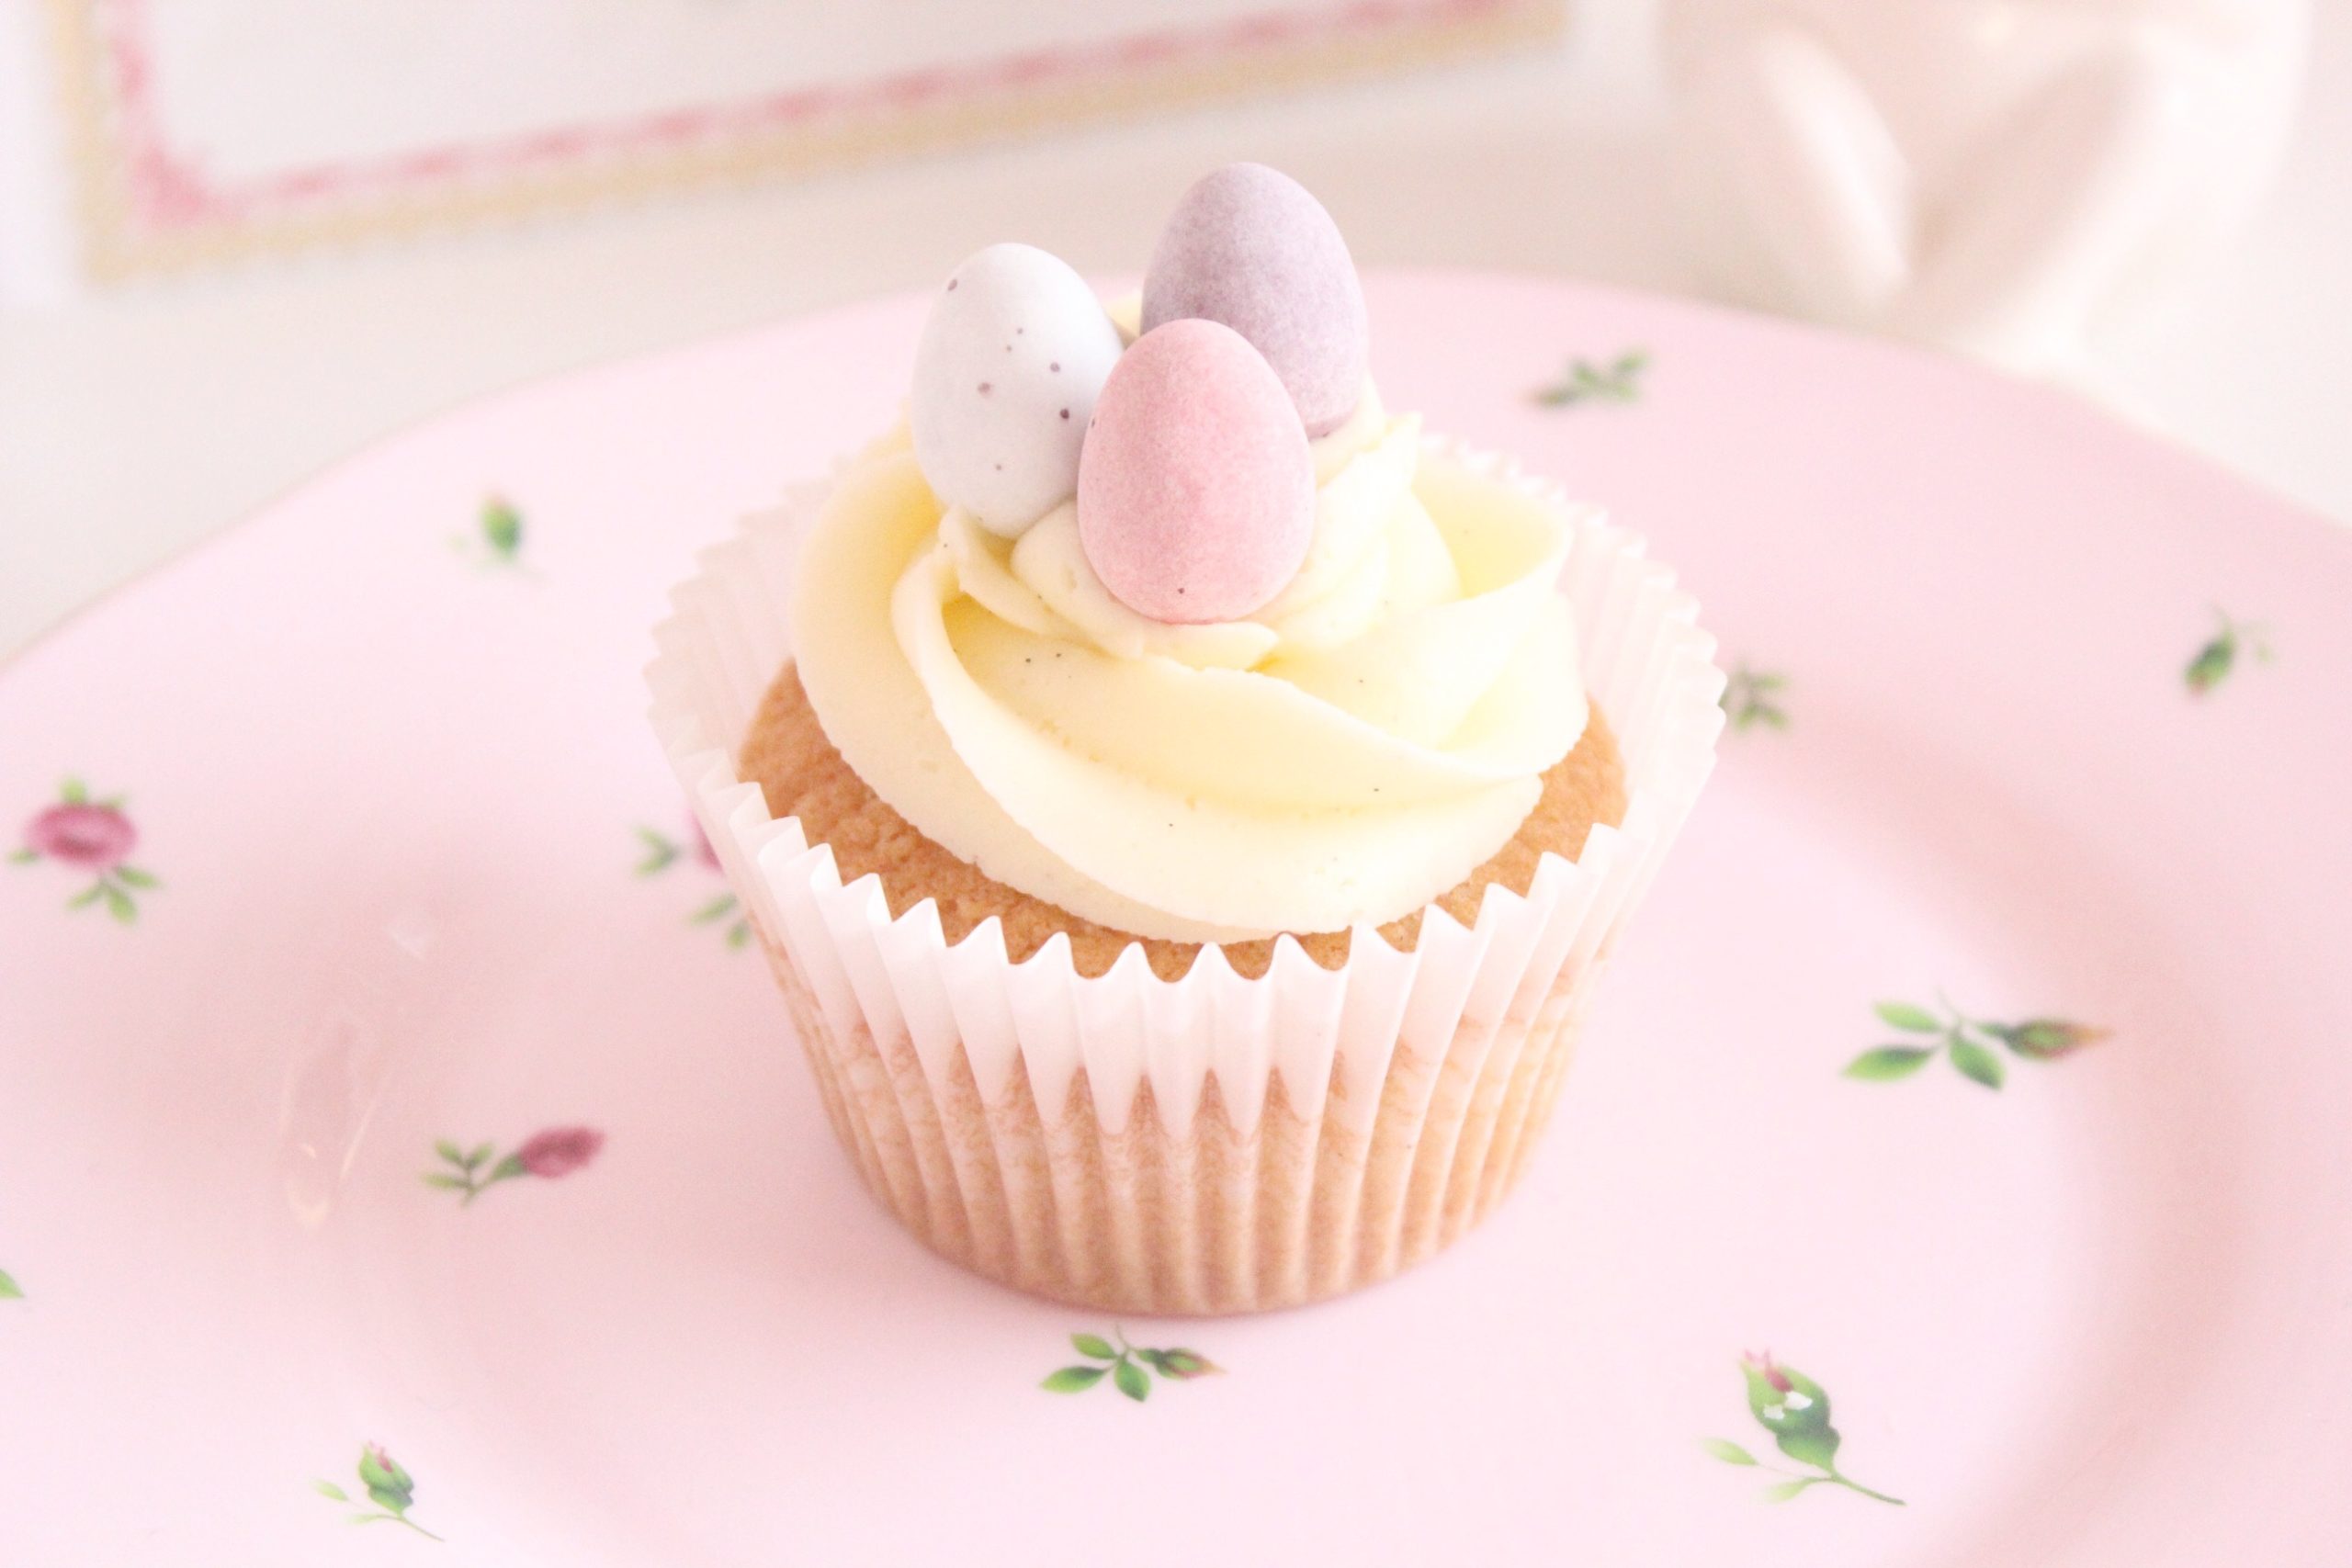
This time I decided to make a fluffy vanilla sponge which I decorated with a swirl of vanilla buttercream and three mini eggs in all their pastel glory.

For the vanilla cupcakes:
110g butter (softened at room temperature)
110g caster sugar
2 free-range eggs (lightly beaten)
1 tsp vanilla extract
110g self-raising flour
1-2 tbsp milk
For the buttercream icing:
150g unsalted butter (softened at room temperature)
340g icing sugar (sifted)
3-4 tbsp whole milk
1 tsp vanilla extract
For the decoration:
Mini Eggs

For the vanilla cupcakes:
♡ Pre-heat the oven to 180˚C. Line a 12-hole muffin tin with paper cases.
♡ Cream the butter and the sugar together in a bowl until pale and fluffy. Beat in the eggs a little at a time and stir in the vanilla extract.
♡ Fold in the flour using a large metal spoon, adding a little milk until the mixture is of a dropping consistency.
♡ Spoon the mixture into the paper cases until they are half full.
♡ Bake in the oven for 10-15 minutes, or until golden-brown on top and a skewer comes out clean.
♡ Set aside to cool for 10 minutes, then remove from the tin and cool on a wire rack.
For the buttercream icing and decoration:
♡ Once you have measured out the butter, place it in a mixing bowl and mix it with an electric whisk for five minutes. Don’t stop mixing until it reaches a white, fluffy consistency.
♡ Gradually add in the sifted icing sugar, one heap at a time and combine the butter and sugar at 2-3 minute intervals.
♡ Once the butter and sugar have been well mixed, (they should form a light, whippy texture) add in a couple of tbsps of milk and the vanilla extract – you may not need to use all of the liquid, just use as much as you think you need.
♡ To test the consistency of the buttercream, grab a spatula and see whether the mixture is easily spreadable.
♡ Once you are happy with the result, place your icing in a piping bag and fit with a star nozzle and begin piping your cupcakes.
♡ When you have piped your cupcakes, top them each with a handful of Mini Eggs. You may also want to add some crushed Mini Eggs or Flake to make them look like an Easter nest.

I hope this has inspired you to put on your pinafore and start baking! Please share photos of anything you create and let me know in the comments what your plans for easter are…

I’m sending lots of love to you all,




Hola muchas gracias por todo, eres mi inspiracion, ojala algun dia puedas darme tips para mejorar mis fotos mi instagram es @whisperchocolate, un abrazo gigante desde colombia
Dear Gloria, thank you for getting in touch! Of course, I can check out your Instagram. Thank you for your support. I hope you enjoyed my blog post 🌸